Earlier this year we purchased the property of our dreams for our future wedding venue. Five cabins, a main house, multiple other buildings and thousands of lake view frontage. Our plan was to renovate each place one by one and give them our own personal touch.
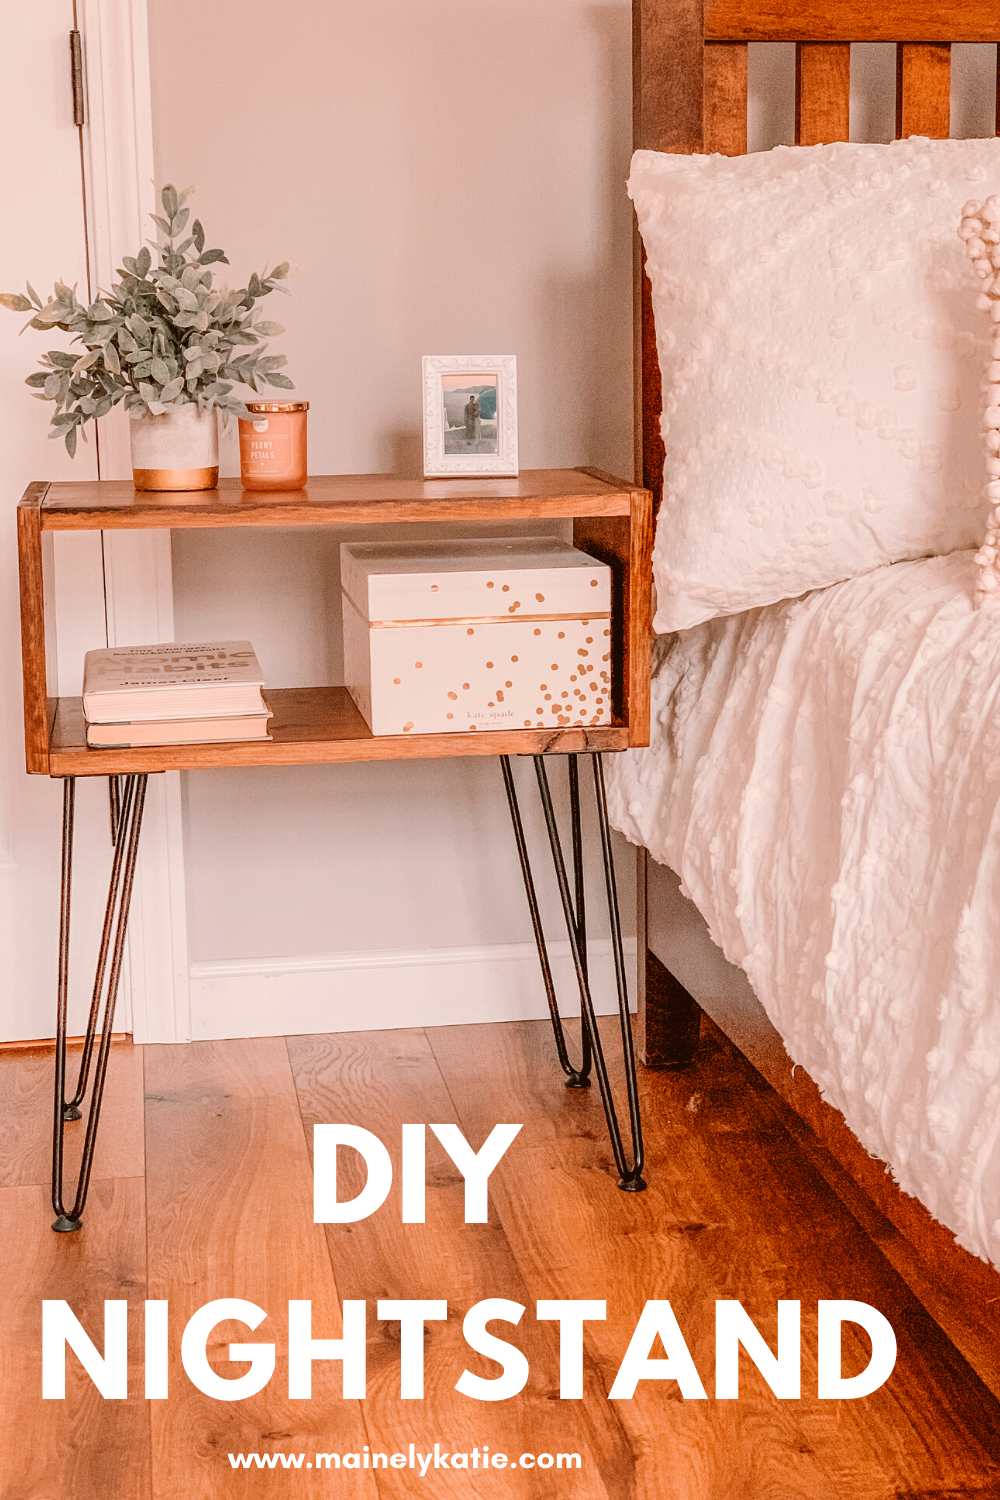
One of the challenges we came across was finding enough affordable furniture to furnish every single room. When we couldn’t find reasonable prices for all the cute furniture we wanted, we started searching online for new ideas. That is when I came across these adorable nightstands. If you are looking for an easy DIY nightstand tutorial, keep reading!
This post contains affiliate links, I do make a small commission if you purchase through my link.
Materials
- Two to three 1x12x12 pine boards to make two nightstands
- Sixteen 2 inch screws
- “>airpin legs (I found these on Amazon)
- Stain of choice
- Polyuerethane
- Drill
- Tape measure
- Saw
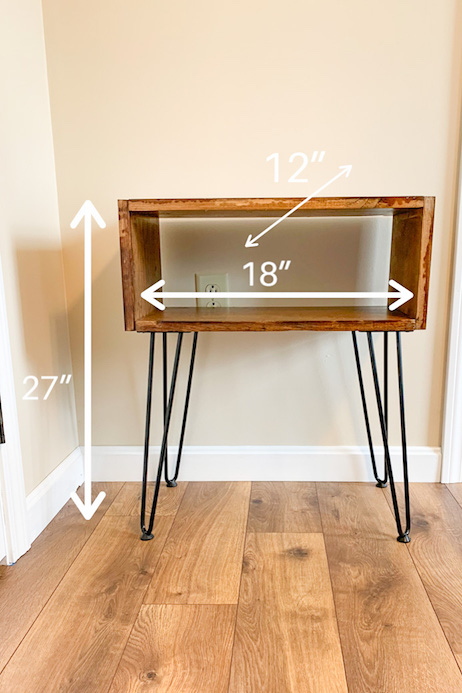
Dimentions
- Wooden box 9″ tall x 18″ wide x 12″ deep
- Hairpin legs 16″ tall
To start you want to make sure that you take measurements to customize the nightstand to your bed. I measured my old nightstands and they were about 25″ tall x 18″ wide x 18″ deep. Then, I modified it slightly to better fit beside the bed.
Each nightstand consists of four boards and four legs. Easy DIY project right??
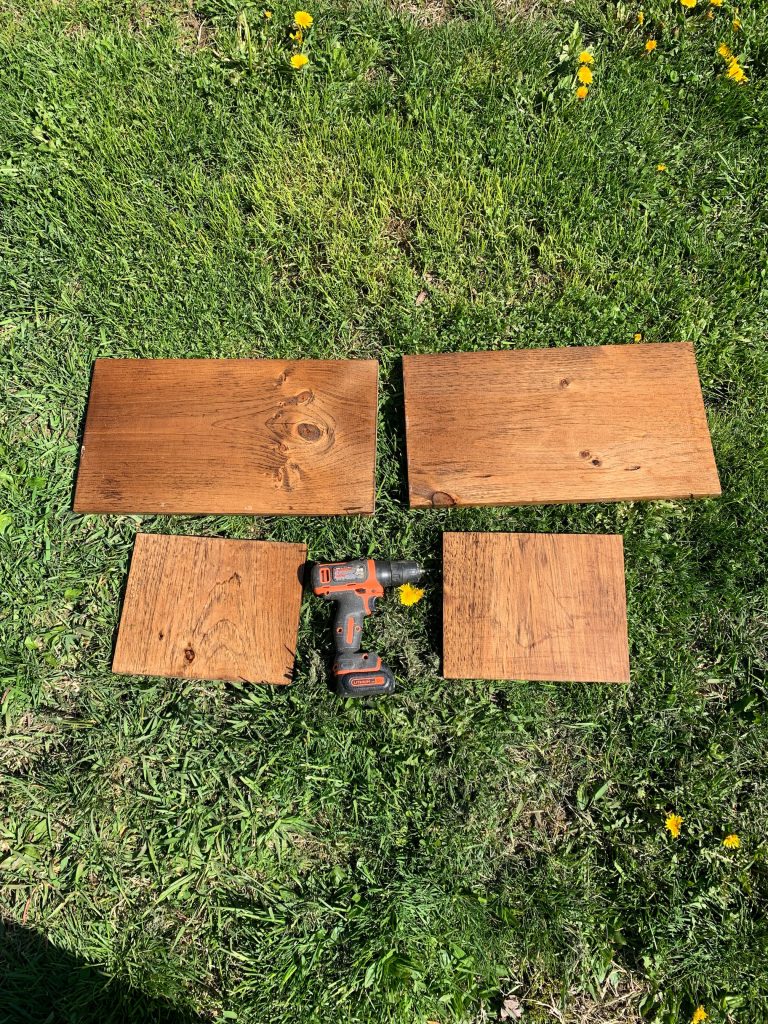
After taking measurements for your nightstand, you can go and buy the wood that you need. I knew that I wanted my boards to be 1 inch thick and 12″ deep to give me the largest space for the top of my nightstand. I bought pine boards because they were the cheapest at around $18 for a 10 foot board. Then you just need to calculate how many boards you need for the number of nightstands you want to make. You can cut the boards at home or Home Depot will make a certain number of cuts for you for free! That is one of the reasons why it is important to know the dimensions before you go.
The Math
There are a few calculations involved in this easy little DIY nightstand tutorial. You just need to know what you want. I wanted my nightstands to be 25″ tall x 12″ deep and 18″ wide. The pine boards I bought were 12″ wide to give me a 12″ depth for the wooden box for the nightstand.
( 25″ tall nightstands, ordered 16″ hair pin legs) 25″-16″=9″ so I knew that the height of the wood box for the nightstand needed to be 9″.
I wanted the width of the nightstand to be 18″ (I already knew they were going to be 12″ deep because that is the width of the boards I bought)
To get the total length of board I would need to build all four sides would be 18+18+9+9= 54″ 54″/12″= 4.5 feet of 1’x12″ boards for each nightstand.
Stain, Paint, Varnish
Once your boards are cut, then you can stain, paint, varnish or leave the boards however you want. Get creative! Some of the edges may be a little rough so you could always sand them down if needed. Whatever you decide to do, I recommend putting a couple coats of clear polyurethane over it just to seal it up and make it look finished.
If you haven’t already, you can order some hairpin legs online at Amazon or Walmart. These can be expensive depending on the size. I chose 16″ and then made my box the size I needed to get the total height for the stand.
You can get any kind of legs you want! I have seen some cute ideas using old chair or table legs, legs made of 2×4’s or there are lots of leg options on Amazon. Check out how one of my favorite DIYers modified nightstands for her space by adding legs.
Now that you have your boards stained and varnished, all you need to do is assemble the box. Then, put on the legs and you are done!
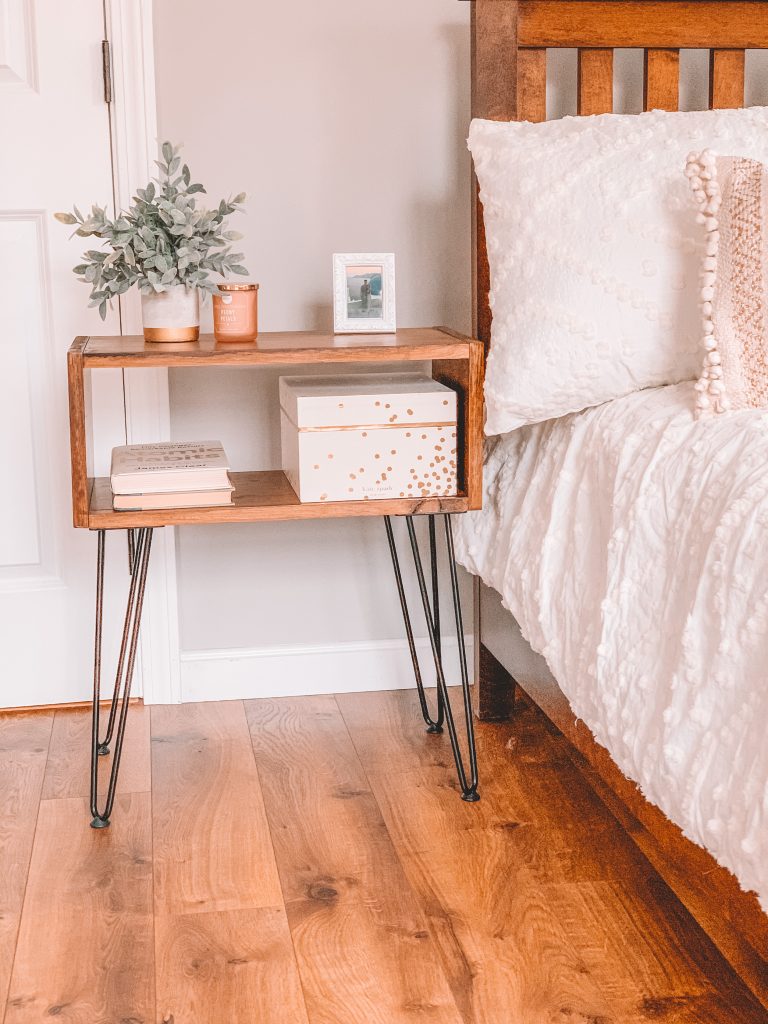
This design is simple and functional. You could also use these as end tables. For this project, you can use the same basic design and change the dimensions to whatever you choose. I love the hairpin legs and they are fairly inexpensive. We also made a coffee table with hairpin legs that would match these nightstands perfectly.
If you liked this Easy DIY Nightstand, check out more of my DIY Home Projects below!
Save this pin for later!


So gorgeous! 🤩 Nothing beats a pretty and useful DIY!
Thank you! And it is soooo easy to make!
Love! What color stain is this?? 🙂
It’s called Early American and it’s my favorite!
Awesome, thank you! 🙂
Love this! What was the approximate cost for all the supplies?
Thanks! At the time I made these it was about $35 per nightstand. But the price of wood has gone up since then. I recommend checking out a local lumber shop and seeing what they have available. I found that pine was the least expensive.
So beautiful! Thanks for sharing! I’ve never attempted anything like this before – how did you make the box?
Hi there! I cut a 1×12″ board into four pieces. Two were 18″ long and two were 9″ long. Then I matched up the edges of two boards and screwed them together. I added the other two boards the same way to make the box.