If you have been following along on my instagram, then you have probably seen us transforming a dated camp into the lake house of our dreams! And this newly whitewashed brick fireplace. It is amazing what a little paint can do. A little back story, my family and I purchased an old water skiing camp and are turning into rental properties for family reunions, weddings and gatherings! The property has 4 main buildings and 5 lakeside cottages. So we have many DIY projects ahead of us. It has been our dream to create a place on the lake for families to enjoy and we FINALLY found the perfect spot.
Now we are spending every spare moment doing DIY projects to make our coastal farmhouse dreams come true! If you haven’t seen it already, check out my tutorial on how to whitewash walls. We were really able to lighten up the space in the cottages with a little bit of white paint mixed with water. Or if you prefer the looks of shiplap, check out my tips on how to make shiplap walls. I am obsessed with shiplap walls and we put them throughout our first lake house.
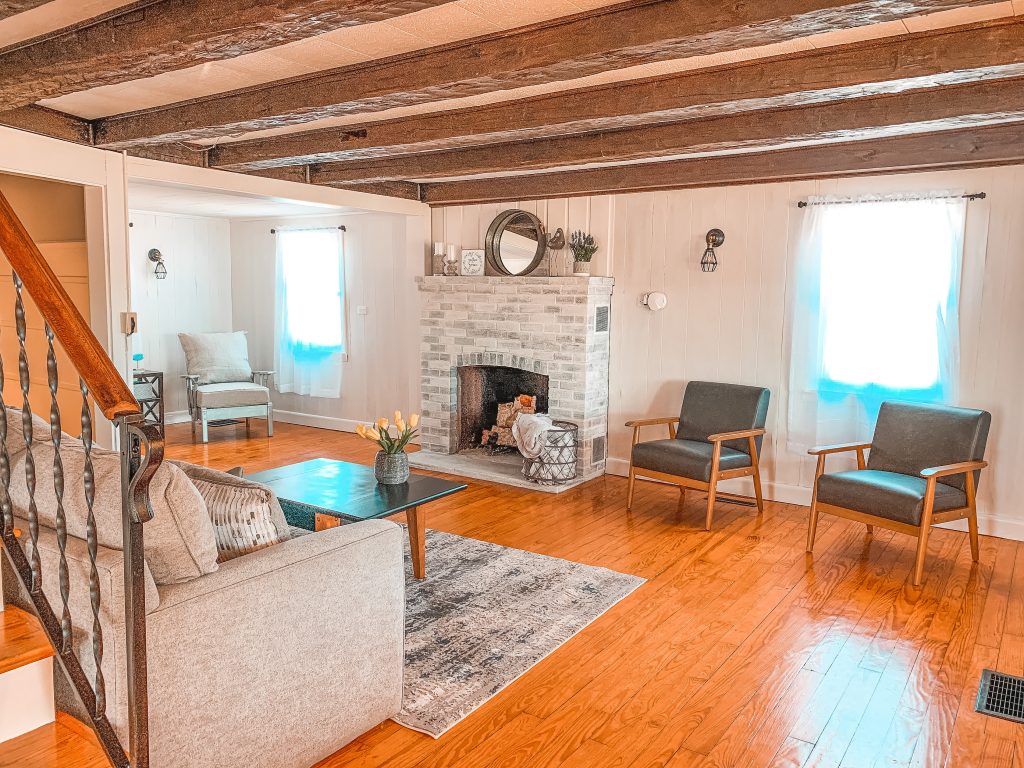
At some point I will give you a whole summary of the transformations, but for now, I am going to show you this complete makeover for the fireplace. I was so excited to start this project and I LOVE the way it came out!
What you will need
- Wet rags
- Bucket of clean water
- Sponge with a rough side
- Water based white paint (we used Kilz flat white latex paint)
- Paint brush (don’t get an expensive one because you will just ruin in on the bricks)
- Painters plastic
- Frog tape
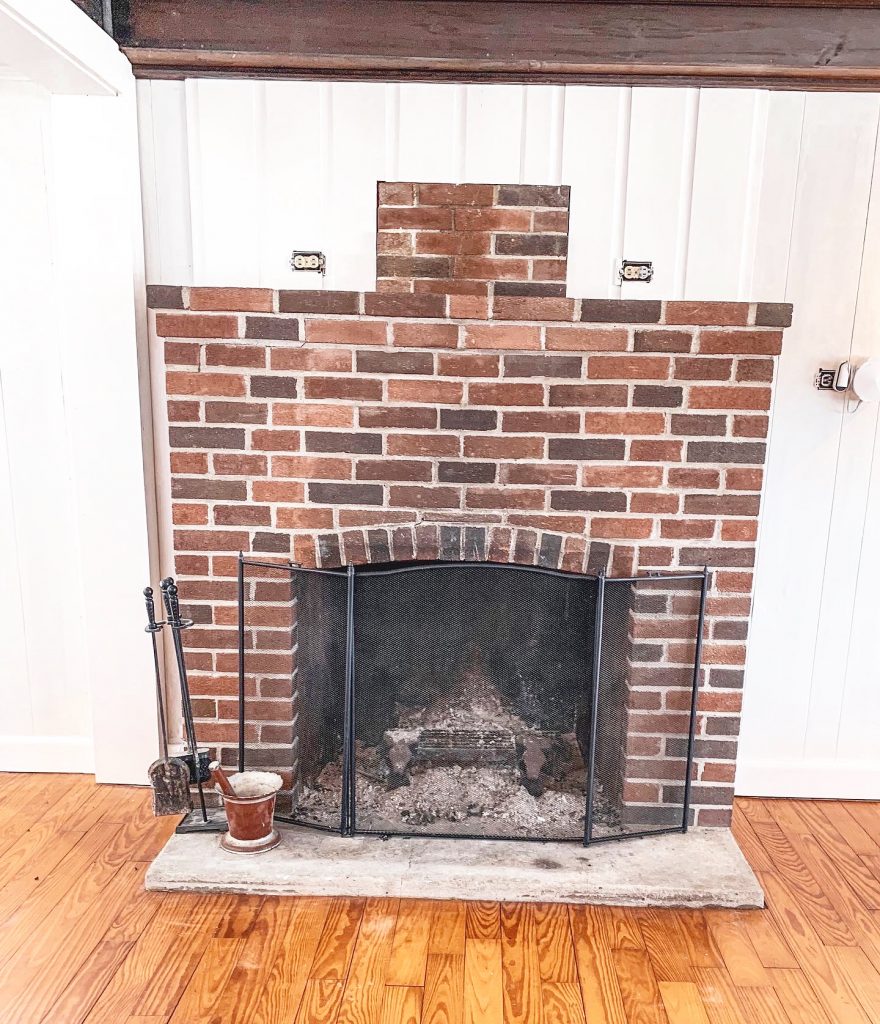
Clean the Bricks
This first step for your whitewashed brick fireplace is the least fun, but really important. You have to get the bricks as clean as possible before you get started. We cleaned out all the ashes with a broom and shovel. I recommend getting most of the ashes out this way first and then you can vacuum the rest up. BE CAREFUL if you decided to vacuum the ashes. I know of many people who start vacuuming ashes only to have them blow out the back of their vacuum and create a HUGE mess. Clean out all the cobwebs and ashes with a wet rag and let the bricks dry.
Set up
Before we got started with the paint, we wanted to make sure that we didn’t make a mess. I recommend taping the floor around the fireplace and putting down plastic. Your paint will be very runny because it is mixed with water and can spray everywhere. Because it is more runny, it also drips much easier. If you do get some on the floor, you can clean it up with a wet sponge.
Preparing your paint
We are not professionals by any means. And to be honest, most of our DIY projects preparation consists of looking at a couple Pinterest tutorials or YouTube videos and then just winging it. Before we started our white washed fireplace, I read some tutorials and watched a few videos on YouTube. I read conflicting things, one tutorial said to do 50/50 water to paint and do multiple coats. Another tutorial said to do 75/25 paint to water because the brick will absorb all the liquid and look like you barely did anything. I would start on the thinner side. You can always add more paint, but once you add too much, it is really hard to get it off. You could also do a second coat if you want more coverage. Make sure you let it dry before you make a decision to add more coats.
Technique
Before you get too far, start with a small spot on the side or the bottom of the fireplace as a test spot. Paint a few bricks and then let it dry. This will give you an idea of what your project will look like and if you have the right paint consistency.
Once you have the water to paint ratio you would like, you can get started. For our project, we did a 50/50 paint to water ratio and only did one coat. We started at the top of the fireplace and worked our way down. This made more sense because we were going to be painting the floor of the fireplace too and needed to stand on it to get to the top section.
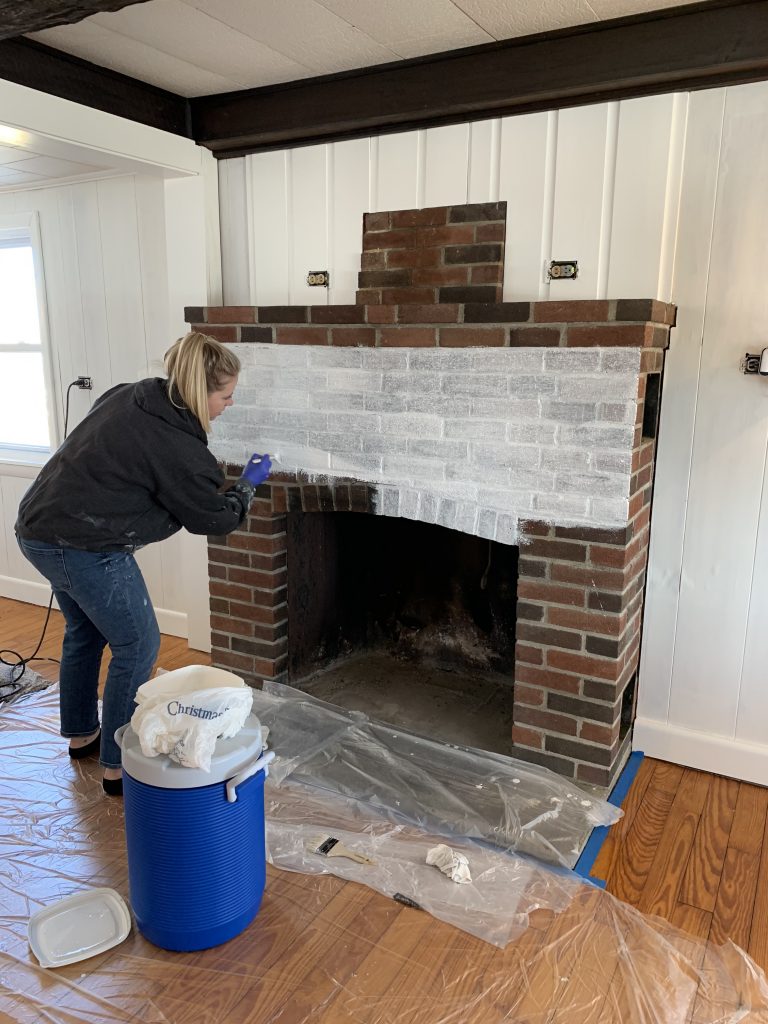
We used a 50% water 50% paint ratio and it looked exactly like we pictured it. The key is to not wipe all the paint off your paintbrush so you can make sure you get paint inside all the cracks and holes in the brick. Start in the grout lines and then work your way towards the middle of the brick. Then, after you get a few bricks covered, wipe it once with your wet rag. The rag will take off some of the paint and allow the brick to show through. If your bricks are very dry, you may not need to do this, as your brick will absorb all the paint mixture.
The mixture is very watery and can drip, so make sure that the paint mixture doesn’t run down your bricks and collect onto the floor. You will also want to use an old or cheap paint brush because the brick is very tough on the bristles.
For the most part it is all trial and error. I ended up putting it on a with the paintbrush and didn’t wipe it off quick enough. This left the bricks a little whiter than I wanted, so I tried to wipe it off. To wipe off some of the paint, I found that wetting a cloth and wiping the brick and then scrubbing it with a rough sponge worked best. Just a heads up, this barely got the paint off. It worked just enough to even out the bricks, but once it goes on there is no going back.
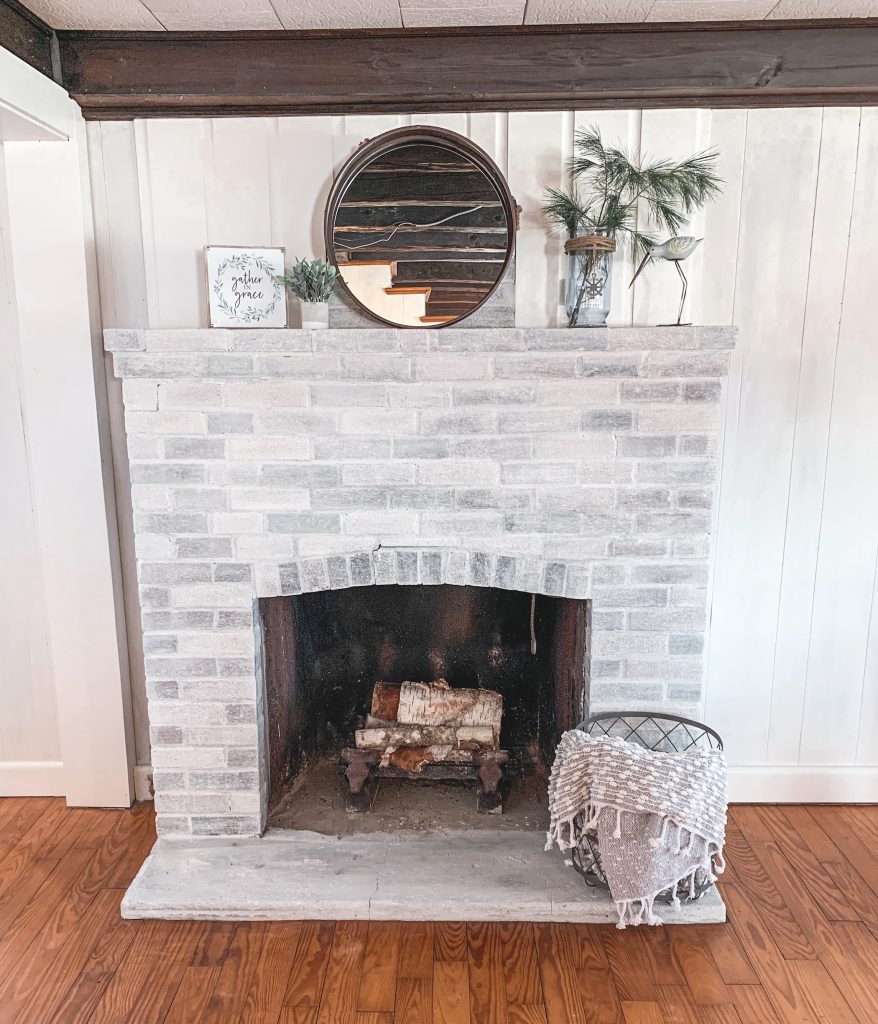
We could not be happier with how our whitewashed brick fireplace turned out! It just brightens the room and makes it so much cozier. Our lake house renovations have given us so many opportunities to try new projects. I will post tutorials on all of our renovation projects as we go, so please follow along!
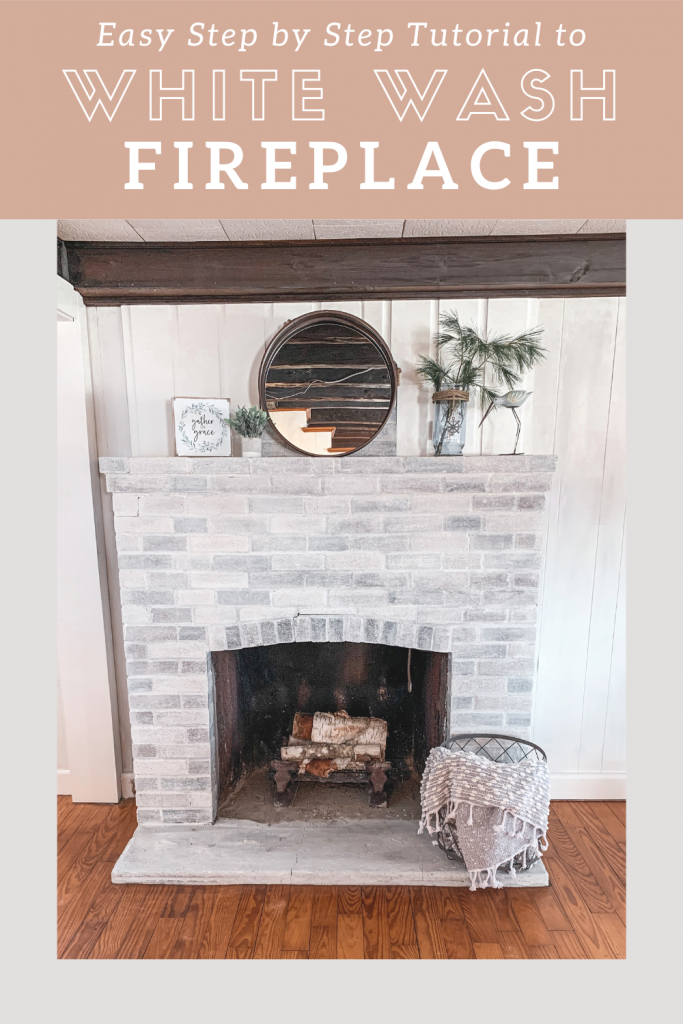
Save this tutorial for later!


Looks beautiful. Almost looks like it has grey tones which I love.