
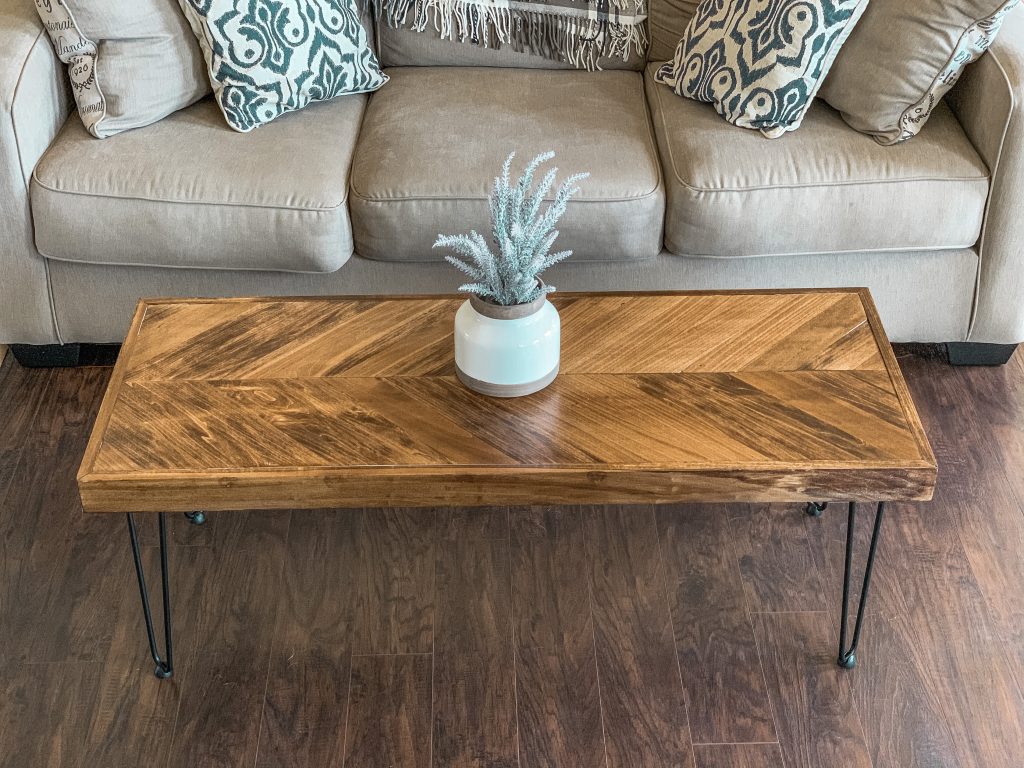
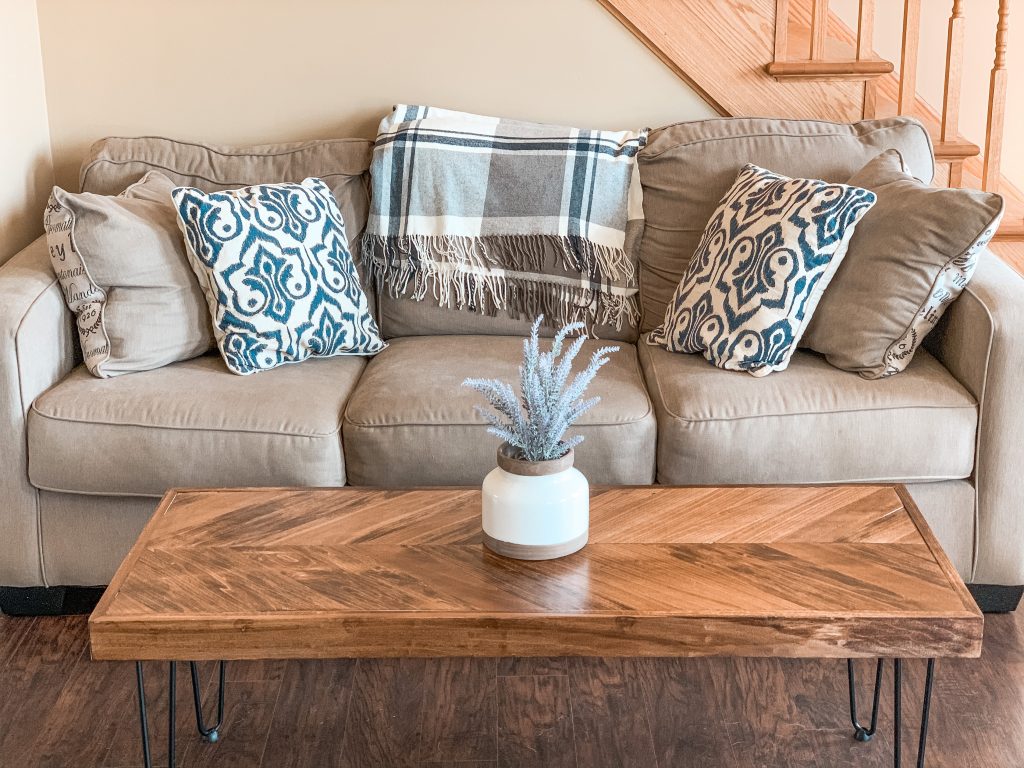
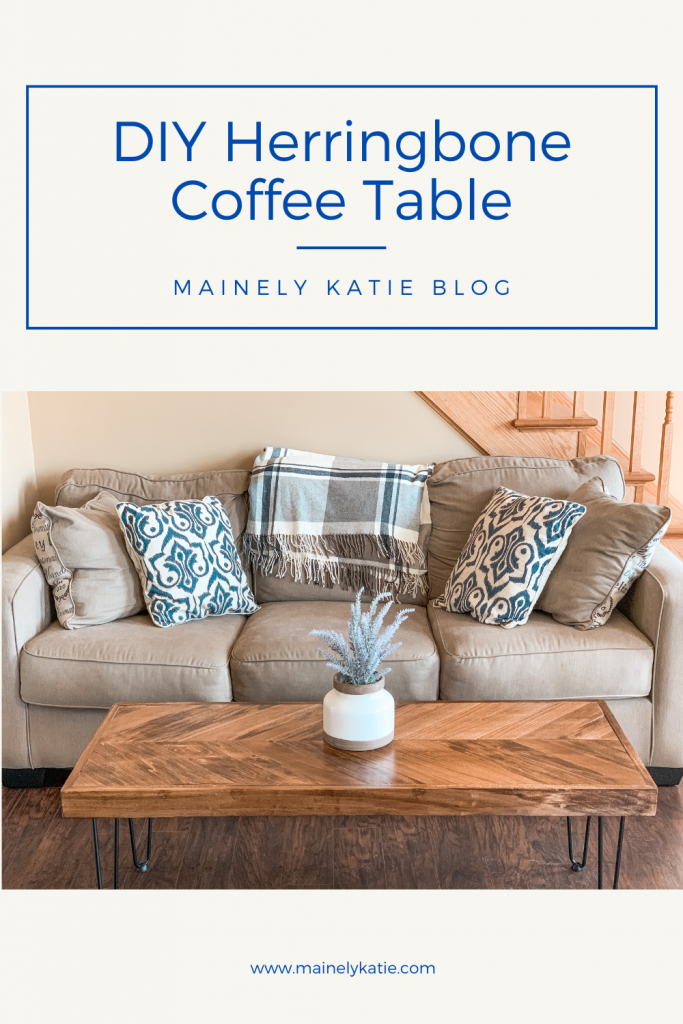
My sister and I had a little home projects weekend and made this super cute DIY herringbone coffee table (we did get a little help from the boys). She found the idea online, we looked at a few photos and bought the supplies. We ended up each making our own and I can’t wait to show you how we did it!
This DIY project is a little more advanced than what I am used to, but it came out better than I expected. I am still getting used to using power tools.
The Supplies
- Four 1x3x12 foot boards (we used poplar, you could use pine and it would be a little cheaper)
- Plywood (cut to the size you want your coffee table)
- Screws (sheetrock screws worked fine)
- Liquid nails (and caulking gun)
- Mitar saw or skill saw
- Square
- Pencil
- Finishing nails
- Hand sander
- Stain
- Polyurethane and brushes
- Hairpin legs
Step 1: Cutting the Boards
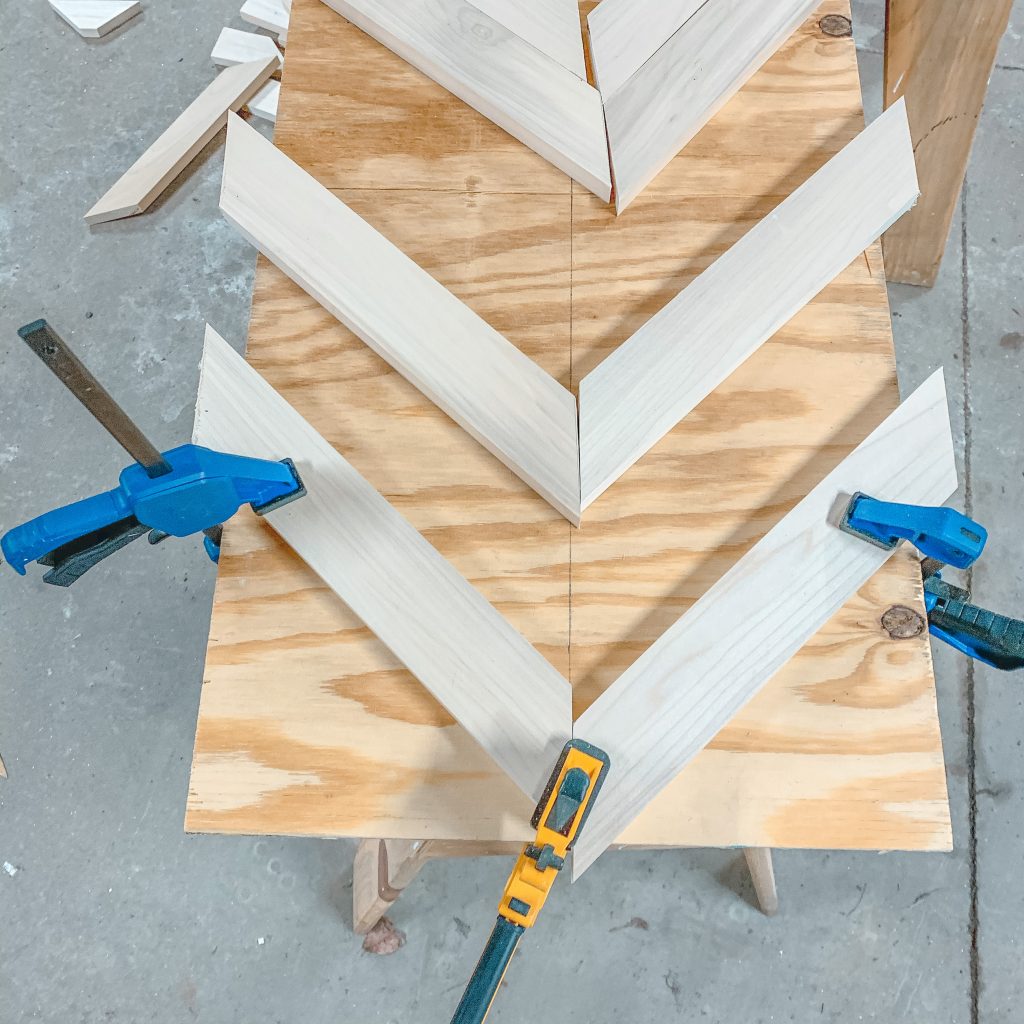
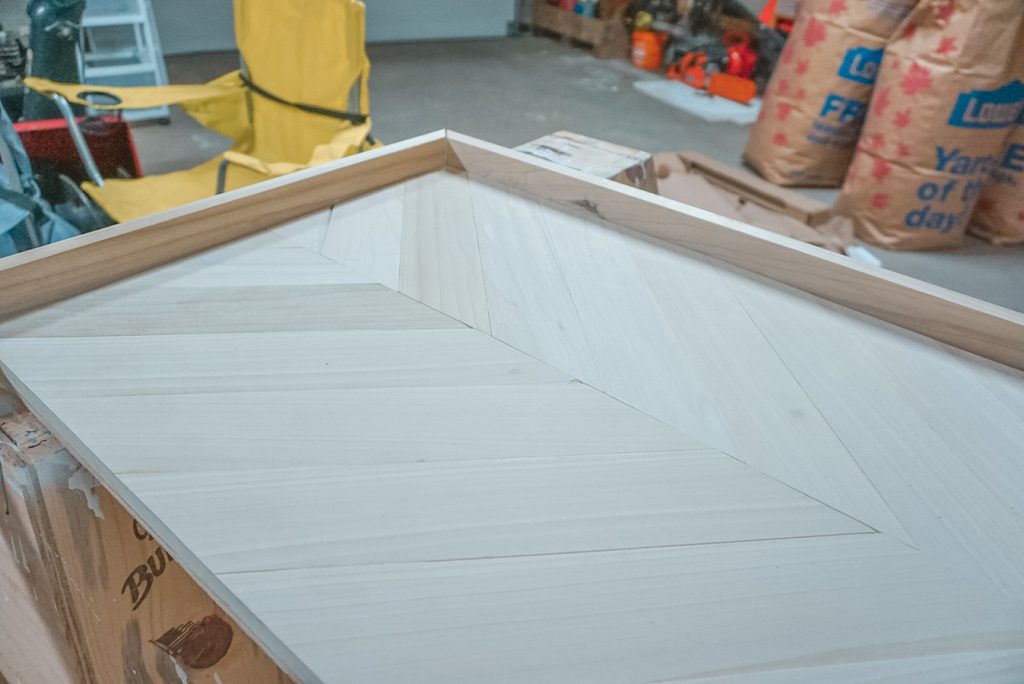
The base of your coffee table will be the plywood. So cut this piece the size you want your table to be. Don’t worry, you won’t be able to see it in the end! We chose to use the herringbone pattern for the top of the coffee table. To get this look, cut the ends of the poplar boards at a 45 degree angle. You can do this using a square and a pencil to mark the angle or your saw may have the ability to cut angles. We cut each board about 18″ long, but remember they taper as you go.
Summary
- Plywood 5ft x 3ft for the base
- 30 poplar pieces each ~18 inches long (as you get closer to the bottom they will be shorter)
- Place angled pieces in the desired pattern to make sure there aren’t any gaps
Step 2: Making the Top
Once you have your boards cut (or at least some of them) you can start laying them to make the top. The first step is to measure to find the center of the plywood base and draw a line down the middle. This will help your boards stay in a straight line as you work your way down.
If you want the offset herringbone look, start with your first board a little over the edge of the plywood base. Then find your next piece to fit on the opposite side of the middle line. Make sure they fit together without gaps. You will want to glue the boards down with liquid nails and then hold it down with clamps. I recommend screwing each board down with sheetrock screws after gluing. This will keep it from sliding as they dry. Screwing the boards down also helps to pull the boards down onto the base.
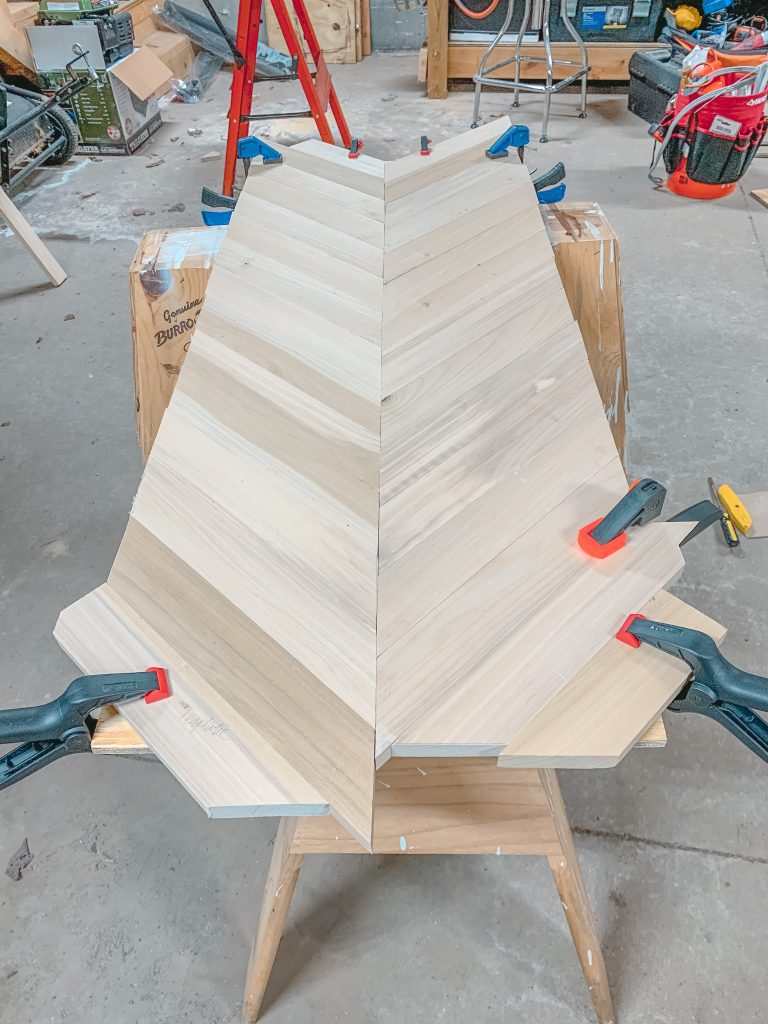
This part of the process is the most time consuming, but patience is key. It takes time to make sure that the boards fit together without gaps because you don’t wants crack in the top of your coffee table.
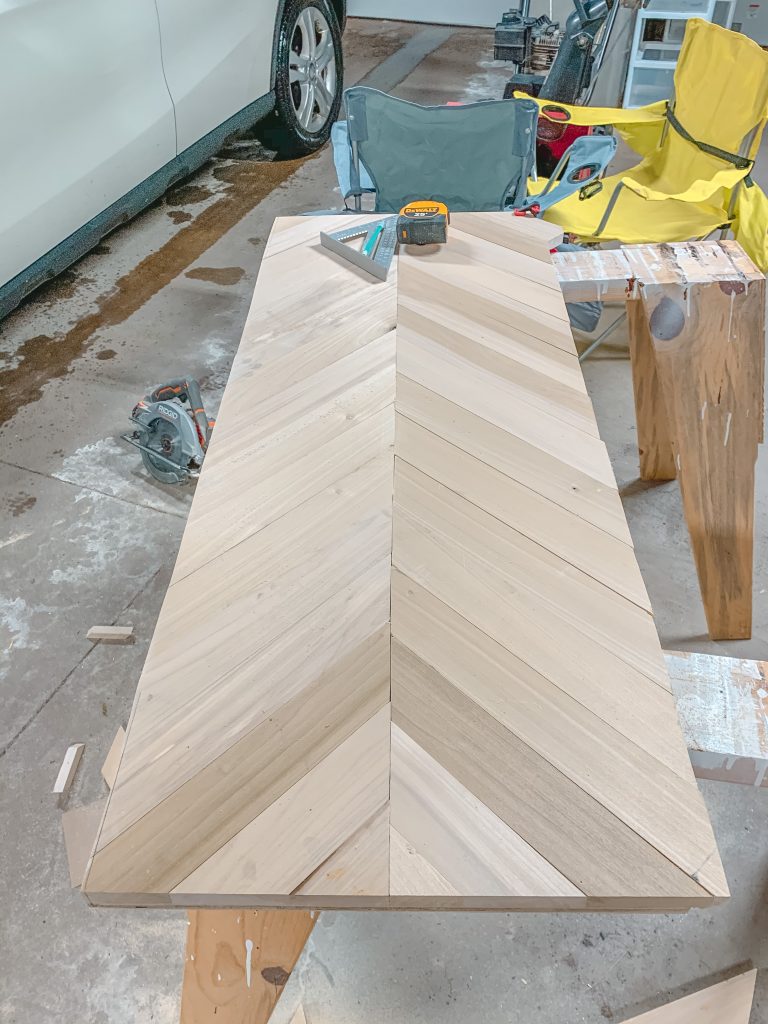
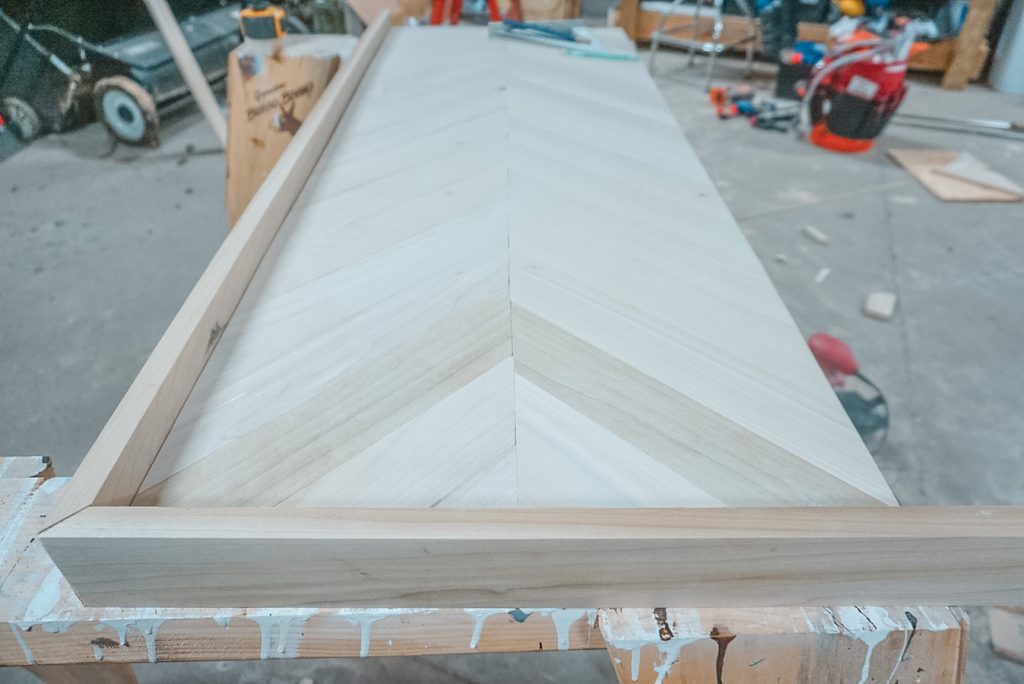
Step 3: Smoothing it Out
After your boards are glued down and dry, you can sand down the top. Your boards may be a little uneven height wise once you have them glued down. Sanding them will give you a flat even surface. Nobody wants an uneven coffee table.
Step 4: Making the Sides
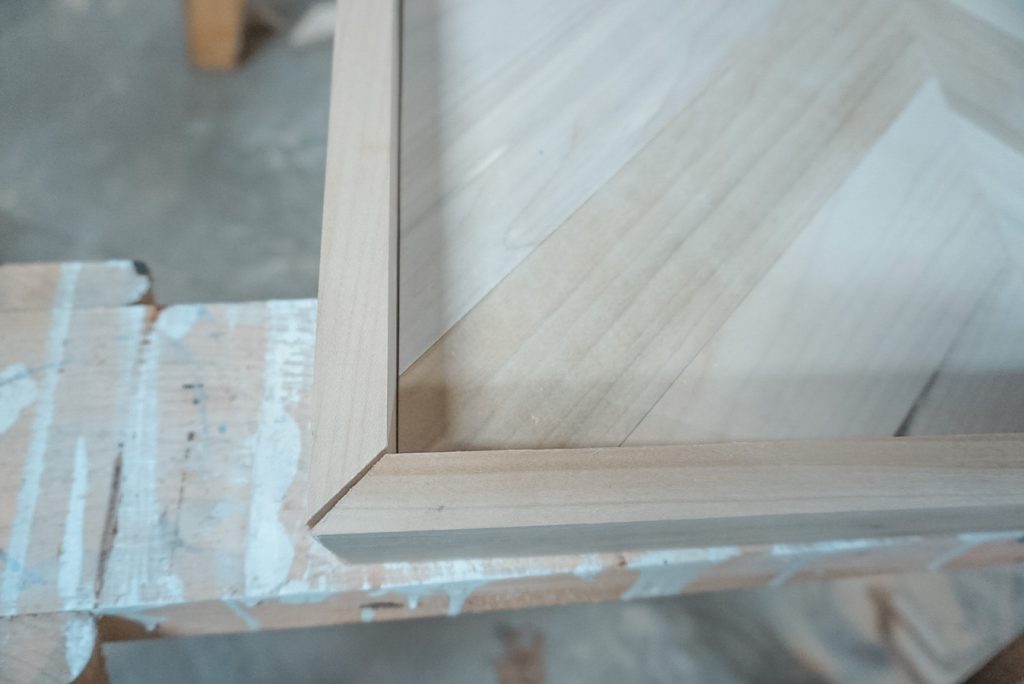
Once you have all your boards for the top glued and screwed down, you need to trim the overhang off the edges. Using the plywood as a guide, trim the access board off the edges so they are flush with the plywood base. Then you can frame it out. Measure each side of your table and cut your trim boards to the appropriate length. The ends should be cut at 45 degree angles so they fit together. Basically, you are making a border around your coffee table. This will make it look clean and put together.

Trimmed off access board 
Measuring for the outside boarder Making the outside boarder Angle of the corners
Step 5: Staining and Varnishing
This is my favorite part! I like to use a sponge brush to apply the stain. You want a nice even layer over the entire coffee table. Go slow so you don’t get drip marks. Once the stain has dried, then you can varnish it. I buy water based polyurethane. Apply a thin coat of poly, let it dry, then lightly hand sand. I did a total of three layers of varnish/sanding on my coffee table. The polyurethane dries quickly in the sun, so make sure you apply it evenly without drips or bubbles. If you do get a bubble and it dries, you can lightly sand it off.
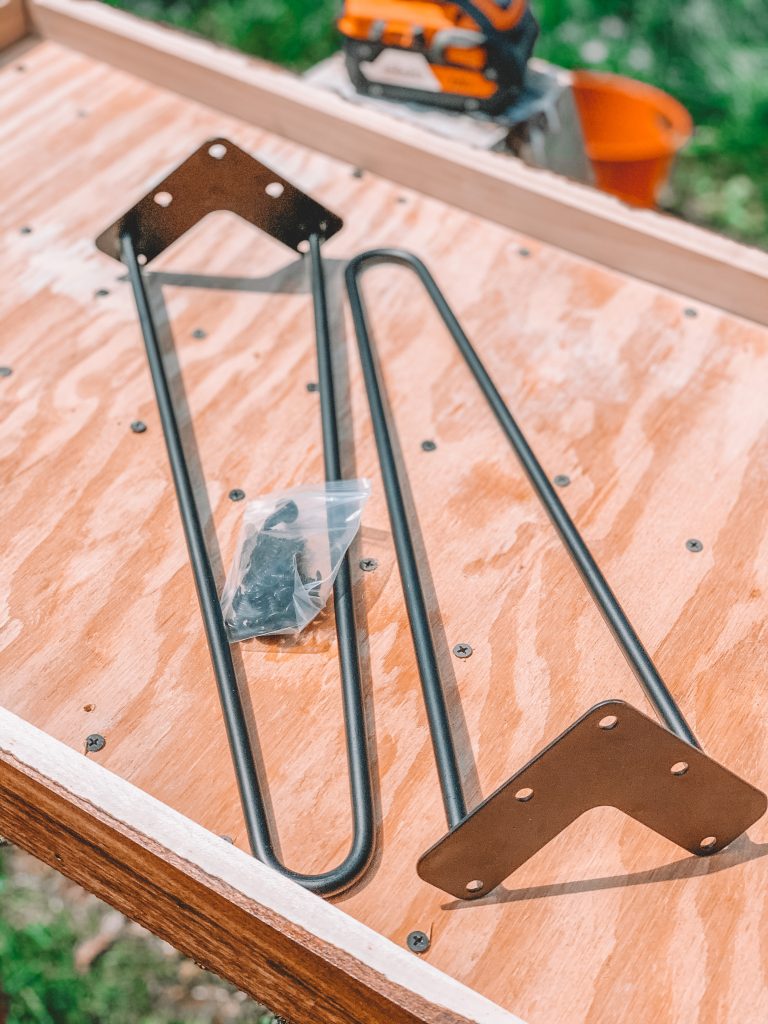
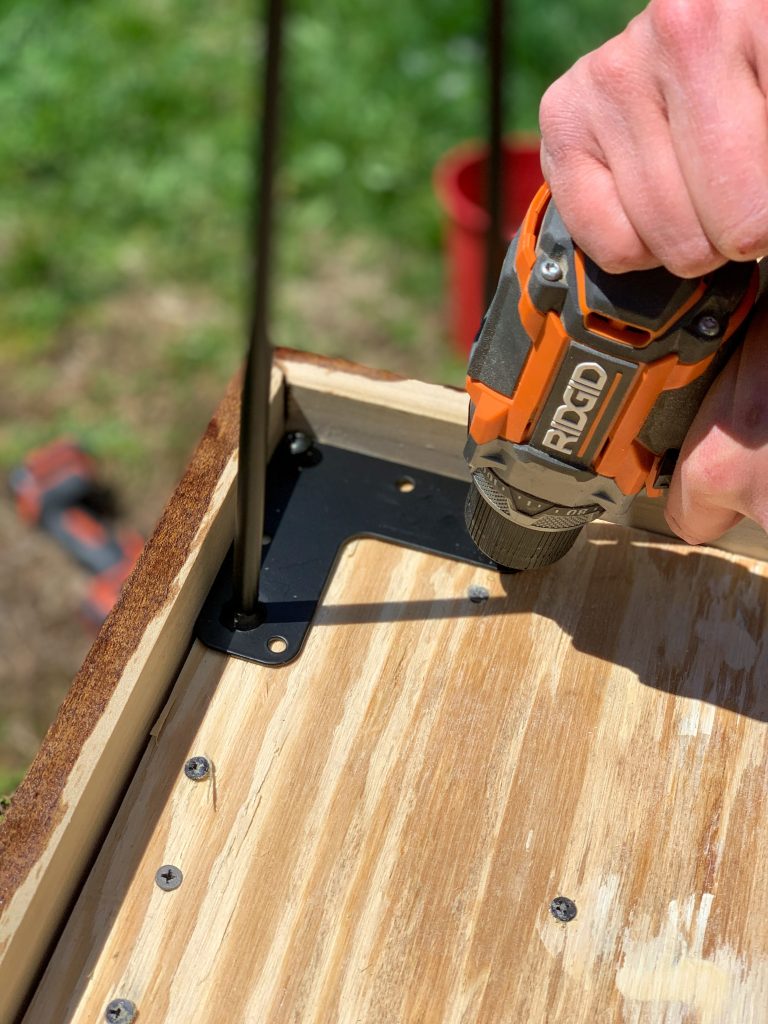
Step 6: Adding the Legs
You can put any kind of legs on this coffee table. If you wanted to, you could build some out of wood, use old table or chair legs, whatever you want. I liked the look of metal legs, so we found these hairpin legs on Amazon. These are good quality and super easy to install.
This is a little more advanced DIY, but totally worth it! I found that the project was easier with two people as well. This DIY herringbone coffee table is the perfect size for my living room and small enough to tuck away if needed. Keep and eye out for many more DIY projects to come!
Want more DIY home projects? Check out some of my tutorials
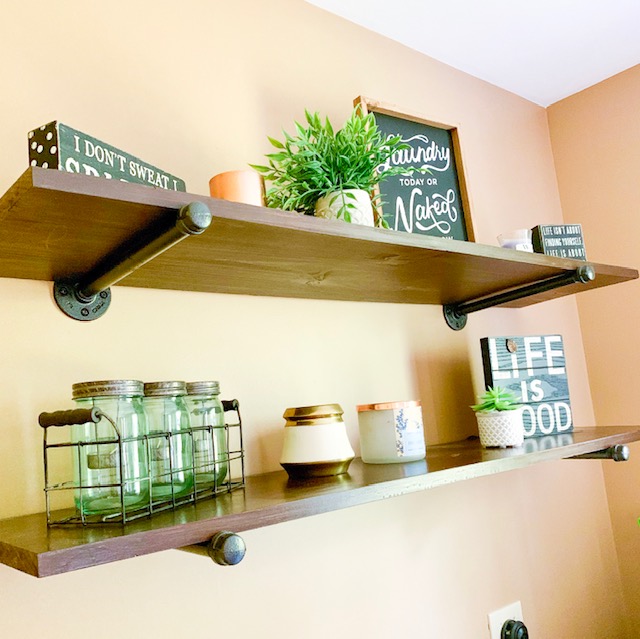
Make Your Own Industrial Pipe Shelves
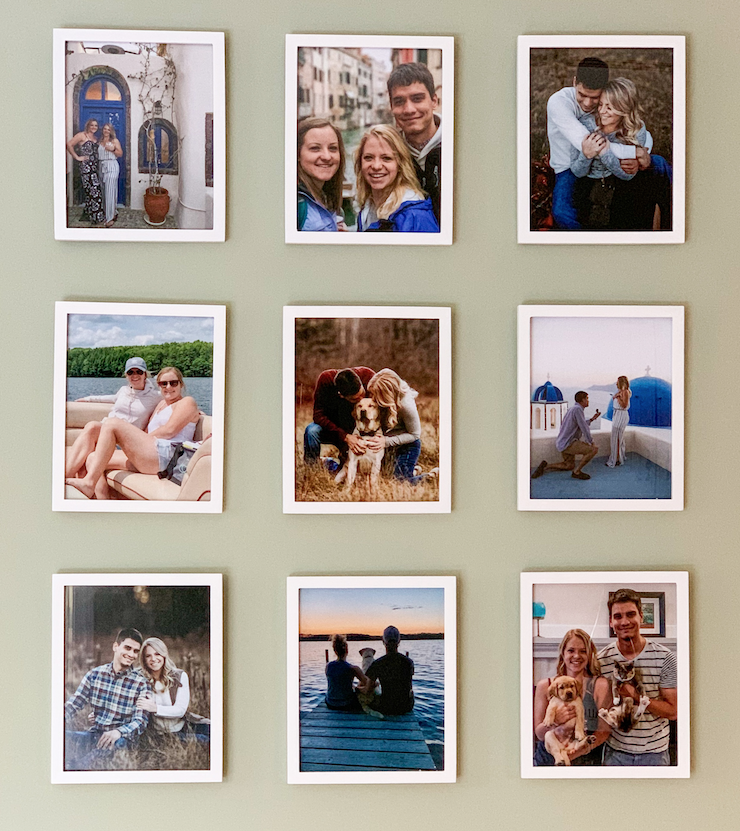
Easy and Cheap Photo Gallery Wall
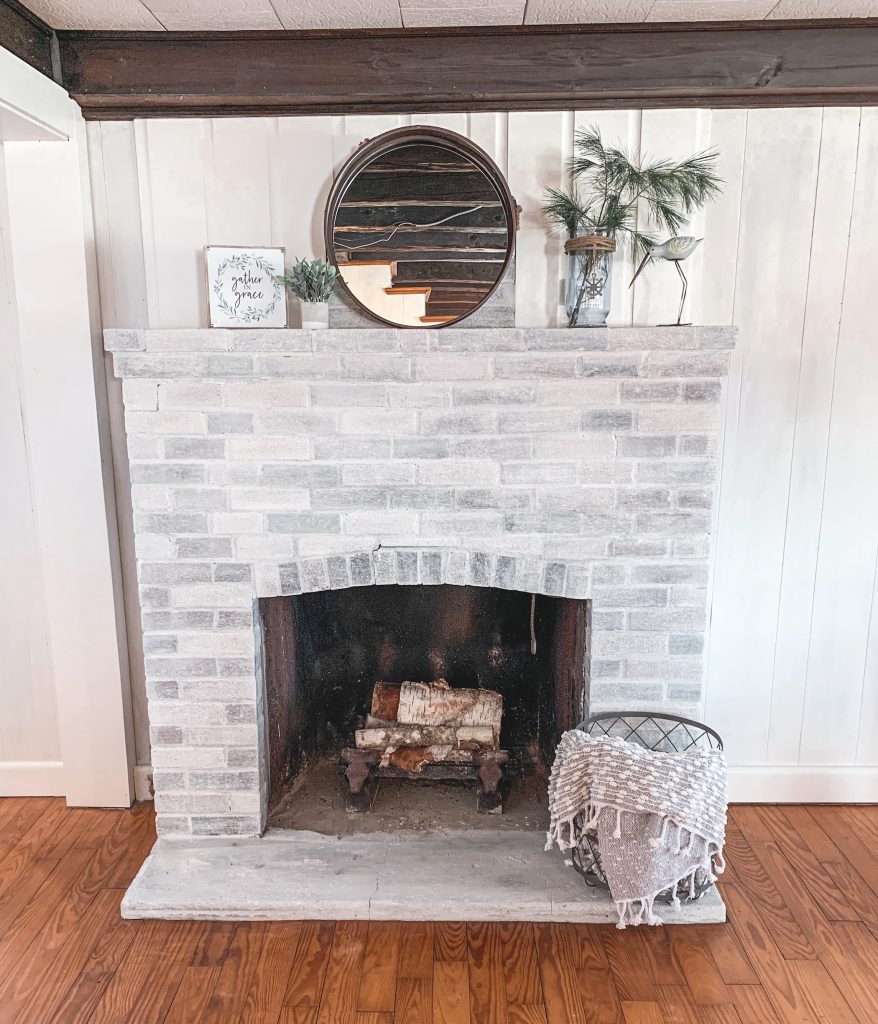
Whitewashed Brick Fireplace Tutorial
Save this post for later!


How did you attach the border? And did you screw the boards in from the bottom after the glue down pieces dried?
We attached the border with finish nails. And yes once we glued the top boards down, we screwed them from the bottom to hold them in place.
I love this! What are the measurements of your table?