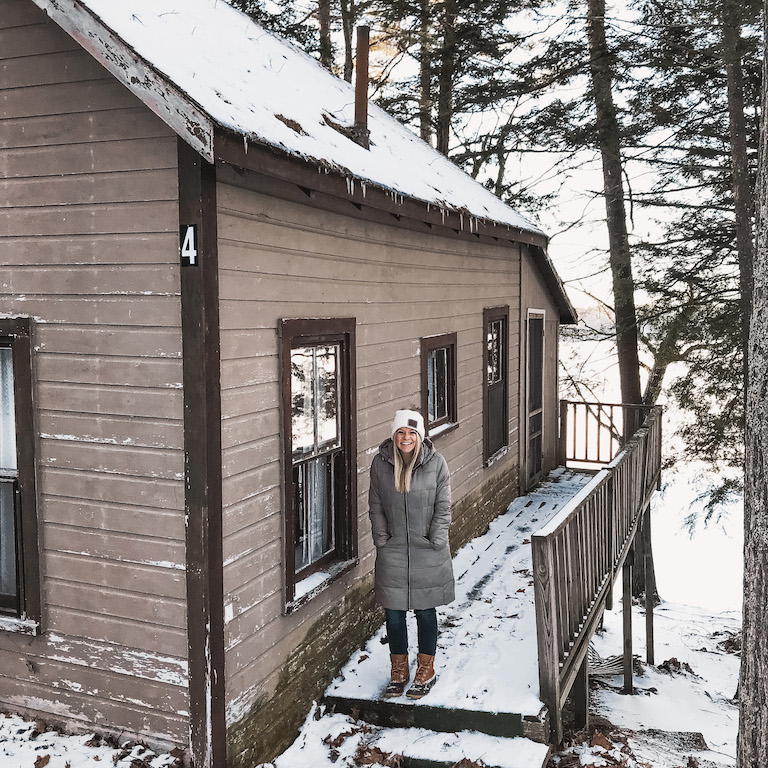
In honor of the one year anniversary of purchasing our little lake house renovation project, I thought I would write a post and walk you through the steps of the process. We learned so much about buying property, septic systems, drilling wells, code enforcement and the ups and downs of home renovation.
Keep reading to see how we turned an abandoned building into the lake house of our dreams!
Buying Process
Alex and I first looked at this property in April of 2018. When I first showed Alex the photos, he was a bit skeptical. The place needed a lot of work, but it was an ideal location and it came with a second building plus a garage. We thought it wouldn’t hurt to look at it, so we set up an appointment with our real estate agent. When we were finally able to see the lake house, I KNEW this was the right place for us. We had looked at a few other places, but they didn’t meet our criteria. This lake house hadn’t been lived in for many years, but I knew it had so much potential. The large windows in the front gave a great view of the lake and the tall ceilings gave the place such a cozy atmosphere.
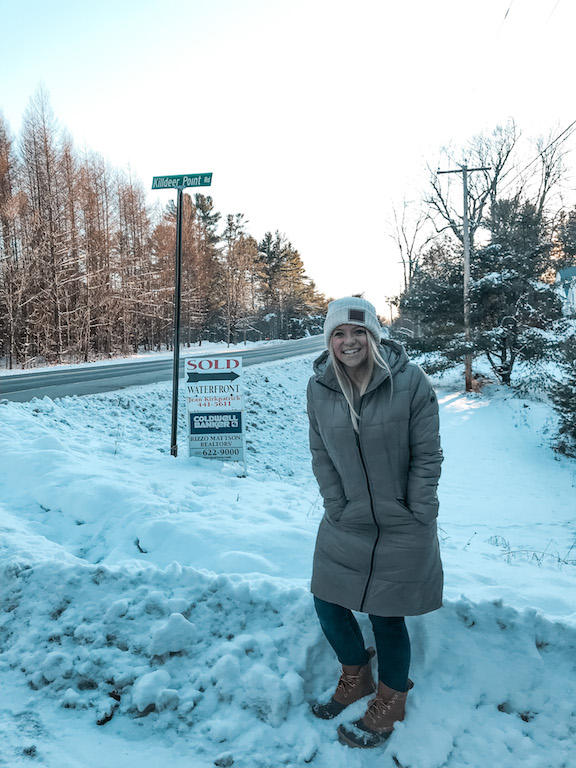
I think my mom thought that I was crazy for wanting to buy the place, but after we left, it’s all I could think about. Unfortunately, I was too slow to pull the trigger and someone had made an offer on the place before us. I was heart broken. I continued to look online every day for weeks, but I never came across anything that caught my eye. Then one day while scrolling through Zillow, I saw that our place was back on the market! I couldn’t believe it and called my real estate agent immediately. We made an offer shortly after and it was accepted. After a long process with lawyers, bankers and real estate agents, the place was ours on January 9, 2019.
Step 1- Gutting the Place
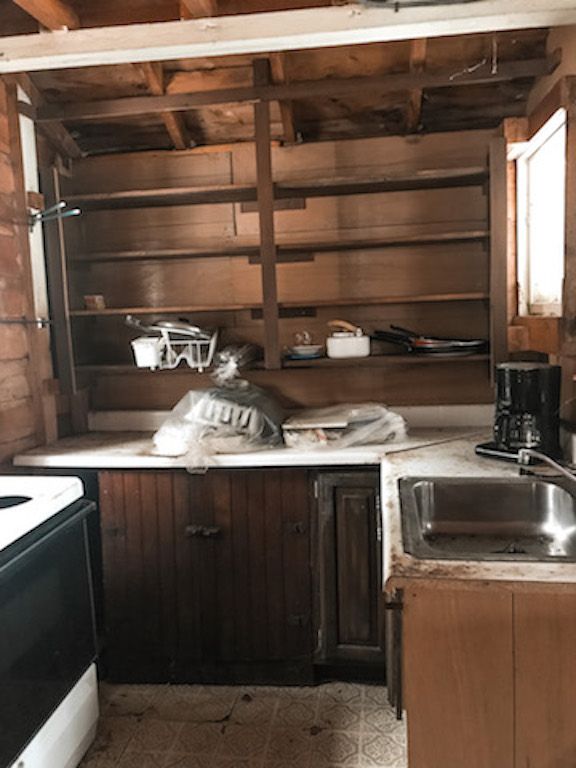
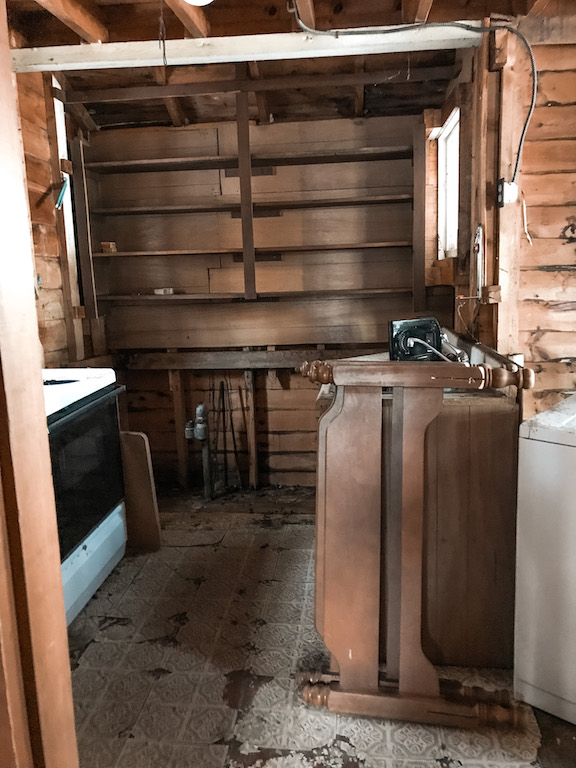
That weekend we immediately started renovations. The paneling on the walls needed to be taken down and all of the insulation needed to be replaced. The floors needed to be ripped out. The kitchen cabinets and shelving needed to be taken out. The bathroom needed to be completely redone. So we started by completely gutting the place. Every weekend we would go over and just start ripping down walls, tearing out insulation and pulling up carpeting. We did this in January in Maine by the way so it was freezing cold, but we were too excited to get started.
After gutting the place, we needed to wait for warmer weather before we could move forward. So we moved onto the second building that came with the property. This building had an upstairs apartment that just needed a little cleaning and TLC. I will talk more about those renovations in another post, but that project was much less work than the lake house.
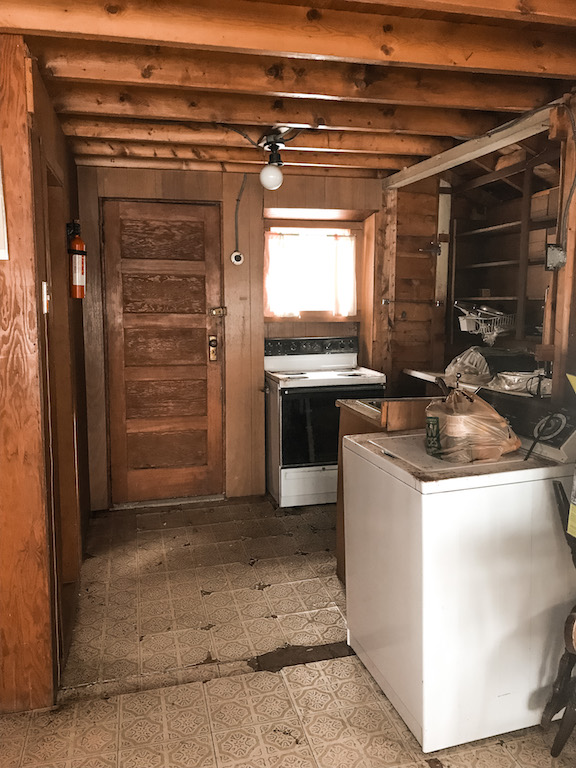
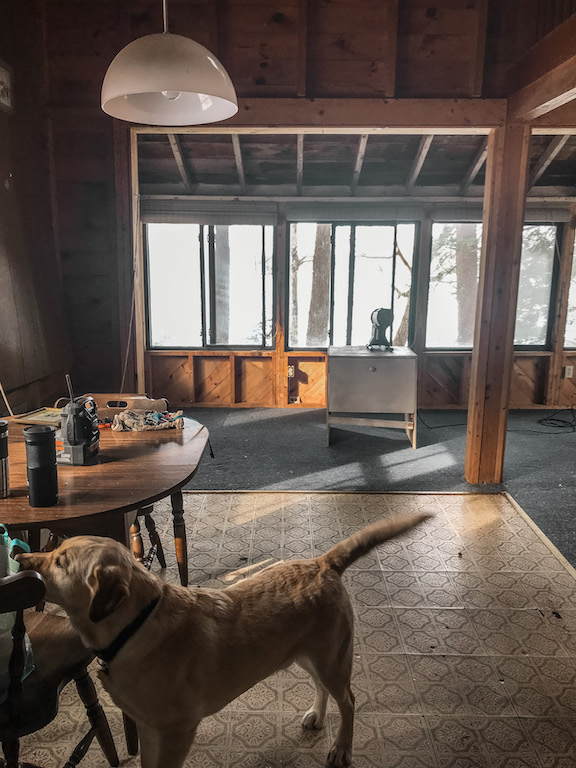
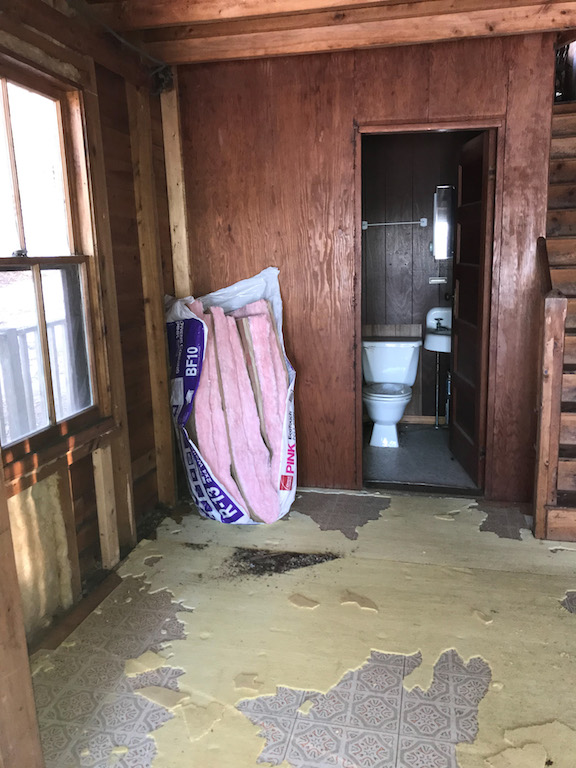
Step 2- The Septic system and Well
The property hadn’t been lived in in a long time, which meant the well and septic needed to be updated. We had designs drawn and approved for the septic and well before we purchased the property. When you live on the lake there are usually more regulations you must follow and permits you need to obtain before starting a major project. We started with a septic design that would accommodate both buildings and be safe for the lake. Once this was done, it was sent to the town to give the approval. Then, once we had the designs and approvals, we had to purchase permits. After obtaining the permits we were able to hire a contractor and a well driller to complete these two projects. The contractors had to ensure that the well and septic weren’t too close to each other, the lake or the property line.
Where we live, it is common for everyone to have their own well, rather than sharing through a city. This was a more expensive than we had anticipated, but we made it through.
We had to wait longer than anticipated to get started on the well and septic because the ground was still frozen. And then… we had to wait longer because the roads were still posted. By the middle of May we were able to finally start digging. These two projects only took about a week and a half to complete once they were started. We were so stinkin excited once this part of out project was complete. This was also the most expensive part of our renovation.
Step 3- Replacing Insulation, Electrical Work, Shiplap
During all of the digging and drilling, Alex and I were working inside the lake house. We replaced all of the old insulation with new and insulated the ceiling. At the same time, we hired an electrician to completely rewire the place while adding outlets and light fixtures. We also ordered our shiplap so we could paint it before we hired someone to hang it. I LOVE shiplap, especially in a lake house. Having shiplap walls in the entire place was a dream come true. To learn about real shiplap, rather than planking, read my post. We bought the shiplap in various lengths, but all the same widths from our local lumber supplier. Then we had to paint each and every piece with two coats before it could be hung. It is so much easier to paint this before you hang it because of the gaps between boards.
I decided to stain the boards that would go on the ceiling to break up some of the white. This was a good thought, but we ran into another bump in the road. Originally, I had bought the white paint and the stain for the shiplap at Walmart. When I went back to get more stain, they were completely sold out. I went to three other Walmarts and none of them had the correct color. I also looked online, nothing. Eventually, we found the matching color in much smaller cans. The stain ended up costing us a little more money, but i was relieved that we finally found the right color. After that, Walmart ran out of stock of the white paint I was using…. Needless to say, we were happy when the painting was finally done.
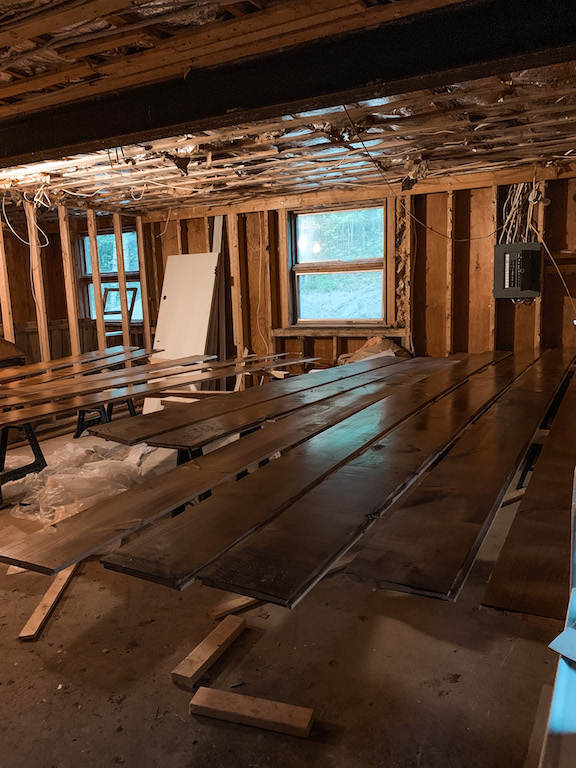
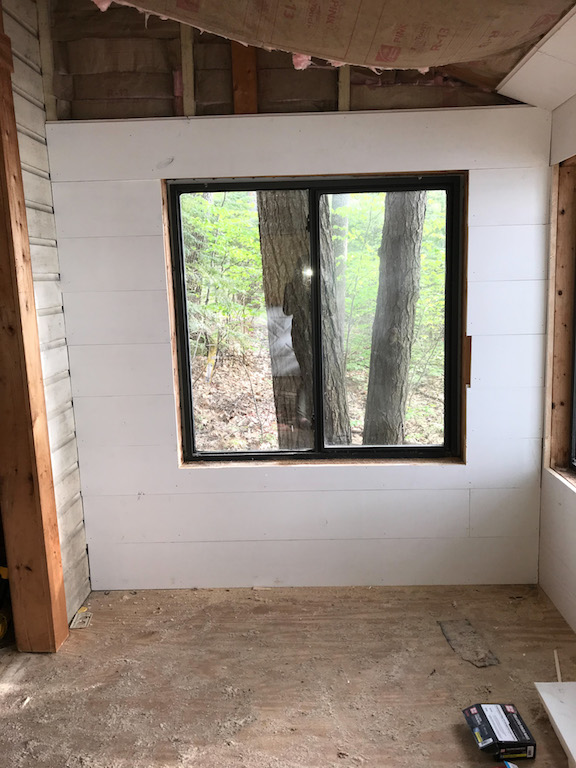
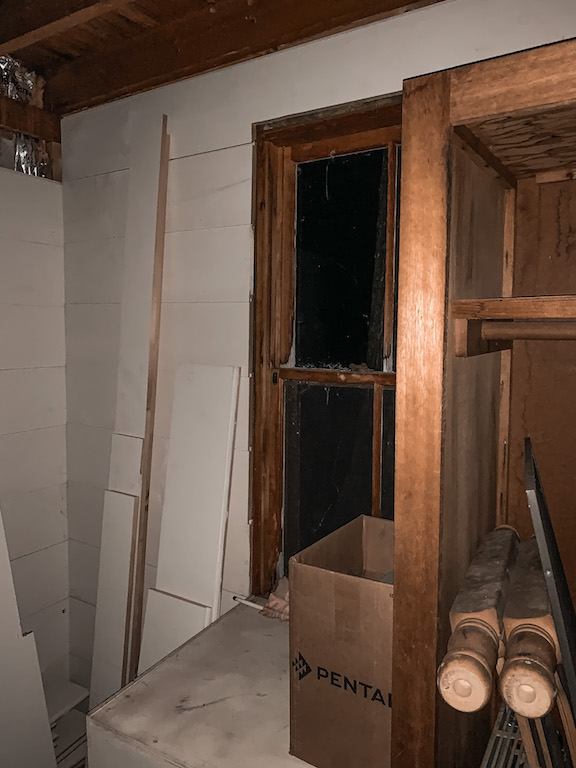
Step 4- Plumbing and Kitchen Design
Because the place we purchased hadn’t been used in awhile, we had to have some plumbing work done. We put in a new shower, new bathroom sink/vanity and a new kitchen sink. We ran into some bumps with the bathroom because we did not have a lot of space to work with. It took some creative thinking and handy work to get the bathroom done, but now it’s just the cutest little bathroom.
We also moved the kitchen around to create more space. The sink and counter top were purchased from Home Depot and I opted for some open shelving to save space and money. To build your own industrial pipe shelving, check out my post.
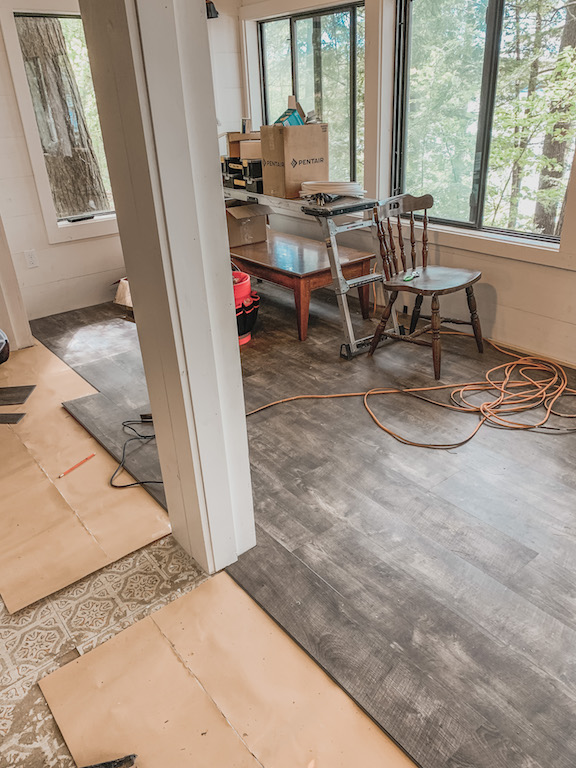
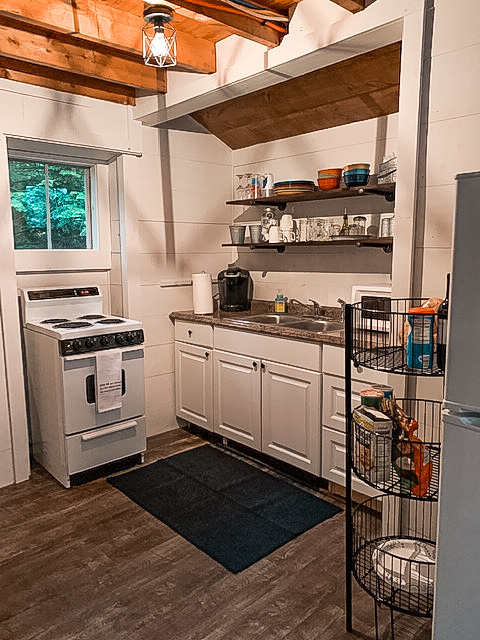
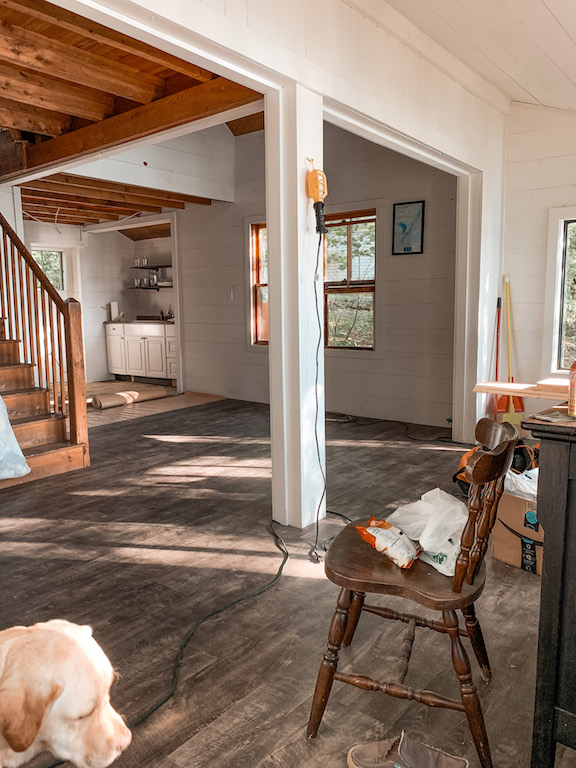
Step 5- Furnishing and Decor
This was probably my most favorite step out of the whole lake house renovation project. I LOVE home decor, especially lake house decor. With the help of family and friends, we were able to furnish the whole place and stay within budget. We took some chairs out of storage, our friends gave us a kitchen table and chairs and we found nightstands and tables from yard sales.
I may not have mentioned this in the beginning, but our plan was to rent out our lake house a bit during the summer. This would help us with some of the costs and we knew we wouldn’t be able to spend much time there during the week anyway. So we put our place up on Airbnb and had our first guests coming in June. In April, we thought June would give us plenty of time to get ready. But if there is one thing I have learned working with contractors and renovating things yourself, it is that projects never happen on time. The deadline of June came quickly and we finished the finaly touches at 2 am the day of our first guests arrival.
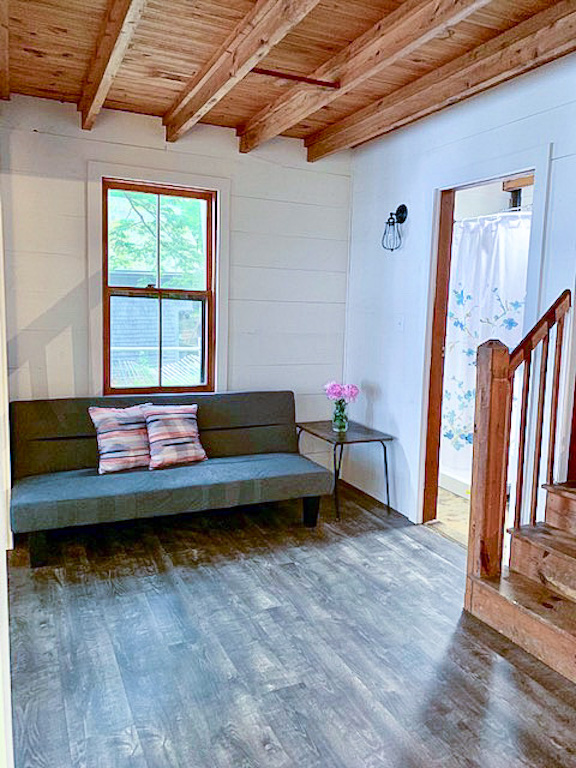
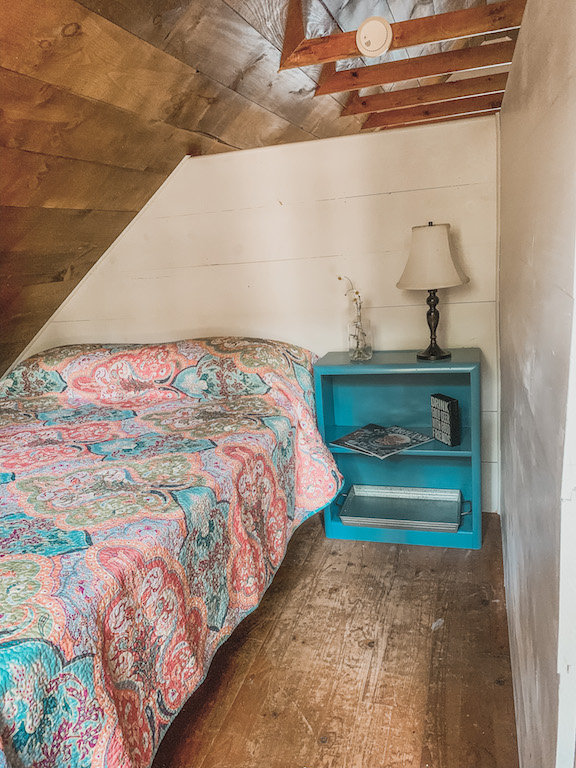
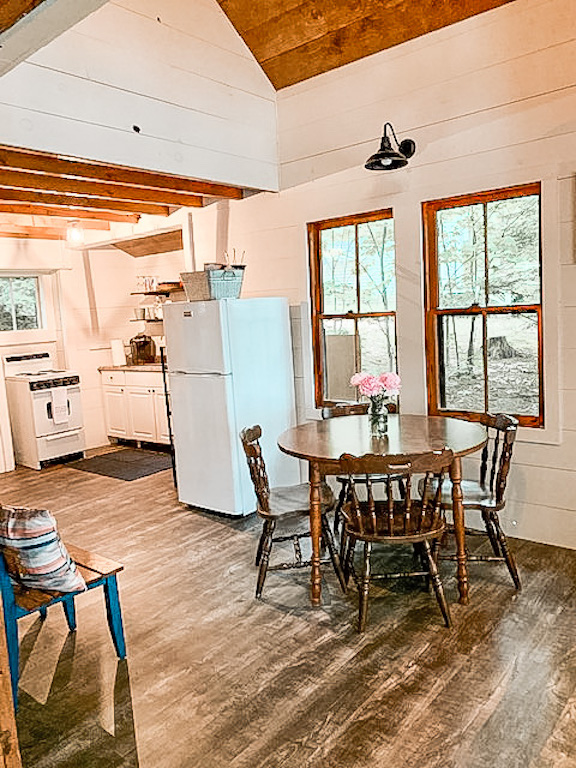
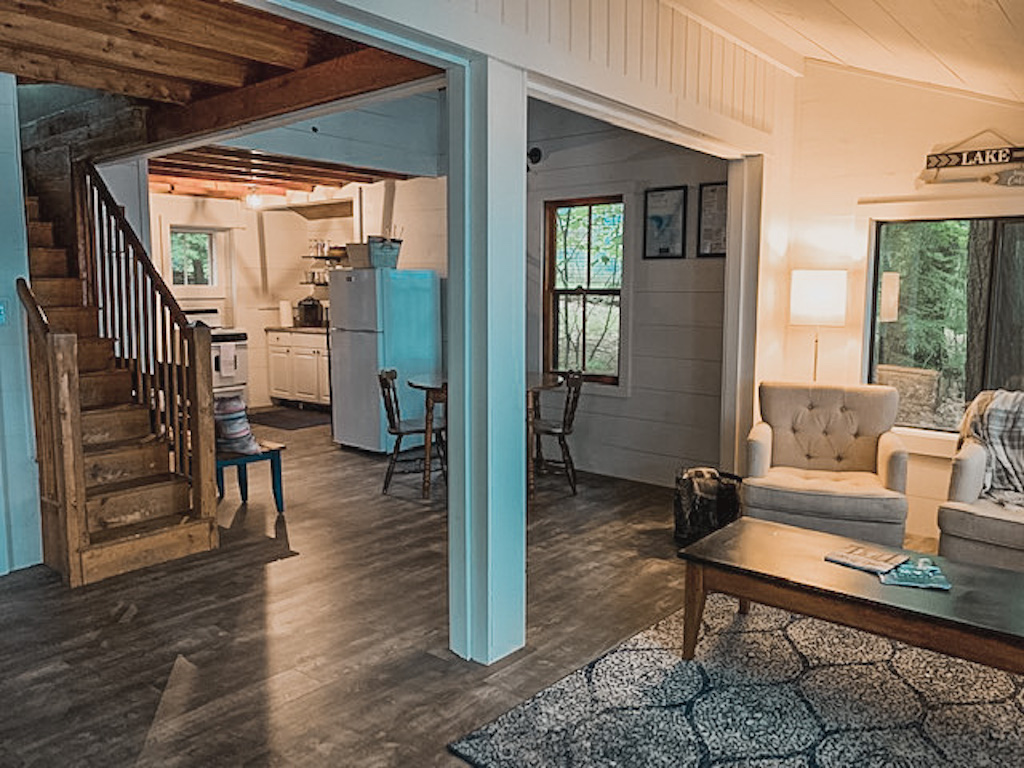
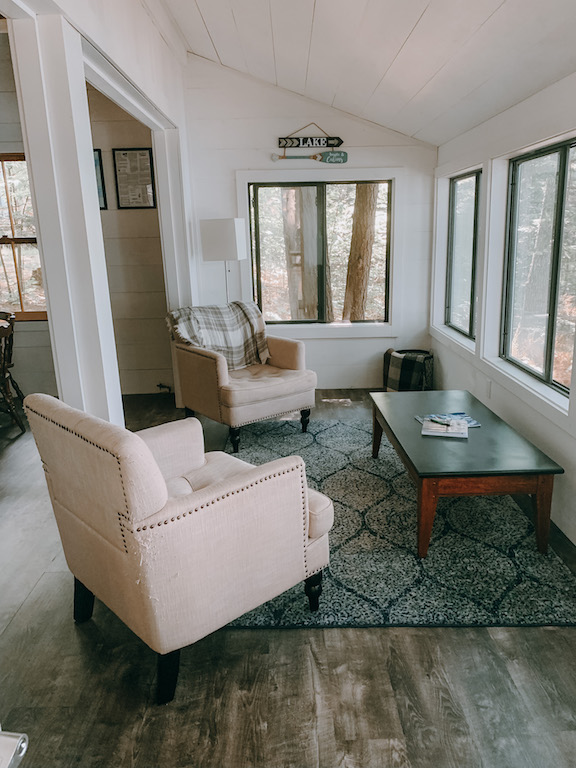
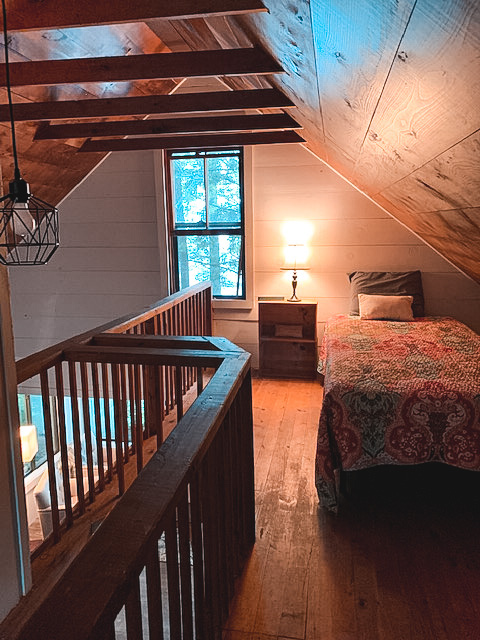
Our lake house renovation project was one of the hardest things we have ever done. We worked full time jobs, came home and worked on the projects until midnight only to wake up and do it all over again. A few mornings we had to wake up before work to run errands and get things done. In the end, this project was so so worth it and I am already on the hunt for our next project!
Save this post for inspiration


Leave a Reply