I learned more about shiplap than I ever though possible. I spent a long time talking with the staff at the lumber yard about the grades and the widths. This DIY shiplap walls post is for people who want to use real shiplap for their walls (in place of sheetrock, ect.). This post is geared more toward people who are using shiplap as an actual wall. Not someone who wants to make a decorative wall in their bedroom. I had a vision for the lake house of white shiplapped walls from floor to ceiling. Sheet rocking our cottage wasn’t really realistic and shiplaping allowed us to do some of the work ourselves.
Since I really loved the look of shiplapped walls, I got on Pinterest to started doing some research related to DIY shiplap walls. All I could find were tutorials of people making accent walls with shiplap. The shiplap walls in our cottage were going directly over our new insulation. Also almost every tutorial wanted you to glue the shiplap to the already existing sheet rocked wall. The more I read, I discovered that this is actually called planking and it is a cheaper option to acquire that shiplap look. Since we were working with studs and insulation that really wouldn’t be an option for us. After talking with a few people we ended up buying real shiplap and having it delivered to lake house. They gave us a variety of lengths (8’, 12’, 16’ boards) to give the walls that variegated, planked wall look.
Pick the Grade
There are different grades of shiplap that represent the quality of the boards. Better graders will have less knots and imperfections in the wood. If you are going for a more rustic style, where you want the knots to show through, than maybe a lower grade will work for you. Be careful though because there can also be holes in the lower grades. You can work around this if you are cutting boards to fit around windows, doors ect. If you want very clean looking boards with minimal flaws then you may want to opt for a better grade. Go to your local lumber company and they should be able to help you select the best grade for your project.
Calculate How Much You Need
For your DIY shiplap wall, you will need to calculate how many boards you will need. This can be a little complicated, so measure the dimension of your walls and talk to the staff at the lumberyard. In my experience, this means that you pick the width of the board you want and you pay per foot. Keep this in mind when you are calculating how much you need. I prefer the boards that are 8 inches wide because it covers more area and I like the looks of the wide boards. Each board is also normally about one inch in thickness.
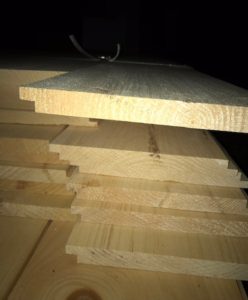
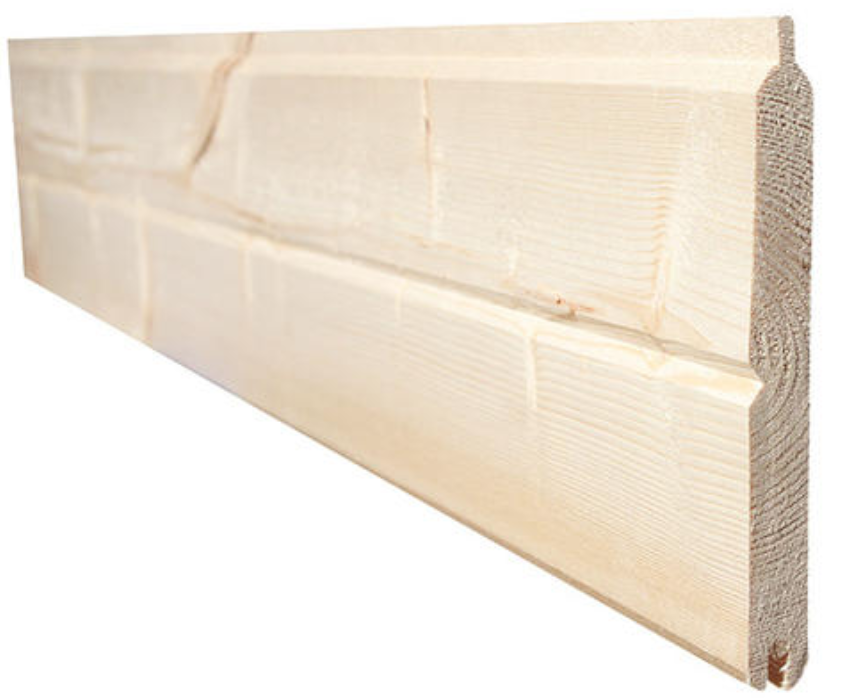
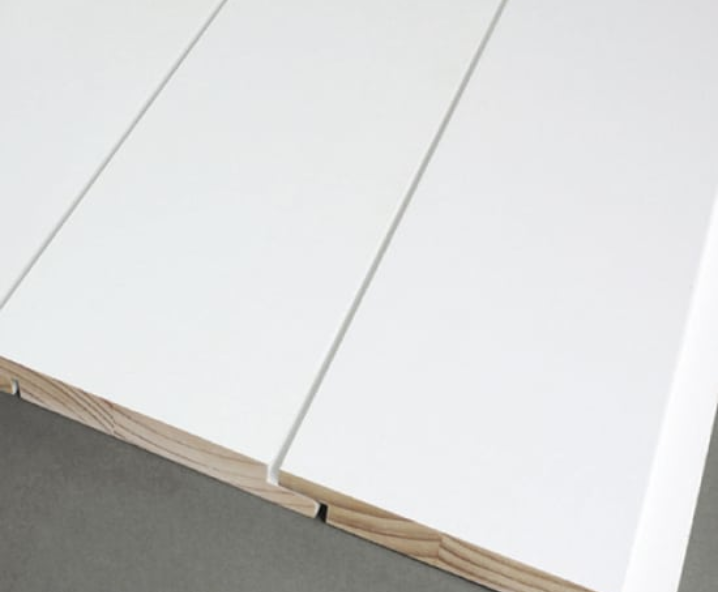
Tongue & Groove Pine vs. Shiplap
Some people interchange tongue and groove pine and shiplap, but they are not the same. Tongue and groove pine provides more of a groove between the boards where as real shiplap just has a small crack in between. Both types have a kind of interlocking mechanism that makes them easier to put up.
Types of Wood
You will also need to choose the type of wood you want for your DIY shiplap walls. Usually your choices will be either pine or cedar boards. We used pine boards for our lake house project. I chose pine because you can paint it or stain it and it holds the color.
Cedar was a bit less expensive but staff at the lumber yard told me that if I wanted to paint the boards, then I would have to do it every year because the yellow color of the cedar will seep through. If you wanted to stain your boards than the cedar might work for your project.
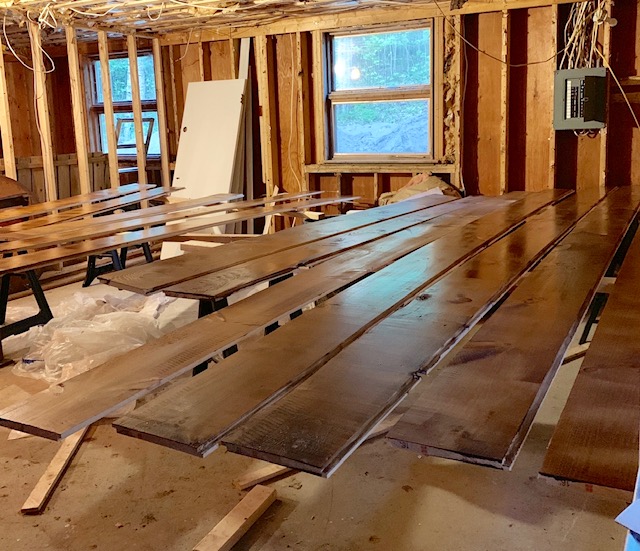
The Best Tip I Can Give You
A serious time and frustration saver is to paint ALL of your boards before you put them up. We laid them out on sawhorses, put on the radio and painted 20-40 boards a night.
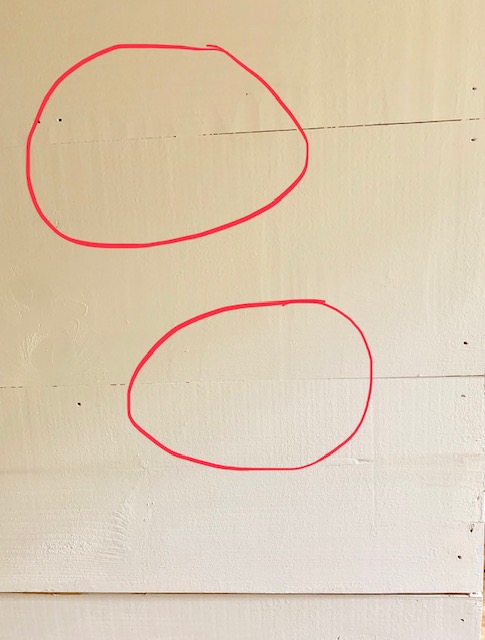
I also recommend painting the lip on each board. It may or may not show, but it’s easier to paint this part before they are put up. I’m glad that we decided to paint them in the beginning because the boards weren’t perfect it did show in some places.
Another reason to paint your boards before you put them up is because if you paint them after you sometimes lose that gap between the boards, which really is the whole point of the shiplap look. If you are painting the boards after they have been hung, the paint seeps into the gap between the boards making these gaps disappear. We had one room that we didn’t have a chance to paint ahead of time and it was such a pain to paint them after. If you have already hung your boards prior to painting, I would recommend using a roller to paint each board. You can then use a putty knife or thin spatula to run through the gaps to clear out the access paint.
Tips on Painting/Staining Tools
My original plan was to paint each board with some standard paintbrushes that I picked up at Walmart. I did not realize that this would be so time consuming and would require more than one coat.
Then I got the idea to try using one of the paint rollers I had purchased for painting the sheetrock walls in the apartment. So glad I tried it because it was so much easier and faster than the brushes!
Definitely try using different types of tools to see what texture you like best. If you only have to do 20-40 boards to complete your project you could probably still use your brush and do more than one coat if you like the brushed texture. If you are in a time crunch and have a lot of ground to cover try using a roller. You can get different textured rollers as well.
Paint and Stain
For my DIY shiplap walls I used Kilz paint and primer in one and I could literally paint each board with one swipe of my roller. This paint works best if you want your boards mostly white with a little natural wood color showing through.
If you want them completely white with no wood showing through you may need a second coat
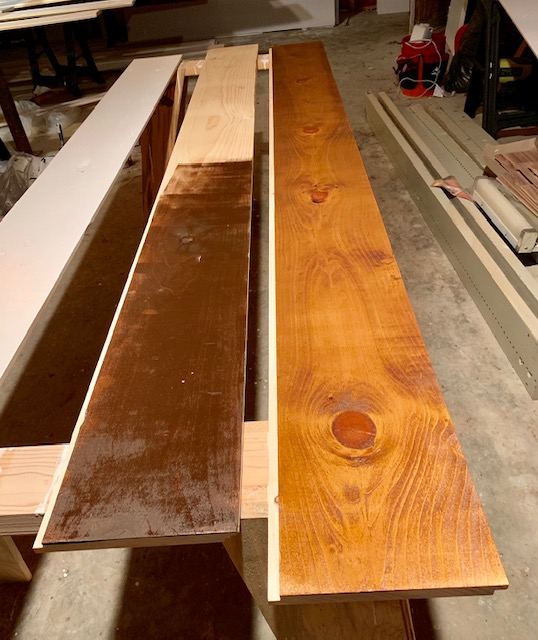
If you want most of the texture of the board (the grains and knots) to show through I would recommend a white wash or a white stain.
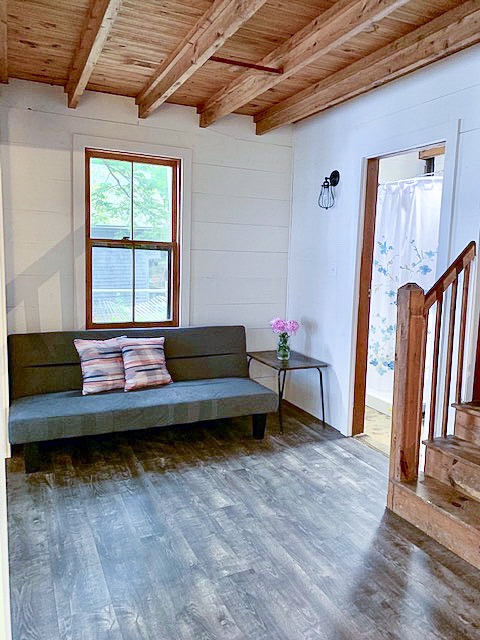
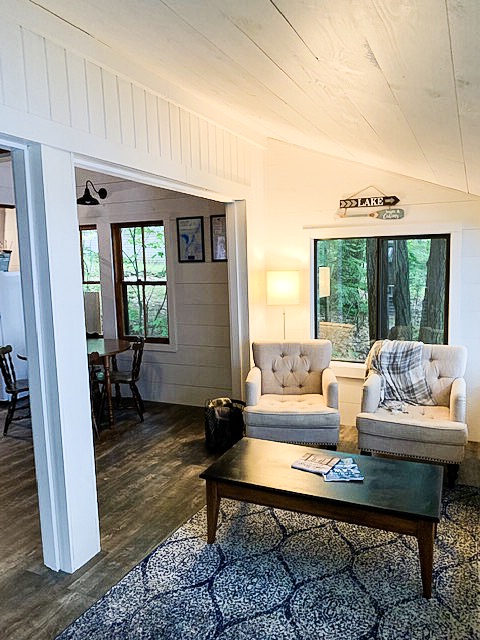
We decided to paint the walls white and then break up some of the white by staining the ceiling boards. I tried to match the stain to the color as the already existing wood ceilings in the downstairs. At first I was skeptical that I would like it, but it turned out great! The stained ceiling gave the place more of a cottage feel.
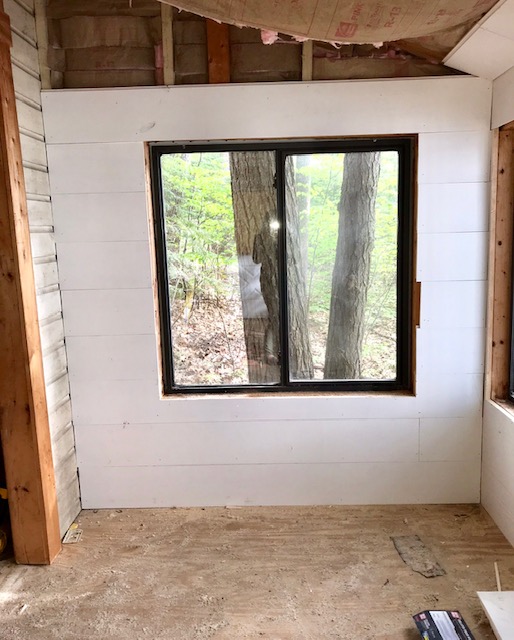
Hanging Shiplap can be harder than you think…
In general you use the grooves of the shiplap to piece each board together and secure them with an air nailer. I started by reading a tutorial on the Home Depot website. So for my DIY shiplap walls post I was hoping I could tell you we hung the boards with ease.
Trying to hang the shiplap ourselves for this particular project would have been disastrous. So we hired a professional to put up our shiplap for us for multiple reasons. One, we were short on time and would not have time to do the entire lake house before our first renters arrived. The second reason is because our floors were not perfectly level. If your floor isn’t perfectly level, your shiplap will show it all the way up the walls. Our lake house was built is 1945 and hadn’t been lived in in 20+ years. We had it leveled as best as we could but it wasn’t perfect. The winter in Maine also causes lake houses such as our to move depending on the frost.
Our contractor was able to make our walls level and clean cut. If there are certain parts of your project you are uncomfortable with I would recommend hiring someone with some experience. There are some great tutorials on how to put the shiplap up properly and can be done easily if you don’t have so many factors working against you.
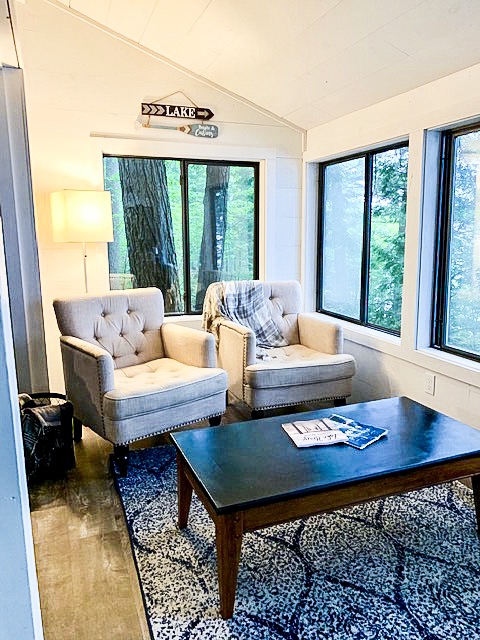
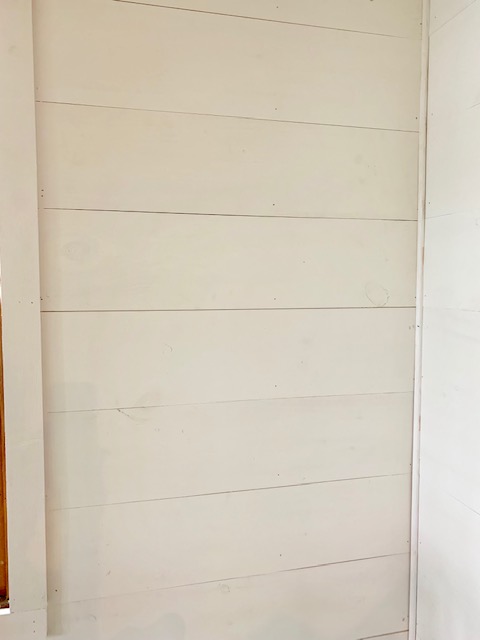
I LOVE the look of shiplap walls. They give our lake house a cozy and rustic feel. They also keep things sealed up tight for all of the elements.
If you want to check out the after photos of our cottage, check it out on Airbnb. We would love for you to stay at our cottage on your next visit to Maine.
Save this post for later!


Leave a Reply