
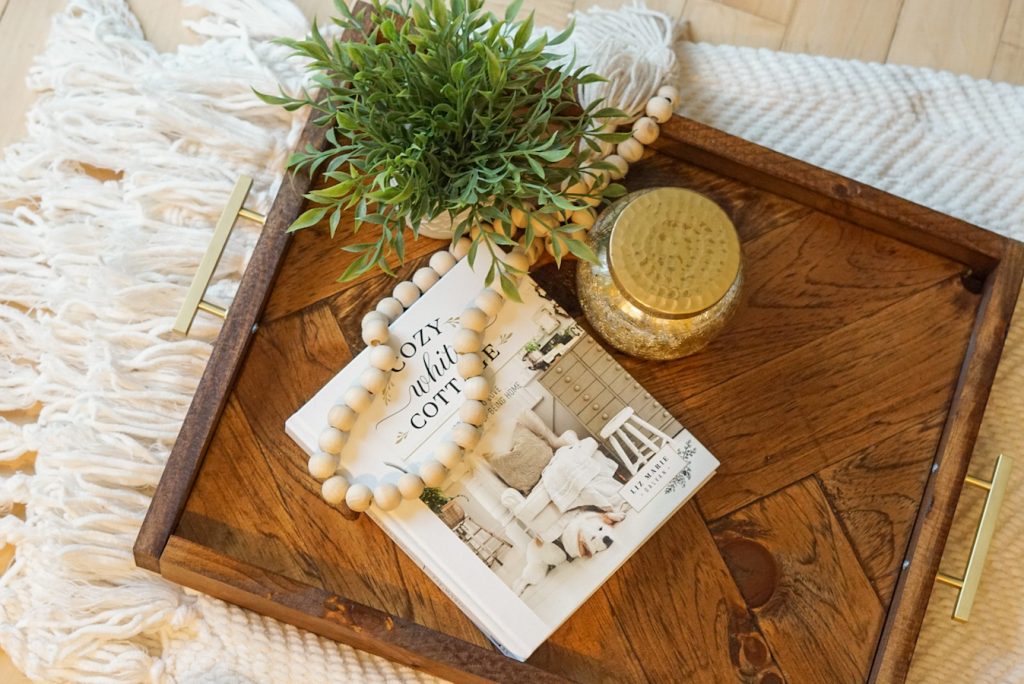
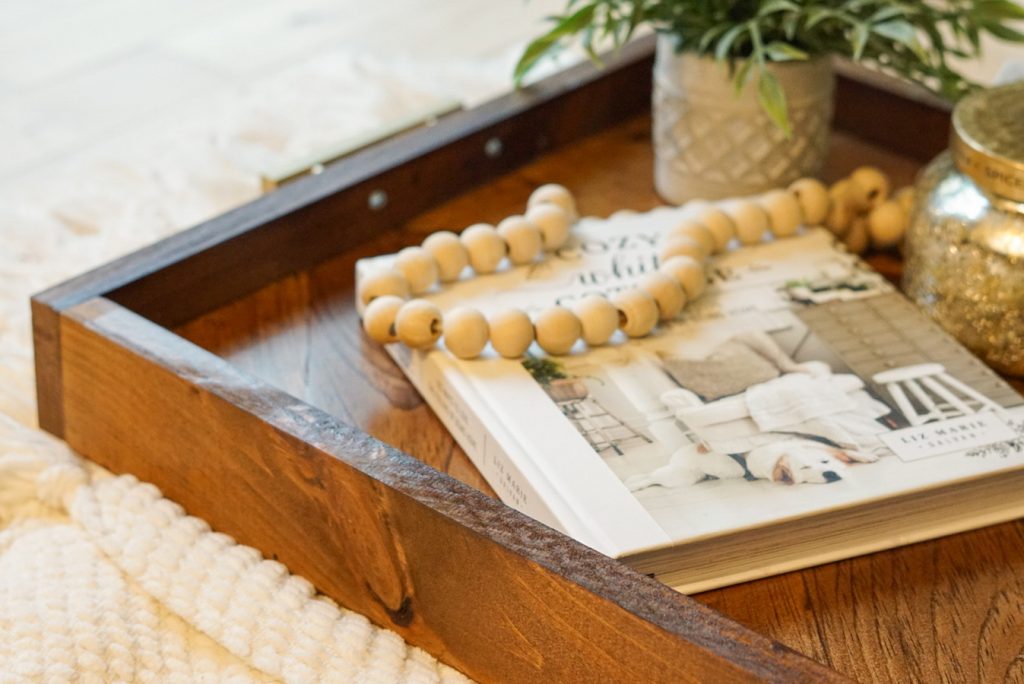
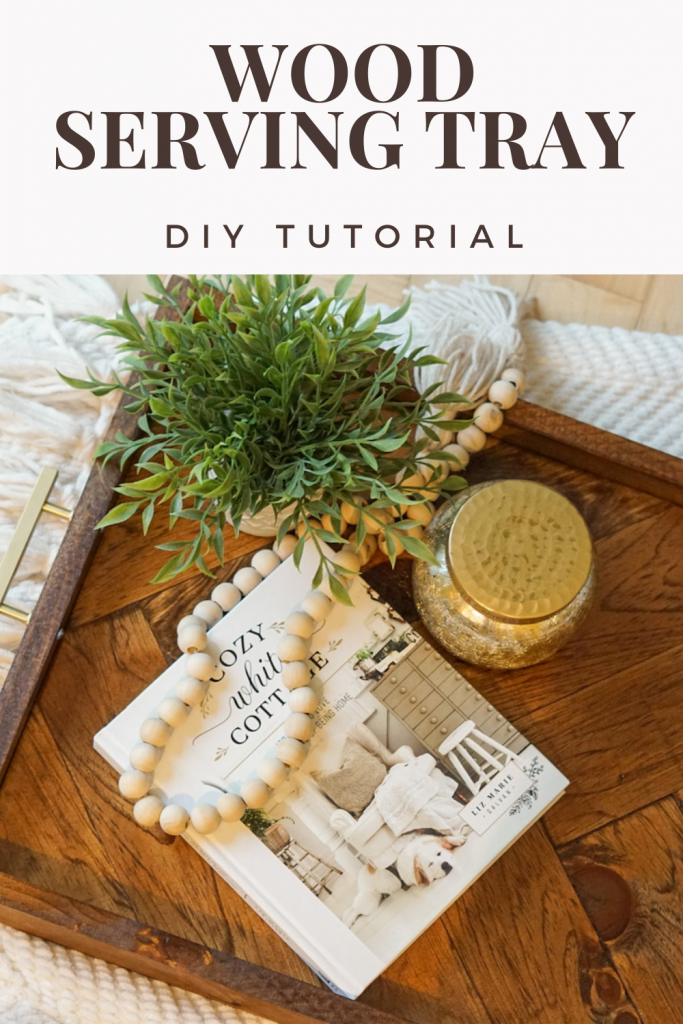
Lately I’ve seen these wood serving trays all over Pinterest and Instagram. I love how they make such cute home decor, but can also be functional. You can use these wood trays to decorate coffee tables, for coffee bars and a base for table centerpieces. You can purchase these serving trays a lots of retailers, but making this DIY wood tray is easier than you might think!
Sometimes I find that DIY projects can actually be more expensive than just buying the actual product. With this DIY project, I found I have everything at home except a couple of the boards and the drawer pulls. That made this project under $15. You may be surprised to find that you have most of the materials at home already. You can certainly substitute some of these items as well.
Materials
- Three 1 x 3 x 8 pine boards (these will make the herringbone pattern)
- Plywood (base)
- One 2 x 2 x 8 pine board (sides)
- Liquid nails
- Handles or Drawer Pulls
- Finish nails
Tools
- Chop saw
- Skill saw
- Liquid nails gun
- Clamps
- Hammer
- Measuring tape
If you read my tutorial on the herring bone coffee table, then this is very similar. If you haven’t check out the full tutorial here. Unlike the coffee table, I found a little easier way to get the herringbone pattern without cutting angles.
Tip: If you can find thinner boards for the herringbone pattern (like 3/4″ x 3 x 8) that would work even better. The thinner the top boards the lighter your tray will be.
Cuttings the Base
You want to start by cutting your plywood the size you want the bottom of your DIY wood tray to be. This will serve as the base of your tray. It doesn’t really matter what this board looks like because it will be covered. I found some plywood in our garage and cut it to size using the skill saw. After your board is cut, use a measuring tape to find the center of the board and draw a line all the way down the middle of the board (the long way).
Cut and Arrange your Design
After you have cut your base, you can cut your 1 x 3 pine boards. I cut each one into 12″ long pieces so they were easier to work with. Use your plywood base and one of your pine boards to get an idea of how long you need your pieces to be. You will probably end up with a little overhang on each side.
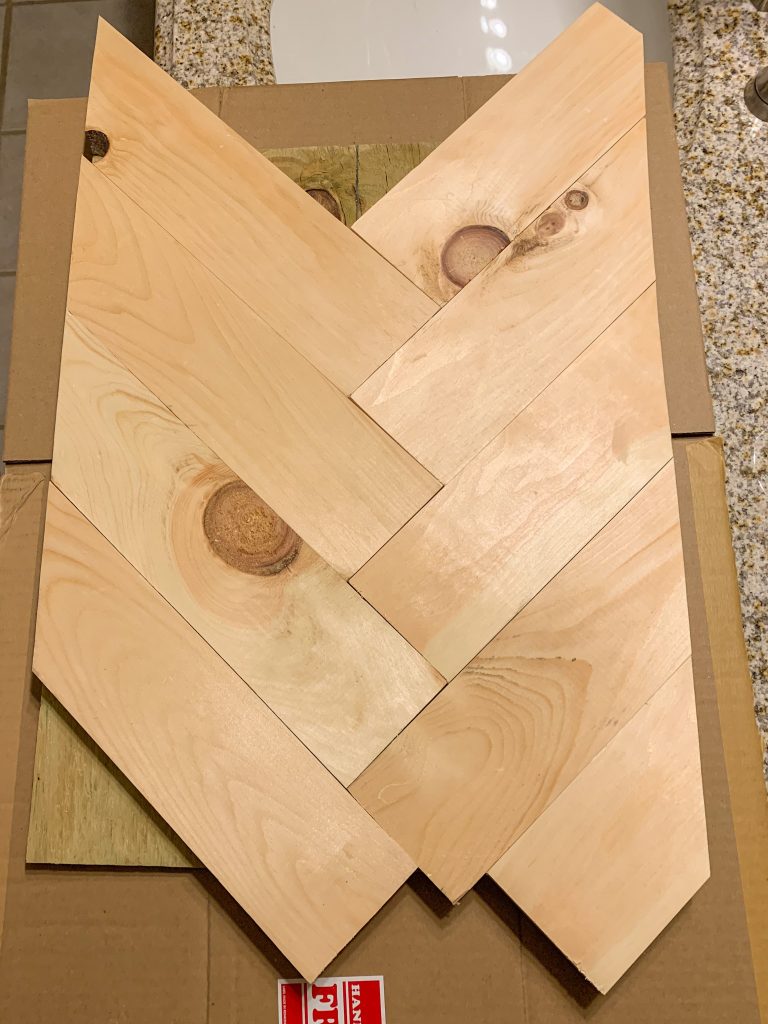
Start by arranging each 1 x 3 board along the center line on your plywood. You will most likely have a few gaps in the corners, that’s ok we will fix this later. I like to lay it all out before I glue it down. Next, flip the first board over and lay a light layer of liquid nails along the board. I smooth out the liquid nail with my finger. Then flip it back over and place it on the plywood. You will want to clamp this down so it doesn’t move and it will serve as a guide for the remaining pieces. Follow the same process for each board, alternating sides of the center line. I placed the top two boards first and clamped them down. I only have two clamps so I waited for the first two boards to dry before continuing.
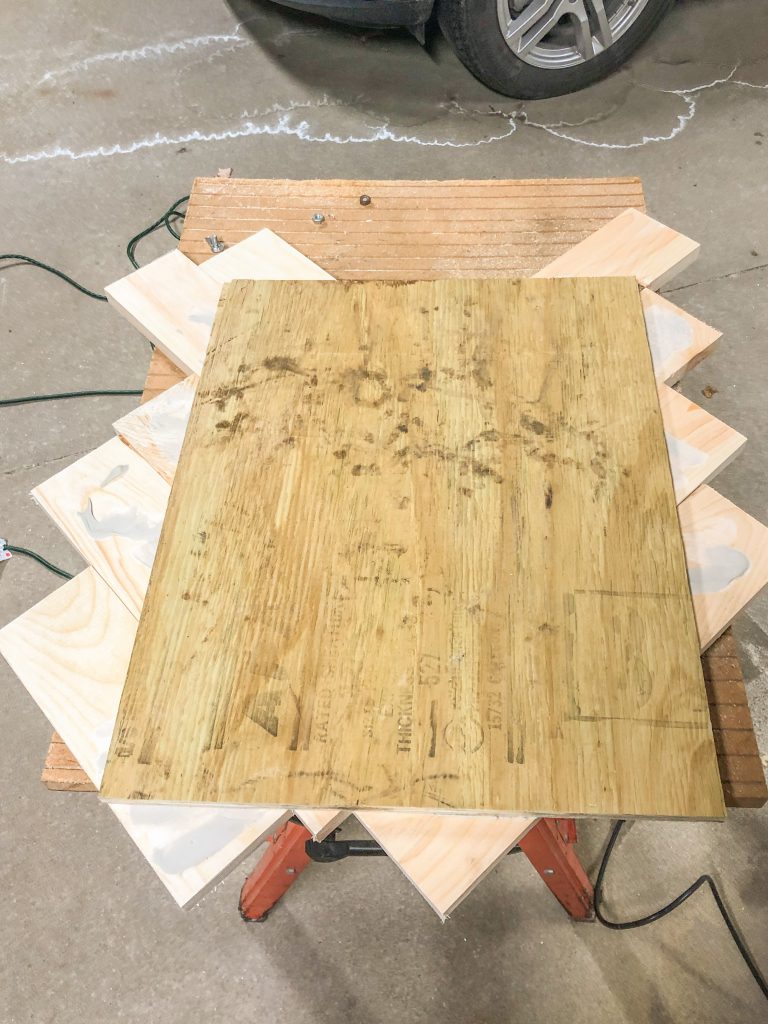
Cut off the Access
Let the boards dry overnight. Then, flip the whole thing over so the plywood is facing up. You will want to use your skill saw to cut off the access boards and make if flush with the plywood base. After I did this, I was able to use some of the scrap boards to fill in the gaps. Make sure the entire top of the plywood base is covered. Once the last pieces are glued in and dry, flip it over and cut off the access again.
Build the Sides
Next, you will need to make the sides. Start my measuring the two short sides of your tray. Then cut your 2 x 2 board to match (these pieces should be about the same size). To make the long sides, hold the sides you just cut flush agains the tray. Then measure the long sides, including the width of the 2 x 2 side you cut. Then cut the remainder of your 2 x 2 board using these new measurements.
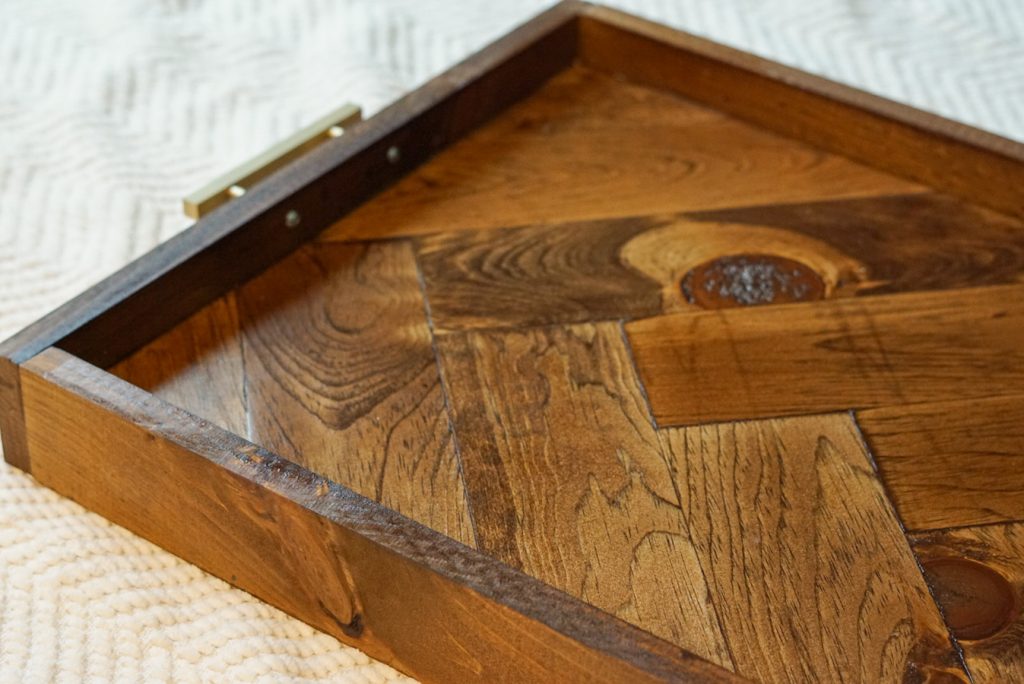
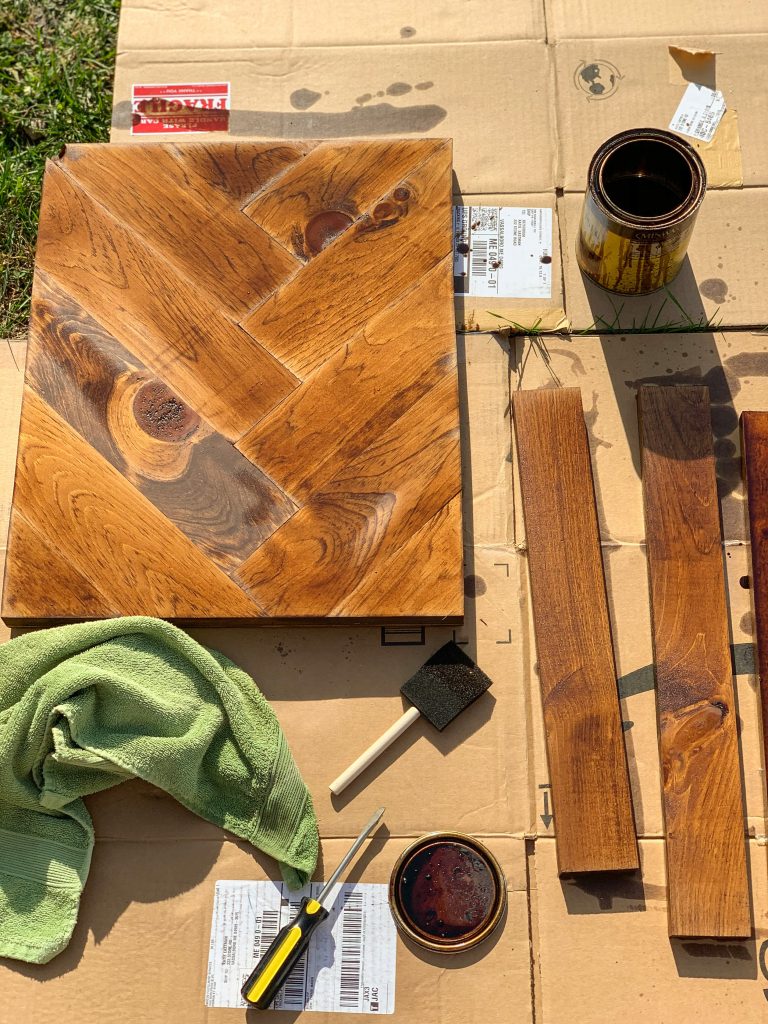
Sand, Stain and Seal
After you have made all your cuts, make sure you sand down the top of the tray so everything is even. It will be easiest to use a hand sander, but if you don’t have one, you can use a piece of sand paper. After everything is smooth, wipe off the dust and then stain your boards. You can do this before or after you assemble your tray. I find it is easiest when all the pieces are separate. For my DIY wood tray, I used a coat of stain and then three coats of polyurethane.

Assemble all the Pieces
After all the pieces have dried, now you can assemble your tray! Use a flat surface to set the base of your tray on. Then attach the short sides using the leftover liquid nails. You will probably need something heavy to prop it up against. We used the wall and a gallon jug. Next, you can attach the long sides. After the liquid nails had dried, we secured the sides with finish nails. At first I didn’t think this was necessary, but depending on the size of your tray, it can be heavy.
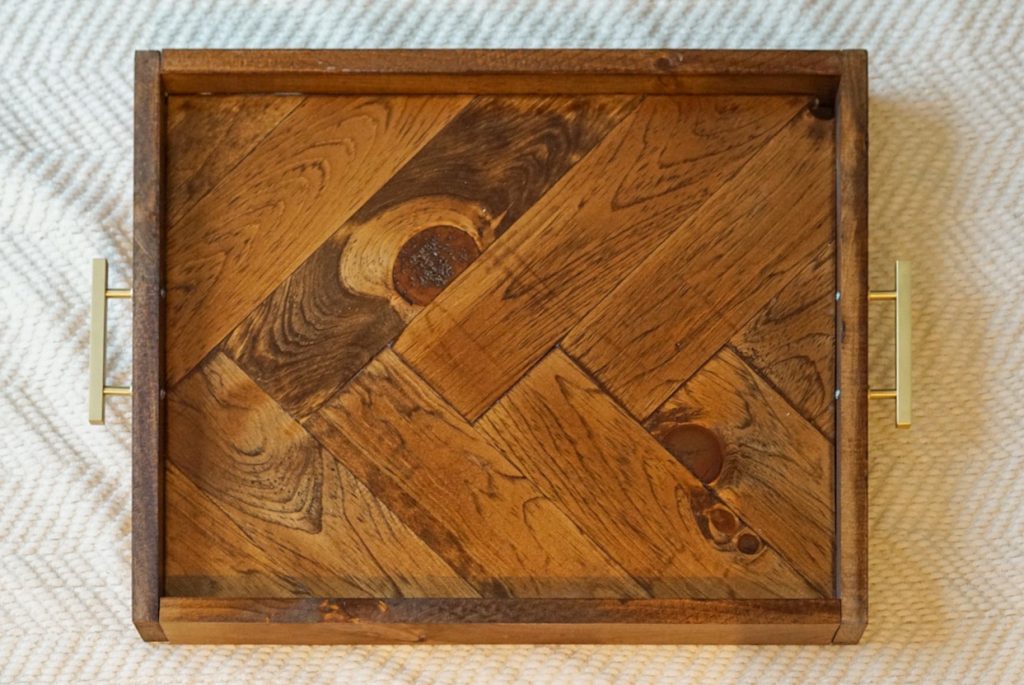
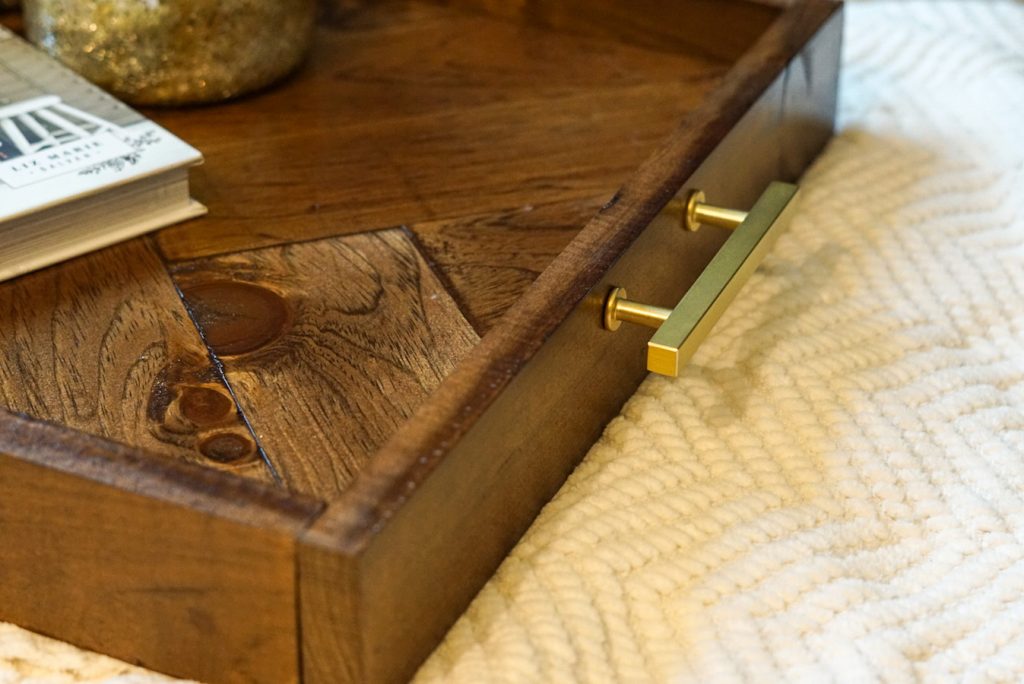
Attach the Handles
The final step is to attach your handles. I just bought a four pack of gold drawer pulls at home depot. You can use whatever you would like for handles. I have seen different kinds of drawer pulls, cloth handles, rope or even no handles.
Tip: The bottom of the tray was a little rough, so I attached felt chair pads to each bottom corner.
That is my quick and easy DIY wood tray tutorial. This would be perfect for a holiday party or family gathering. It also just makes great everyday home decor.
Check out more of my DIY home projects here!
Pin this tutorial for later!


Wow, this is gorgeous!!! I don’t trust myself with a saw (ask me about hedge trimmers sometime, haha!), but I love how beautiful this is. You did an amazing job!! You could definitely sell these!
Make Life Marvelous
Thank you so much! I had trouble using a saw at first, but I have slowly gotten better at it. I’ll be honest, it was terrifying at first. But all of the projects I wanted to do involved some kind of woodwork, so here we are. This was so much fun to make and I am really happy with how it turned out.
Thank you for a lovely DIY project!
The Wallet Review
You are so welcome! I love putting together these tutorials.
Thank you for sharing a lovely DIY project!
You are so welcome! I love sharing tutorials!