DIY home projects have been my jam lately! We have lived in our house for 3.5 years now and have made some small improvements, but nothing major. I have no background in anything crafty or carpentry related. But lately, I have been enjoying a few DIY home projects that are easy for beginners like me. Some projects include making our own home decor and upcycling some old furniture. Here are my favorite 7 easy DIY home projects for beginners that you can do this weekend.
Repurposed Kitchen Table
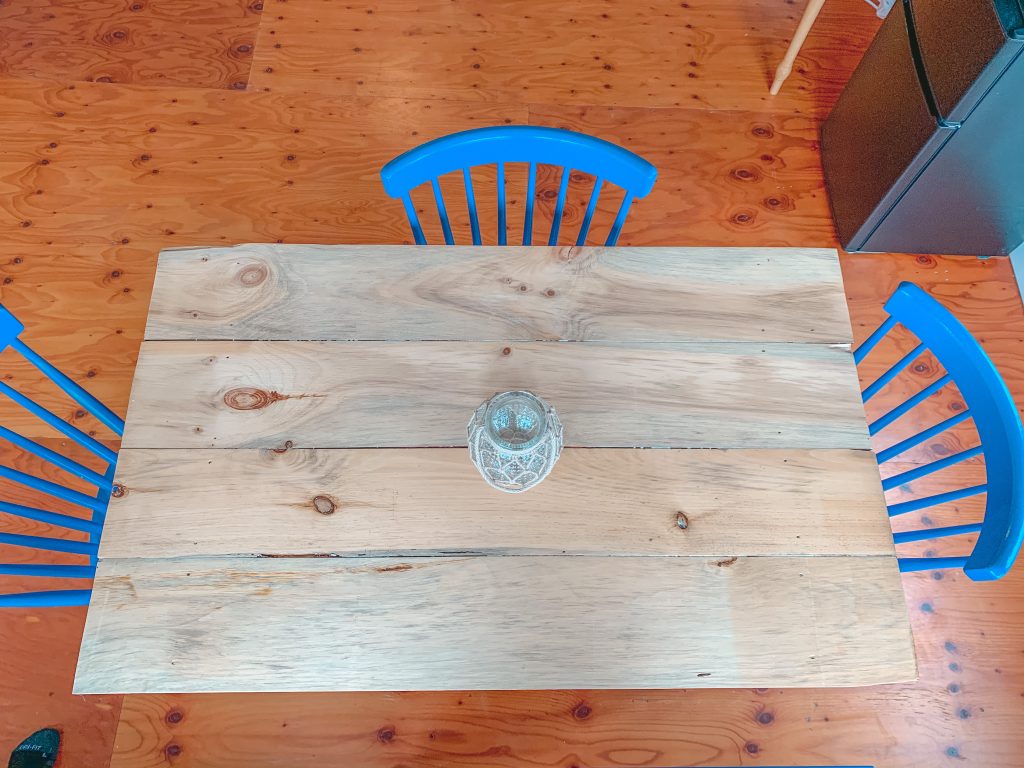
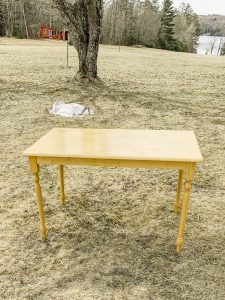
At the new lake house we just renovated, there were a bunch of old kitchen tables. They were “used” and had scratches and stains on the top, but they were still in good shape for the most part. My first thought was to sand them down and stain them, but after 20 minutes of sanding, there was still a deep layer of varnish that I couldn’t get rid of. Then I got an idea that would make this the easiest DIY home project for any beginner.
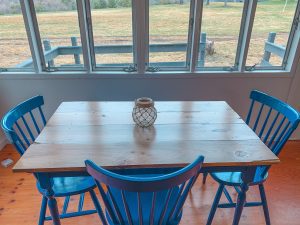
Instead, I decided to make a new top! I started by spray painting the legs. Spray paint goes on anything and can be a game changer when upcycling old furniture. I chose a really nice blue color for the legs. Then, I measured the length of the table top and grabbed some 1″ x 6″ boards. We cut each board the length of the table top plus about a one inch overhang on each side. Then, I screwed the boards onto the top of the table. Next, I sanded it down to make it nice and smooth. I chose not to stain the boards, but you certainly could. Then I put a few layers of polyurethane on top to give it a finished look. Then I spray painted the chairs to match!
Herringbone Coffee Table
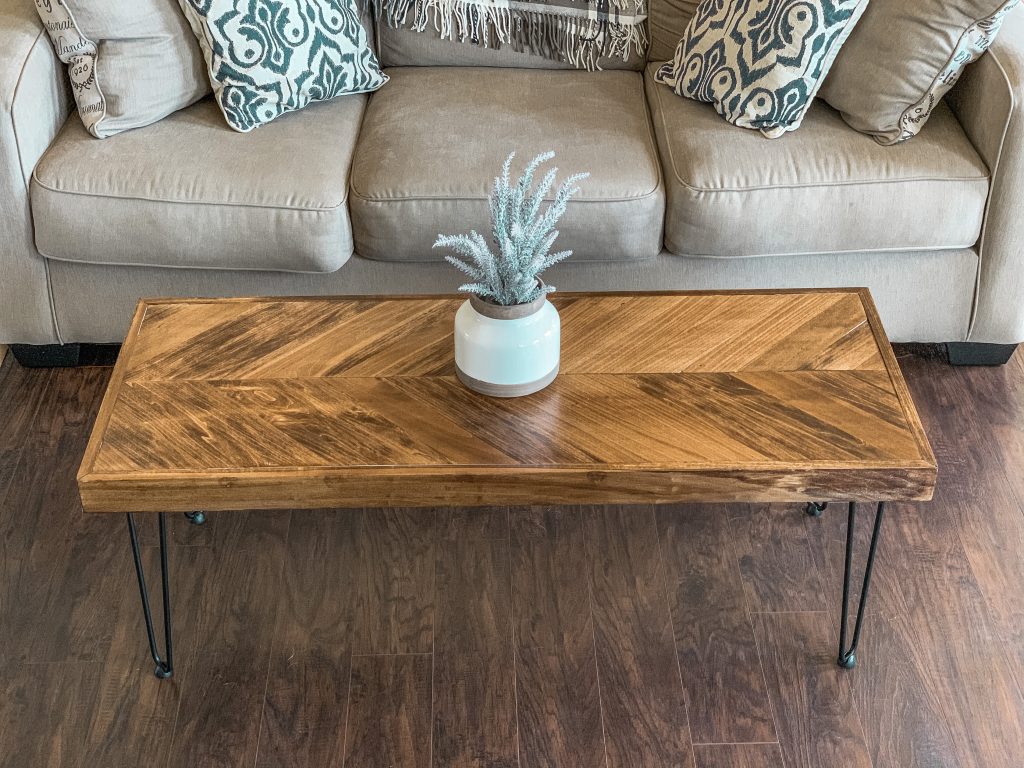
I’ve been debating on getting a coffee table for our living room for awhile now. Our living room is kind of small and I couldn’t find the right size, so I decided to build one! Really I just built the top and bought the legs on Amazon, but it was really fun! You can read the full tutorial here. You can make the top design as simple of as complicated as you would like.
Upcycled Entryway Bench
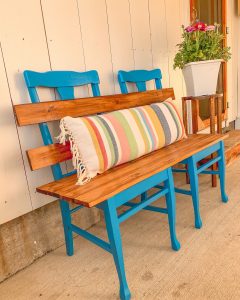
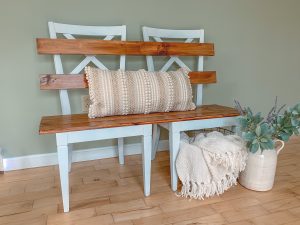
Maybe you already have some old wood chairs hiding away in storage? Or if you don’t have chairs already, you can usually find someone selling them on Facebook Marketplace or Craigslist. I bought these two at Goodwill. If you can find two chairs with removable bottoms, then you can make this adorable bench for your entryway. All you need are two chairs, a few 1 x 4″ boards, some paint and some screws. Read the full tutorial here.
Outdoor Firepit
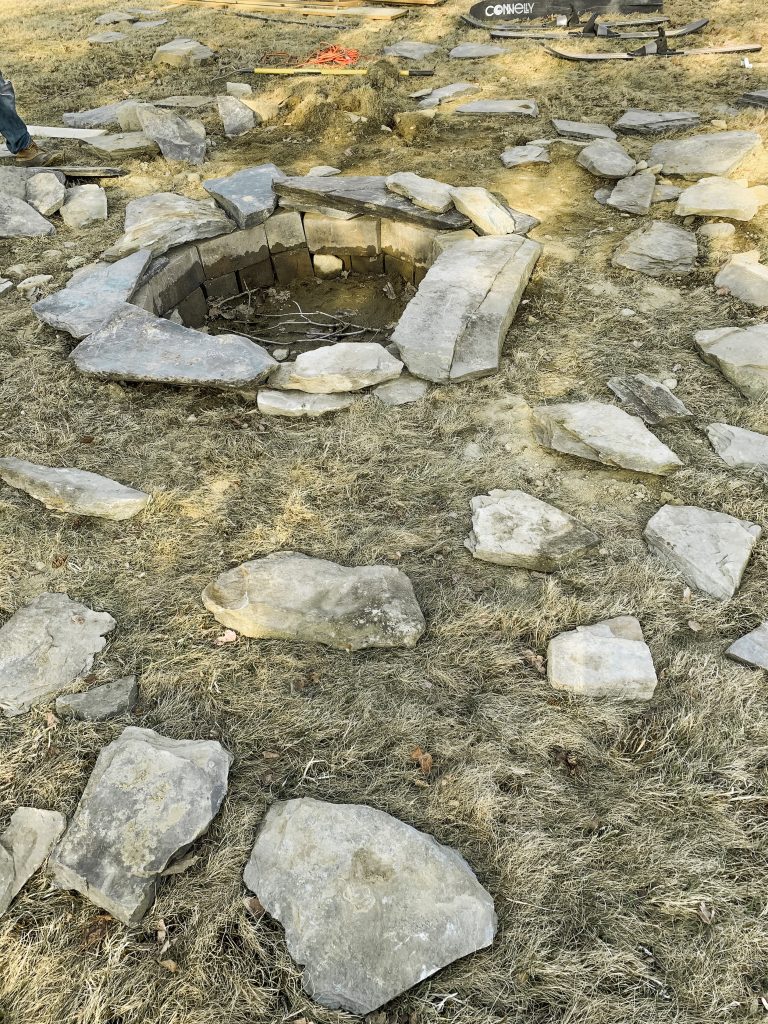
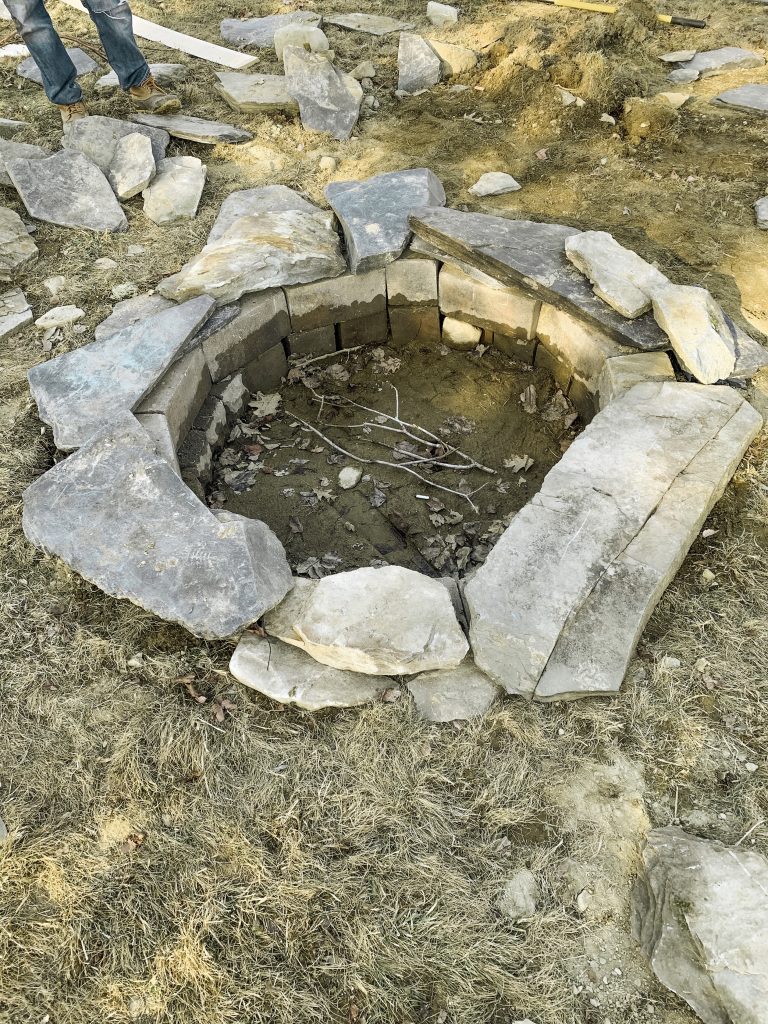
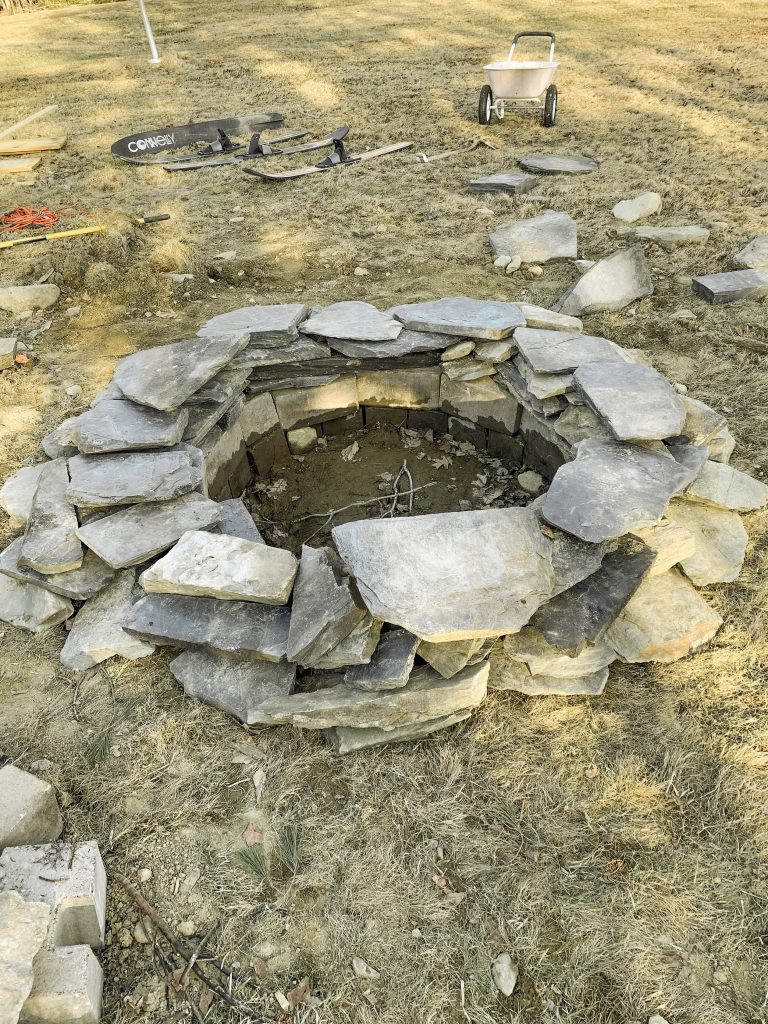
Sitting by the fire in our backyard is one of our favorite places to be during the summer. There are a lot of variations of backyard fire pits, but I will walk you through the slate style fire pit we made. You can use concrete bricks and a tractor tire rim or dig a hole and use pavers. There are so many variations out there, but we like to use things we have leftover from old projects.
To start, we dug a round hole that would serve as the center of our fire pit. Find the center and use a measuring tape to mark out equal distances from the center to get a nice round circle. Use a shovel to dig about a foot deep hole. Next, we lined the inner ring with cement bricks. Then we laid out all of our slate/rocks so we could see which ones would work best. We found that it worked best to lay our large flat ones for the bottom and we worked our way up, overlapping all the gaps.
Industrial Pipe Shelving
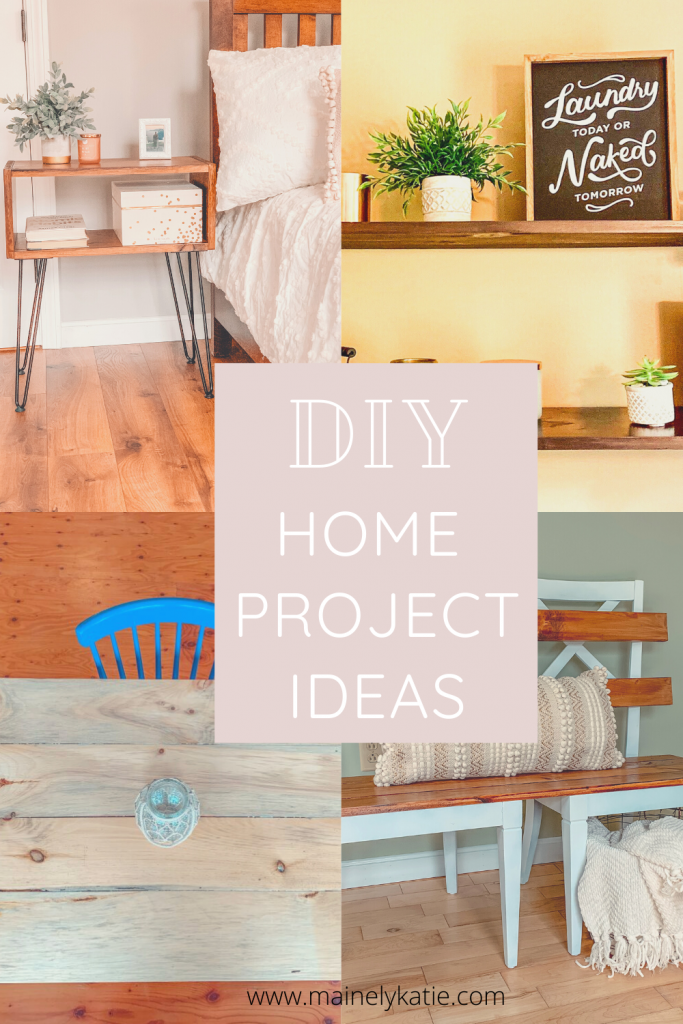
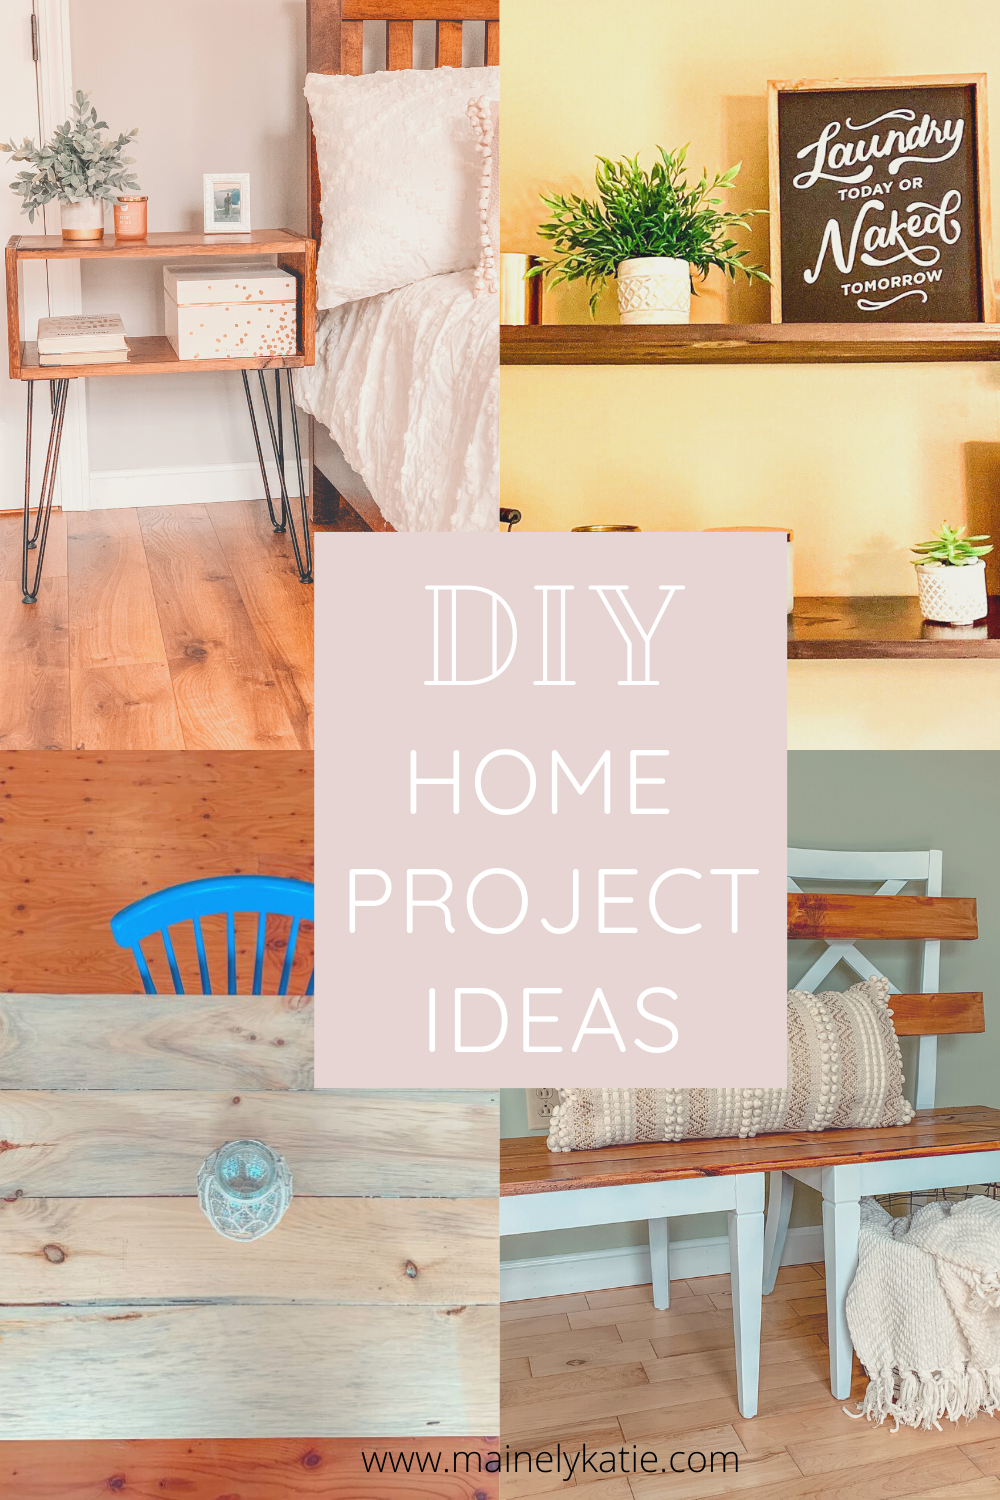
If you need to modernize your laundry room or living space, try adding some industrial pipe shelving. These also make really cute open shelving in a kitchen. You can purchase the piping that you need at a local hardware store. The hardest part about this DIY project is hanging them (which isn’t really that hard). You can read the full tutorial with the list of supplies here.
Hairpin Leg Nightstands
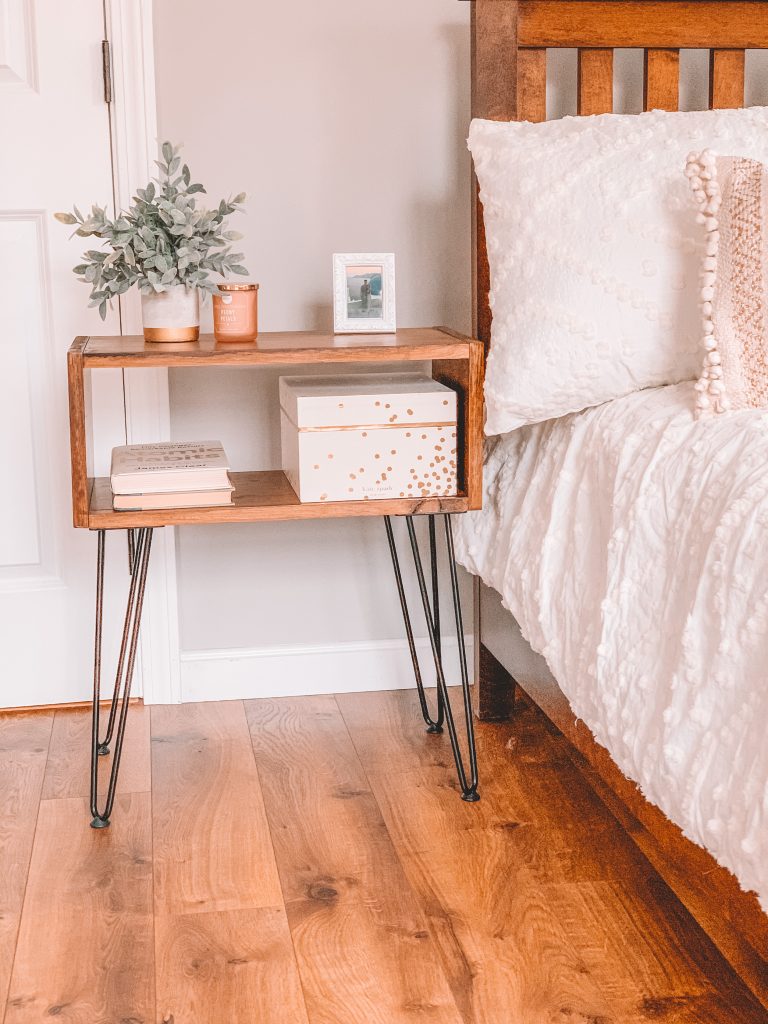
You can use these cute little tables as end tables or night stands. These are basically two piece end tables and they are so easy to make. You can customize these to have a shelf in the middle too. I think that they are so cute and functional. Read the full tutorial with the list of supplies here.
Easy and Inexpensive Photo Gallery Wall
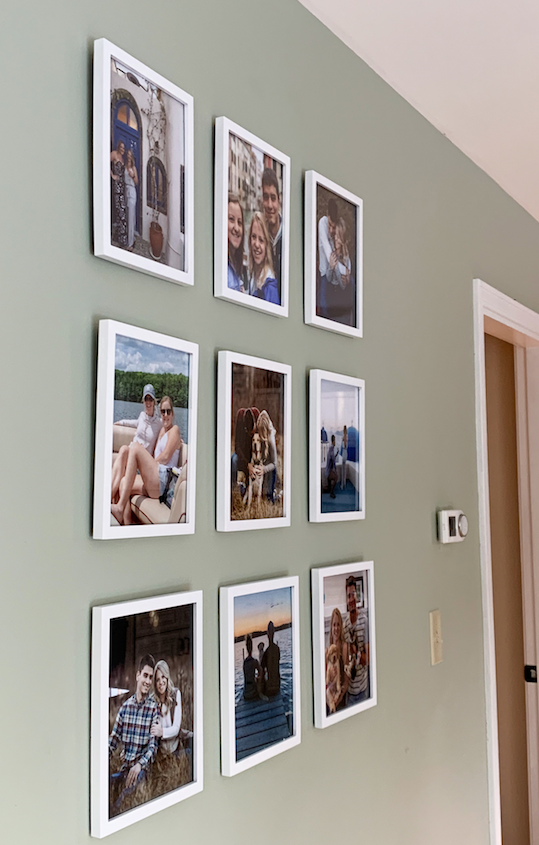
I have always wanted a gallery wall in my dining room, but I couldn’t justify spending $80+ on the frames alone. One day while I was shopping at Walmart I decided to look at their picture frames. I found some 8×10 photo frames for less than $4 a piece. A lot of the gallery walls I had looked at were 8×8 frames, but I thought for $4 I would give the 8×10 a try.
For this project I bought nine 8×10 frames, had nine 8×10 photos printed at Walmart and some command hooks. You will also probably need a pencil, measuring tape and level to hang your photos. This project is so easy, but really adds a nice touch to any room. Place a photo in each of your frames, I chose color, but I also really like black and white photos. Find the center of your wall and choose the height you want your gallery to start. Place the first command hook where you want the center of the top row of photos. From there measure each command hook to be equal distance from each other.
Home DIY projects have been so much fun for me lately! The more I do them, the more I learn and the braver I get to try something new. I get a lot of inspiration and confidence following some awesome DIYers like Angela! I have learned so much from reading her blog and watching her instagram stories. Owning a home has made projects more meaningful and I can’t wait to take you through all the projects I have planned for this summer.
Save this post for later!


Leave a Reply