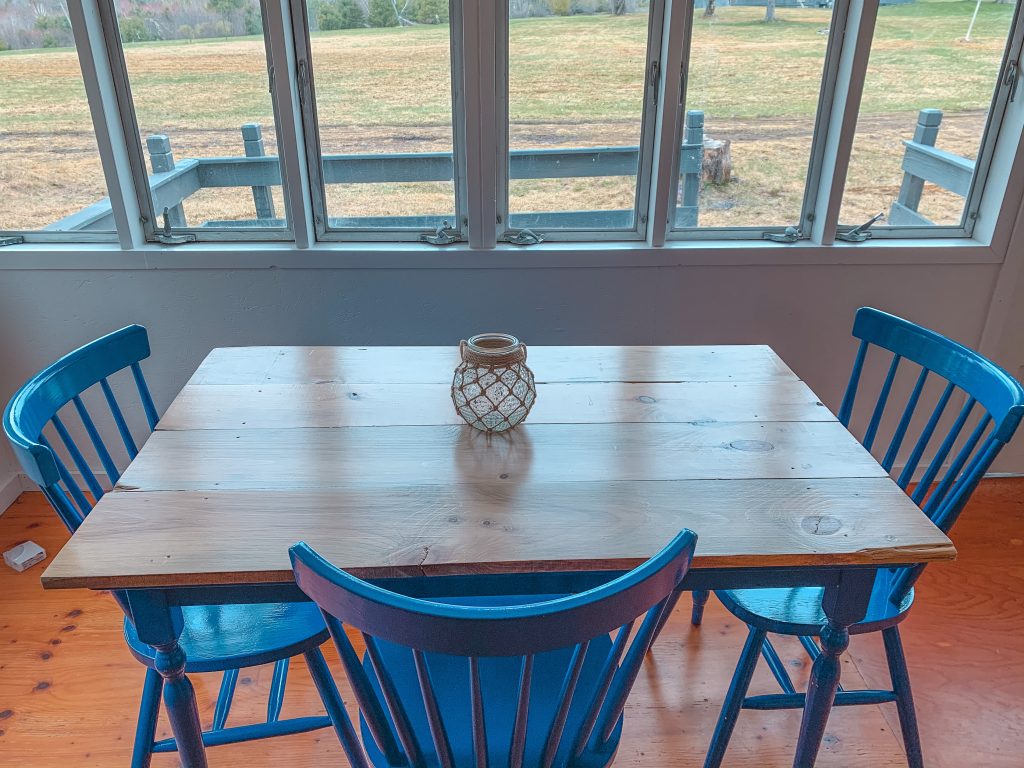
We have been working hard to renovate some property that we purchased in January. The place came with lots of furniture that was in decent condition, but needed some sprucing up. Rather than buying new furniture, we decided to make use of what we already had to work with. Starting with this upcycled kitchen table.
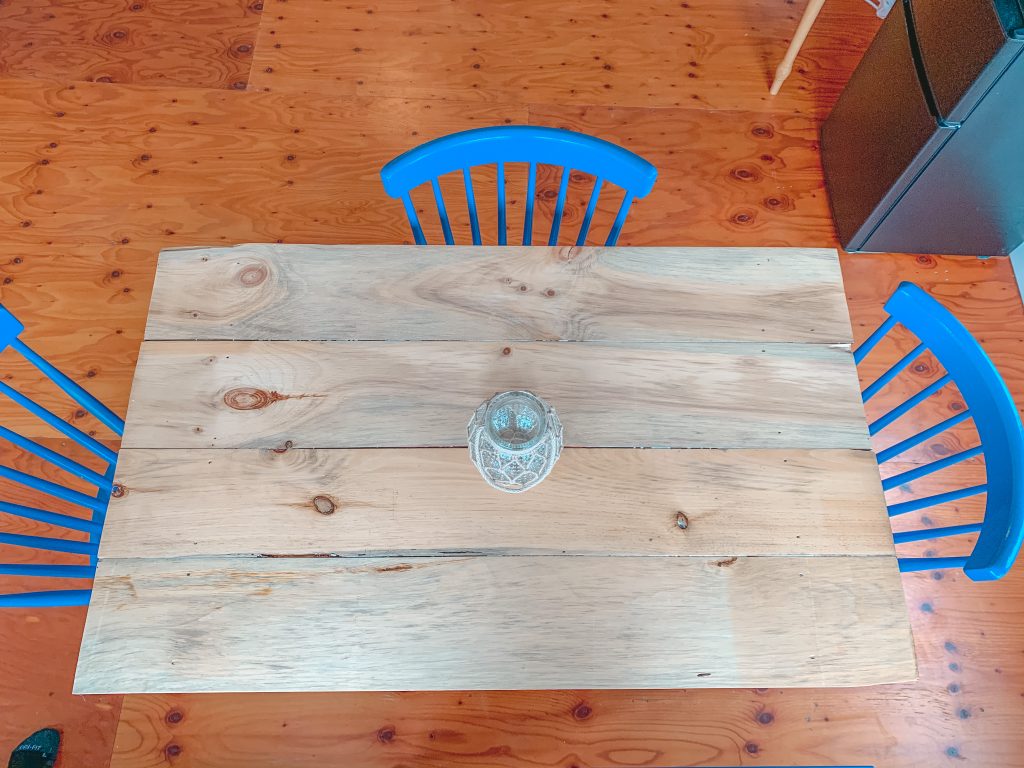
There were lots of cute kitchen tables that we thought we could use. The tables were a little beaten up. They had scratches, markings, dents, just normal wear and tear over the years. So we decided to give them a little make over. Keep reading to see how we turned this beaten up kitchen table into a newer looking farmhouse inspired table.
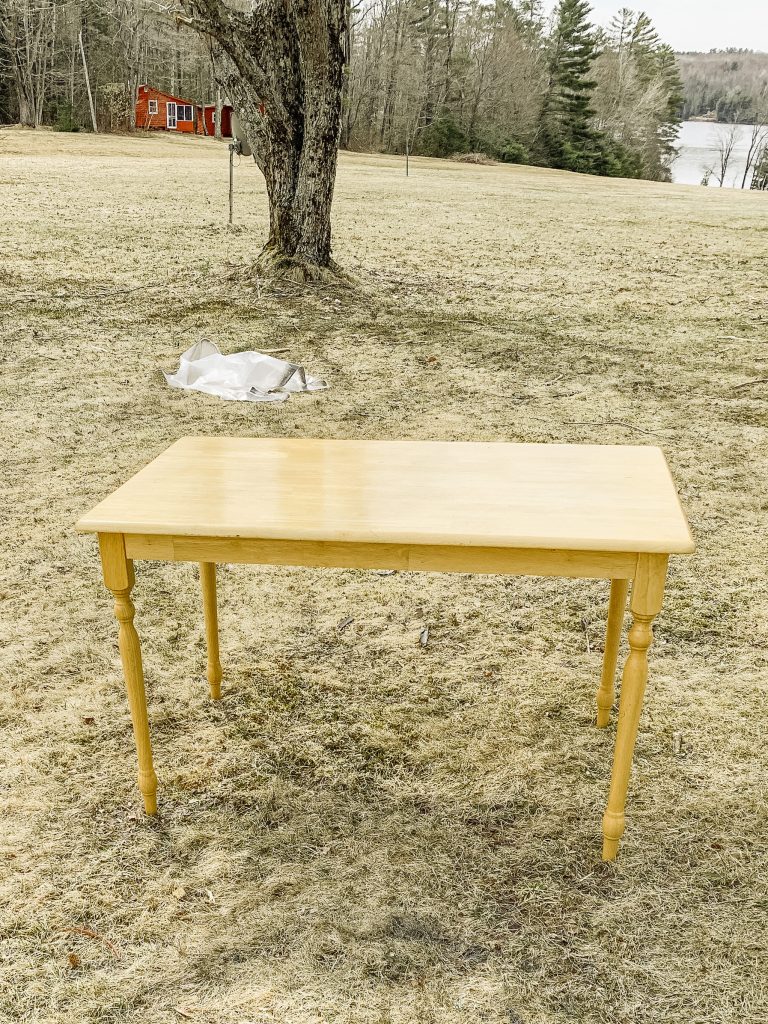
So first I am going to take you through what didn’t work. Originally, we had high hopes sand down the tables and then restain and revarnish them. After minutes of continuous sanding, we just couldn’t get the finish off.
Plan B was to just stain over the top of the varnish. We did this for one table and it came out ok, but it wasn’t the look we were going for.
So we decided to go in a whole other direction.
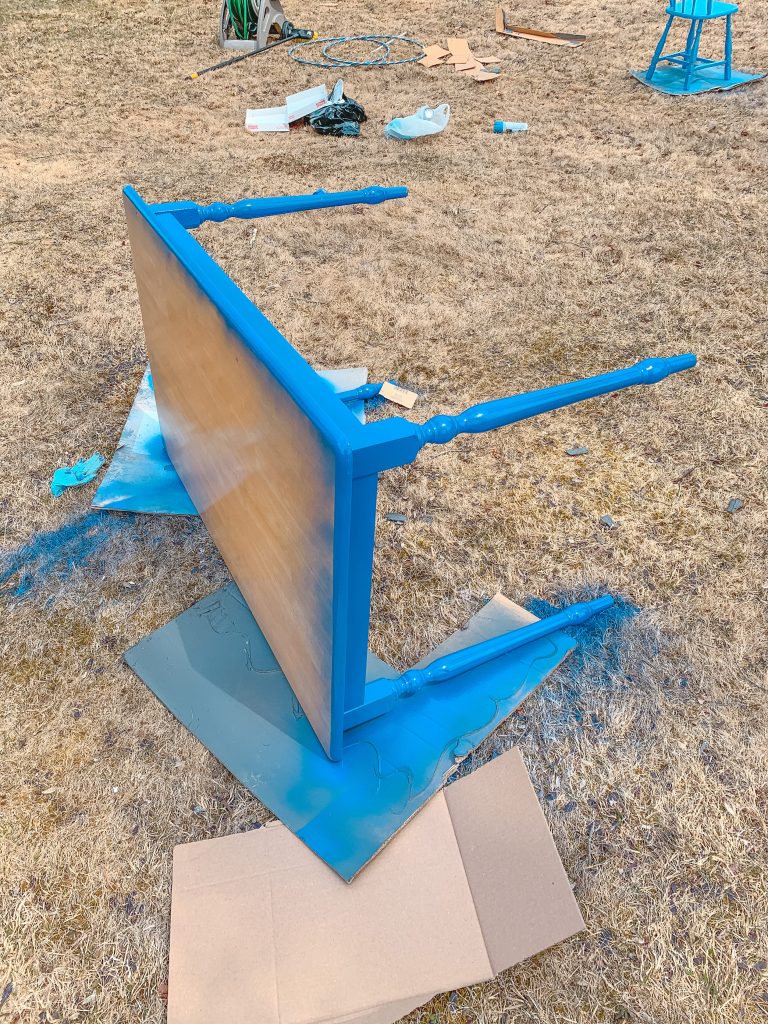
To cover the imperfections on the table legs, we decided to paint it. You could paint it with some latex paint and a paintbrush, but we were running out of time so we used spray paint. I spray painted just one coat over the entire lower end of the table and then measure the top while we waited for it to dry.
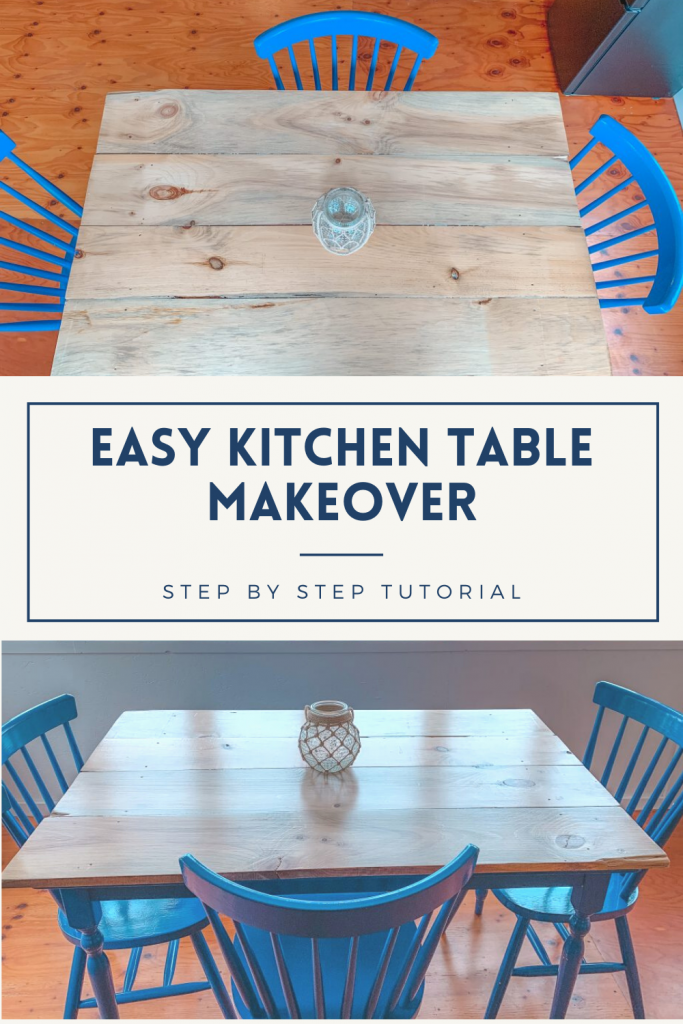
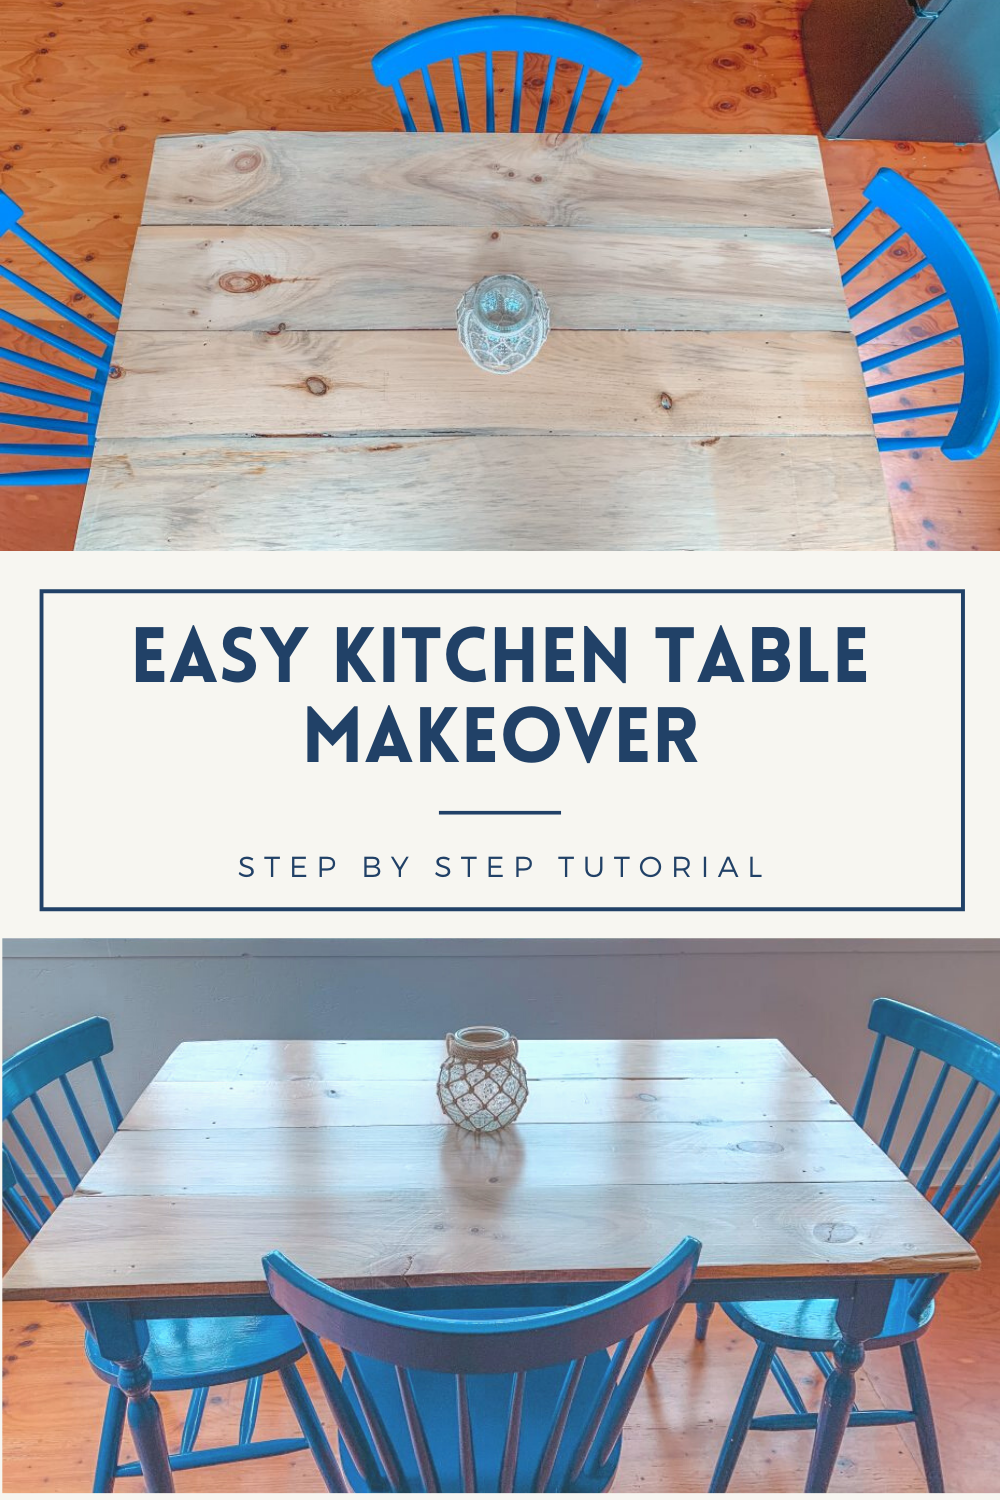
We found some 1 x 8″ boards that we had found and cut them the length of the top of the table, adding about an inch overhang on each side. It only took four boards to cover the top of the table.
Then we drilled those boards directly onto the top of the table using 2″ screws. You will be able to see the screws so we used some gold ones. If you don’t want to see the screws, flip the tabled over and screw them in from underneath. Just make sure that your screws aren’t too long or they will come through the other side.
Next, is customizing the top! You could stain or paint the top of the table any way that you would like. I chose to leave the natural wood color and just coat it with some polyurethane.
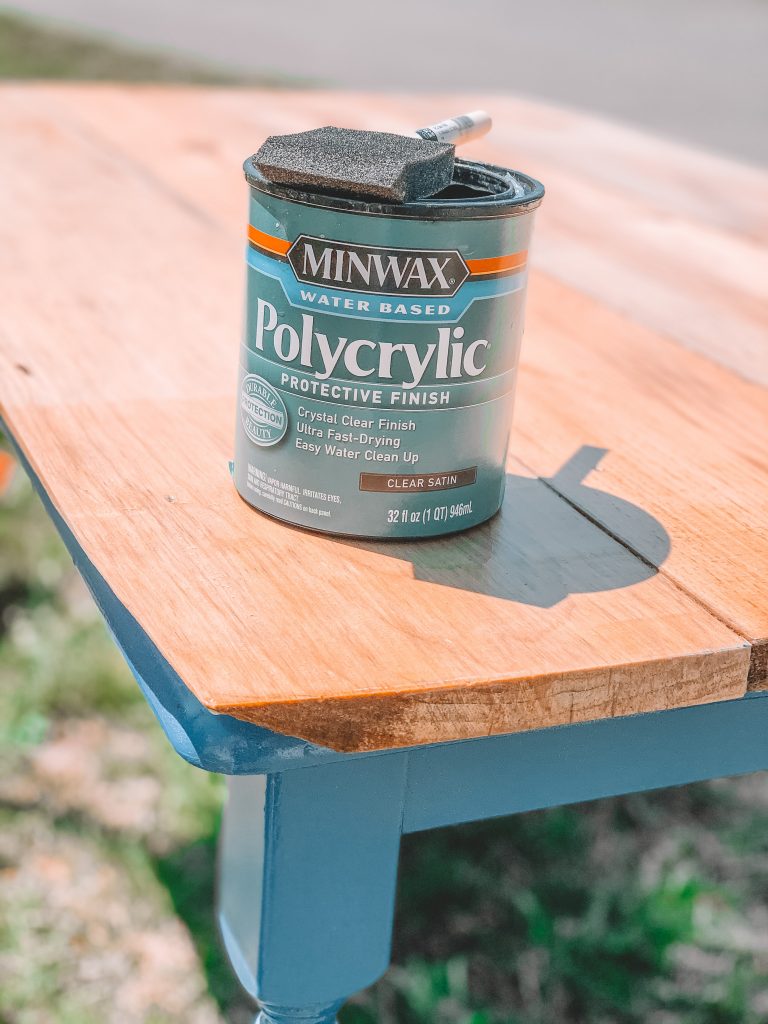
I put two coats of poly on the table top and then let it dry. Once it was dry, I lightly sanded it with a piece of sand paper and then wiped off the dust with a towel. I did this three times and then put a final coat of poly on the top. I wanted to make my table as smooth as possible.
We also used the same spray paint to paint the chairs and bench that went with the old table. Then, let it dry and enjoy you newly upcycled kitchen table!
Looking for another easy DIY home furniture project? Check out how I made these adorable simple night stands in a day.
Save this post for later!


Leave a Reply