I have been loving the looks of white wash walls lately. It can add so much character to a room and not be overly expensive. We have been working hard renovating more lakeside properties and for me, shiplap and whitewash are a must to give these places that cottage style look. Bonus, these cottages already had wood plank walls!
In a lot of camps (what we call them in Maine) or cottage style homes, people used to varnish pine boards and use them floor to ceiling. Although I do love the wood texture, I think this style is a little outdated. I’m going to show you how we took these pine wood walls and transformed them into something lighter and brighter.

You can use this tutorial for any room in your house. I think they look so cute in bathrooms, bedrooms and laundry rooms. I have also seen whitewashed ceilings and wainscoting that is so cute! If you don’t have any wood planking to whitewash, read my tutorial on shiplap and then you can decide if you want to whitewash or paint it! I am thinking about adding a plank wall to my bathroom. So I will keep you updated on how that goes!
What You Will Need to Whitewash Walls
- Pine boards (if you don’t have a wall already)
- Hand sander and TSP (if you already have a wall you want to whitewash)
- White paint ( I used Kilz satin, but you can use flat)
- Water
- Bucket
- Cup to measure
- Paintbrush
- Rag
Finding or Making your Wood Plank Wall
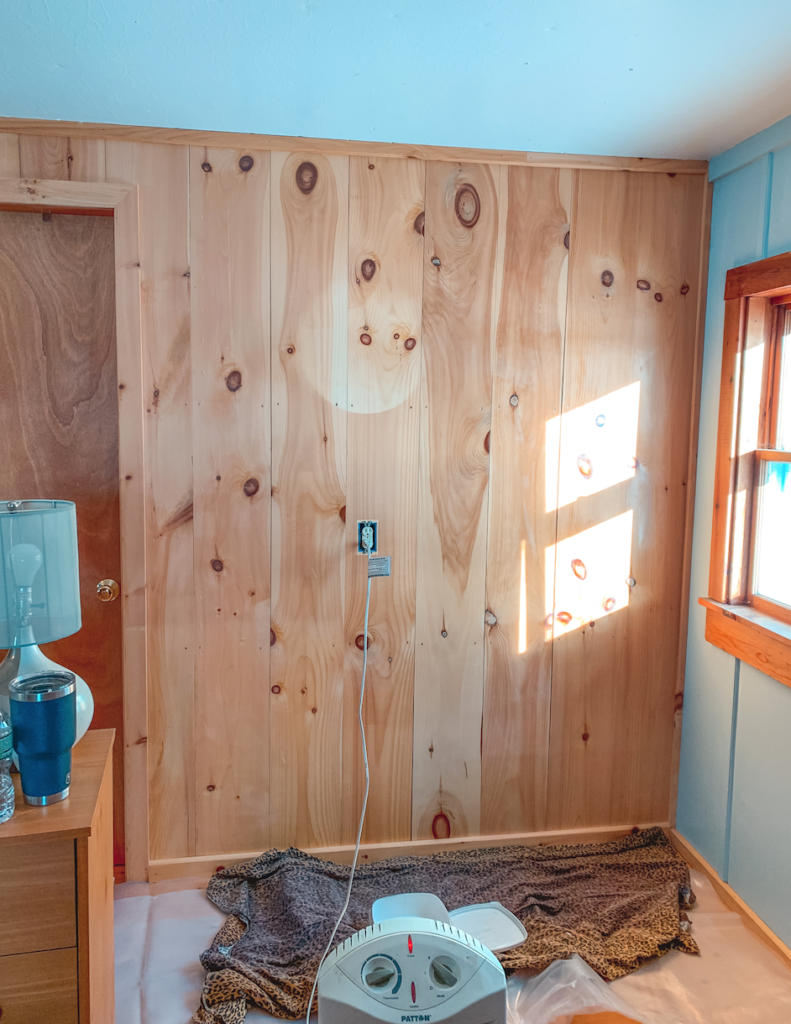
So if you already have a wood plank wall that you want to whitewash, great! Look at the color and texture of the wood and decide how much/little you want the wood to show through. I think it tends to look better when there are imperfections in the boards such as knots.
If you are considering whitewashing new boards, you could stain them before whitewashing. This would allow the texture and darker spots to show through the whitewash and give each board a little more character.
Prepping your Boards
If you don’t already have a plank wall and are considering making one, stain your new boards and allow them to dry. If your plank wall already exists, you will need to sand off the varnish. The whitewash won’t stick to the shiny varnish finish. After you have lightly sanded the wall using a hand sander, wipe them down with TSP. You want to make sure that you get all the dust off and are starting with clean boards.

How to Make the Whitewash
There are many tutorials with different ratios, but I decided to make it easy and used a one to one ratio. I poured one solo cup full of white paint into a bucket and then one solo cup full of water into the same bucket and mixed it up. If you don’t like the looks of the one to one ratio, you can add more paint to make your mixture thicker or you can add more water to make it go on lighter. It’s up to you!
Whitewashing Technique
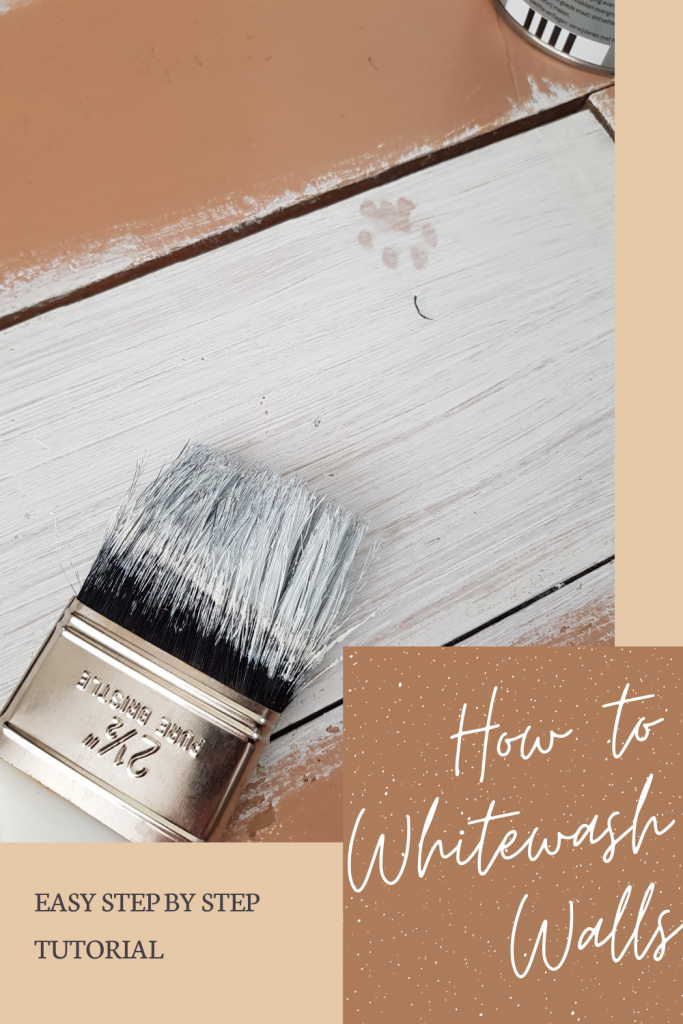
It took me a lot of trial and error to finally figure out what worked for our walls. At first we tried lightly painting the whitewash on with a paintbrush, letting it dry slightly and then wiping it off with a rag. This came out nicely at first and this is how many people whitewash. The key is to let your paint dry the perfect amount of time before wiping it (lots of trial and error). There are a lot of factors that can affect this such as temperature, humidity and the consistency of your mixture. We used cotton cloth rags to wipe the boards, but you could also use paper towels.
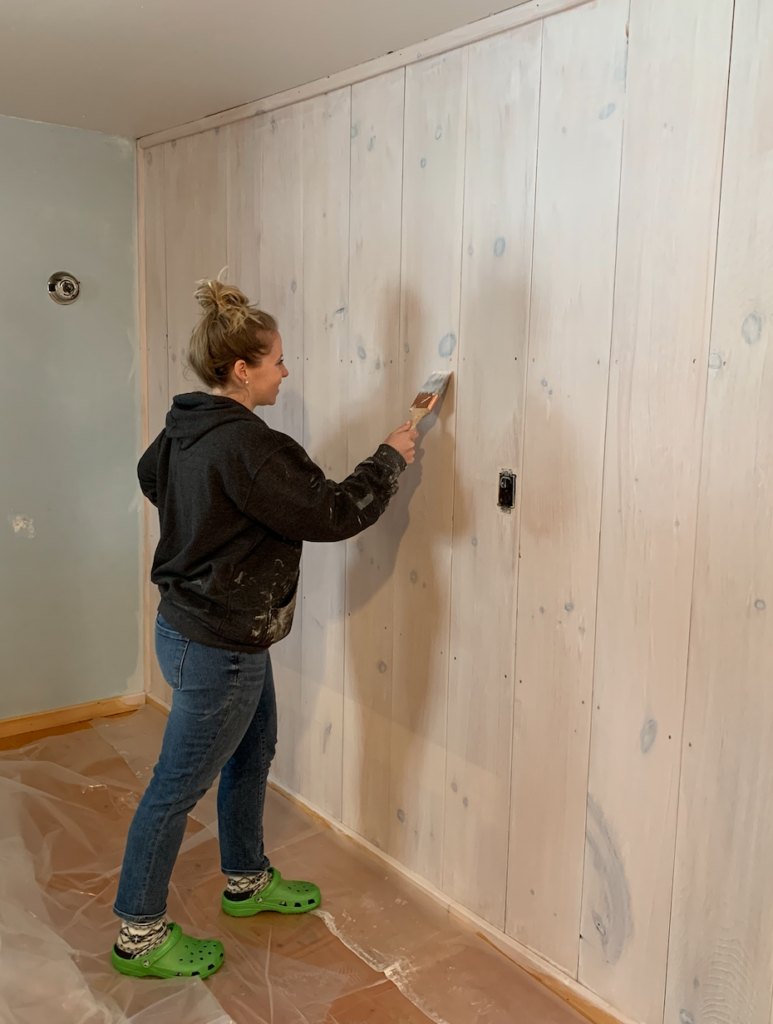
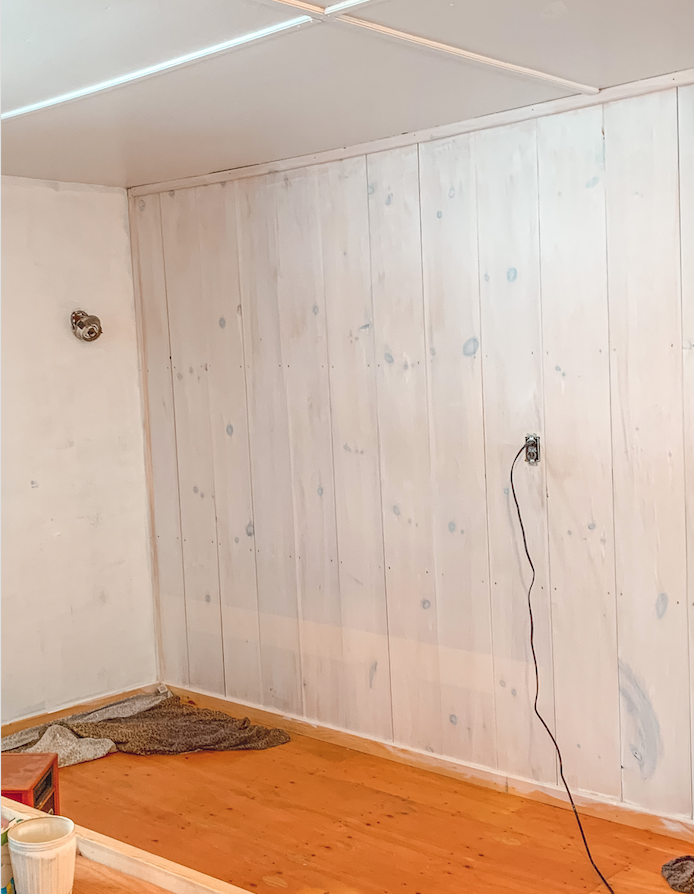
Pro Tip: When you are using your paintbrush or wiping with a rag, always go in the same direction. I tend to go the same direction of the wood grain.
It takes a lot of practice to get the hang of it. One coat may not be enough, you may have to do a second coat to get the look you want. If you wipe off too much, you can always go back over it. There are lots of little things you may have to tweak in order to get the consistency you want. You also want it to look consistent across your whole wall, so keep that in mind.
More Tips on Whitewashing Walls
Your brush strokes can help create texture, so I ran my brush from the top of the wall, all the way down to the bottom without stopping in the middle. This created an even coat.
Be careful not to let the whitewash pool at the bottom of your wall. You don’t want to have any bubbles or drips.
Because this is watered down paint, you can wipe some of it off if you don’t like it. Just make sure you do this before it dries too much.
Go lighter with your first coat and see how you like it. You can always add more coats later.
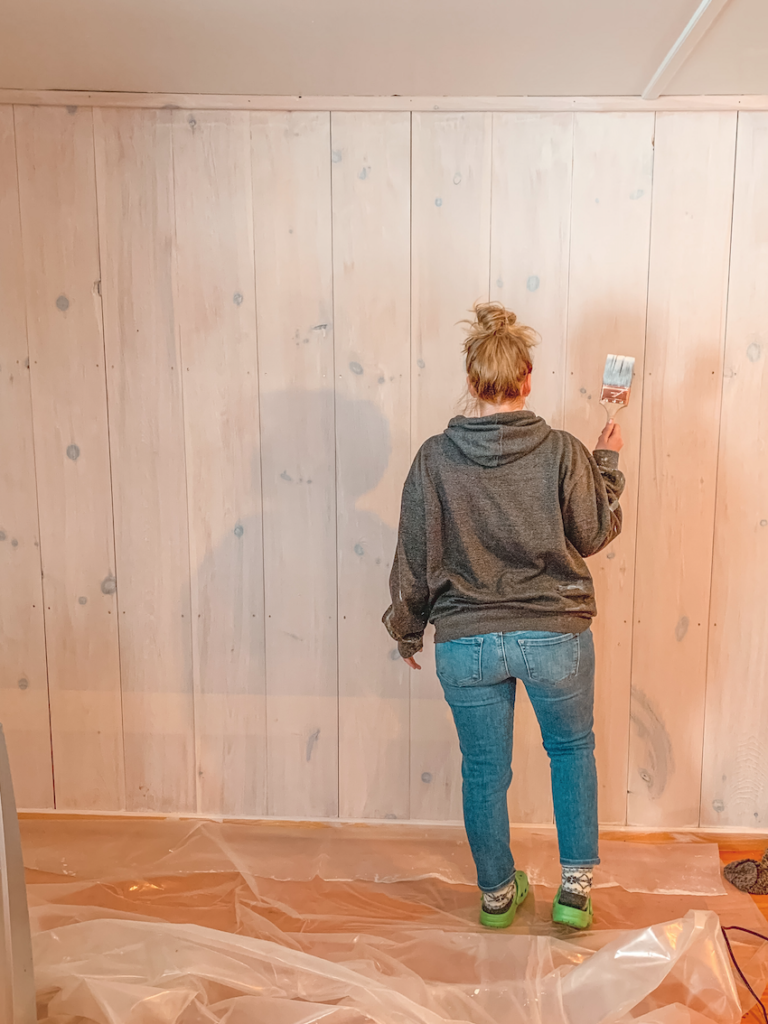
I hope this tutorial gives a better explanation on how to whitewash walls. It really is an art to get the texture you want, but once you do it will be worth the trial and error. Stay tuned for more updates and DIY projects in these cottages.
Pin this for later!


Leave a Reply