A little backstory before we get started on this DIY cottage makeover tutorial. My family and I bought an old water skiing camp in January with dreams of turning it into a wedding venue and event center. This property included four main buildings and five cute little cottages all on 4000+ feet of water frontage. This meant a lot of DIY projects and makeovers to be completed over the next year.
The only problem was, well we live in Maine and we purchased the property in January. So there is only so much you can do in the winter when you don’t have much heat. I am going to take you step by step on how we transformed this cottage on a budget.
Cleaning
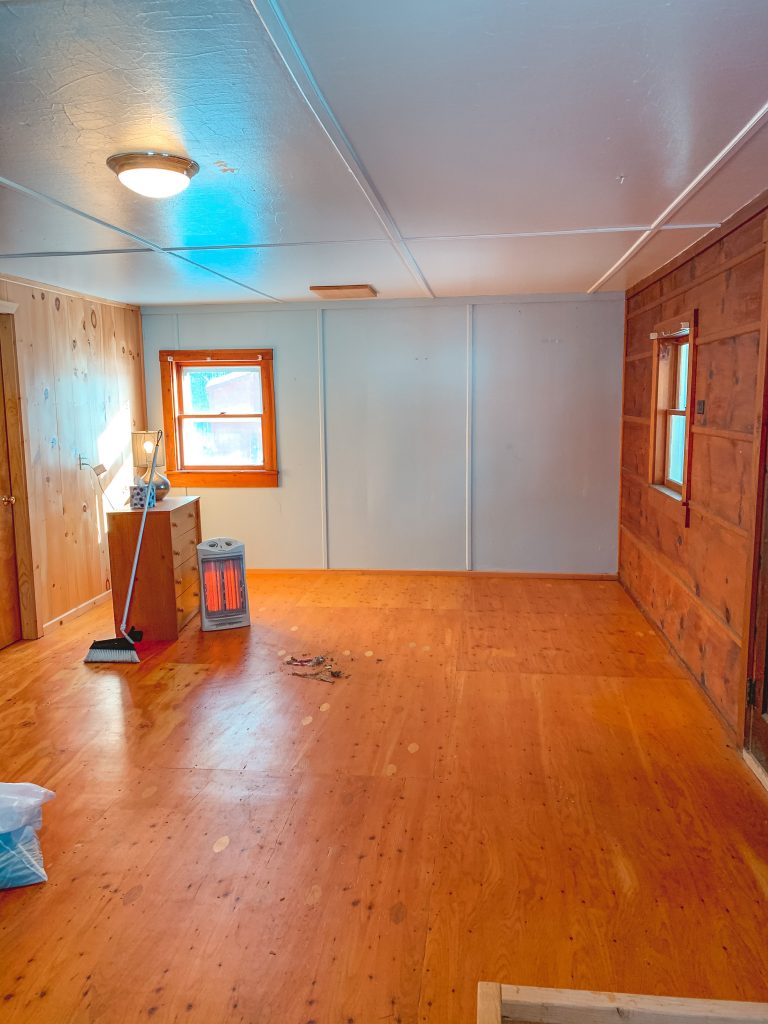
The first step to our cottage makeover was to clean the place. We took all the pictures off the walls and moved all the furniture onto the porch. The place needed to be cleaned from top to bottom. So once we emptied the rooms we got started. Once every thing was cleaned up, then we could determine what we could keep, what we could renovate and what needed to be replaced. This was a crucial first step because we were also able to take inventory of the things we could reuse and the things we needed to buy.
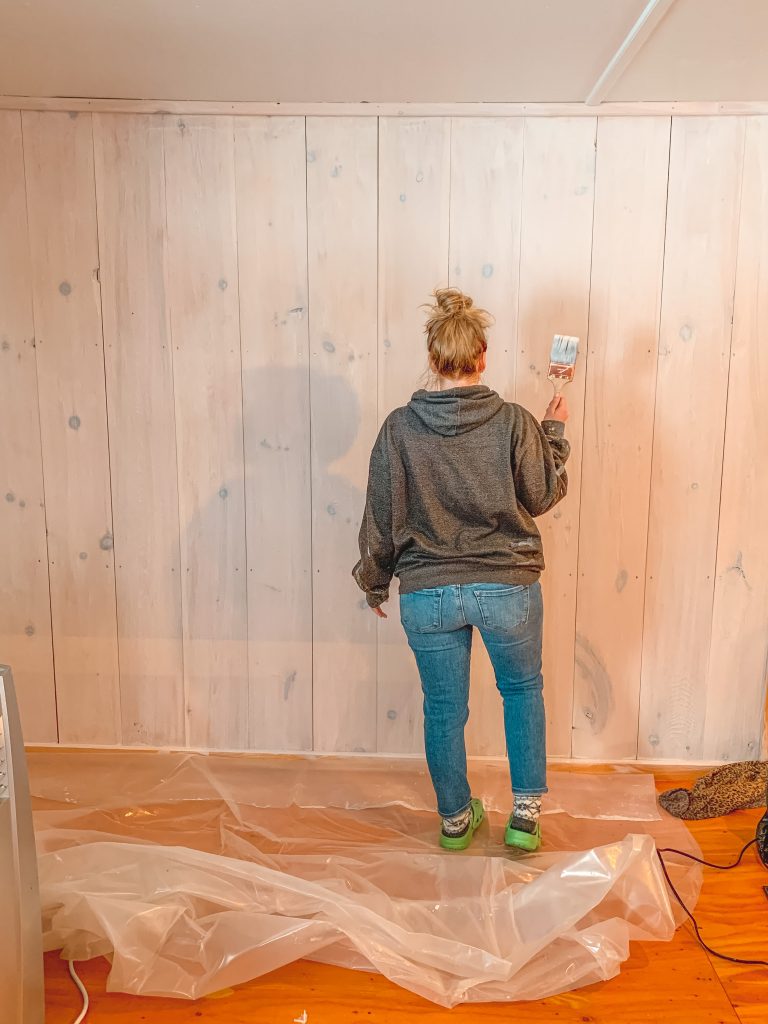
White Washing the Walls
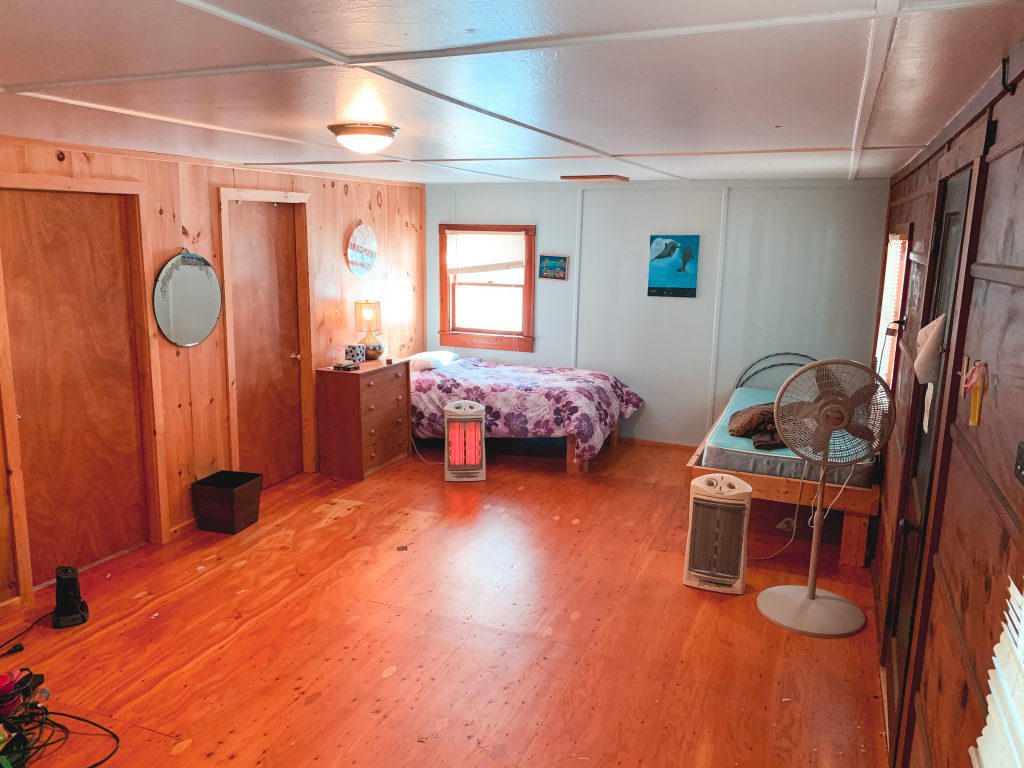
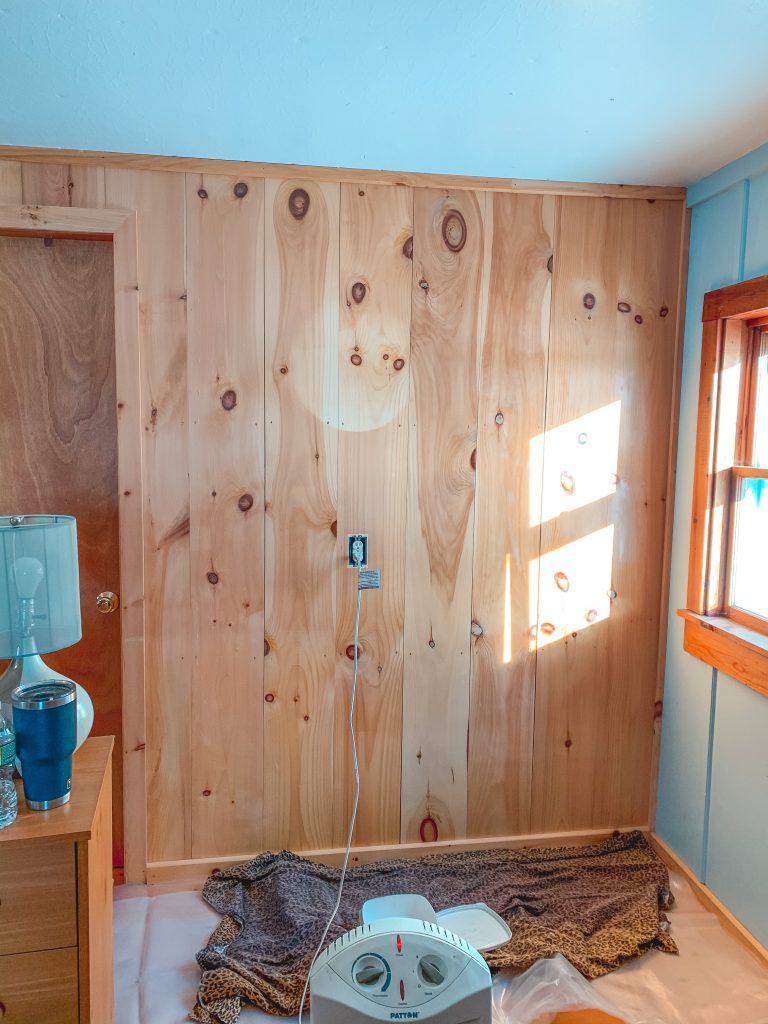
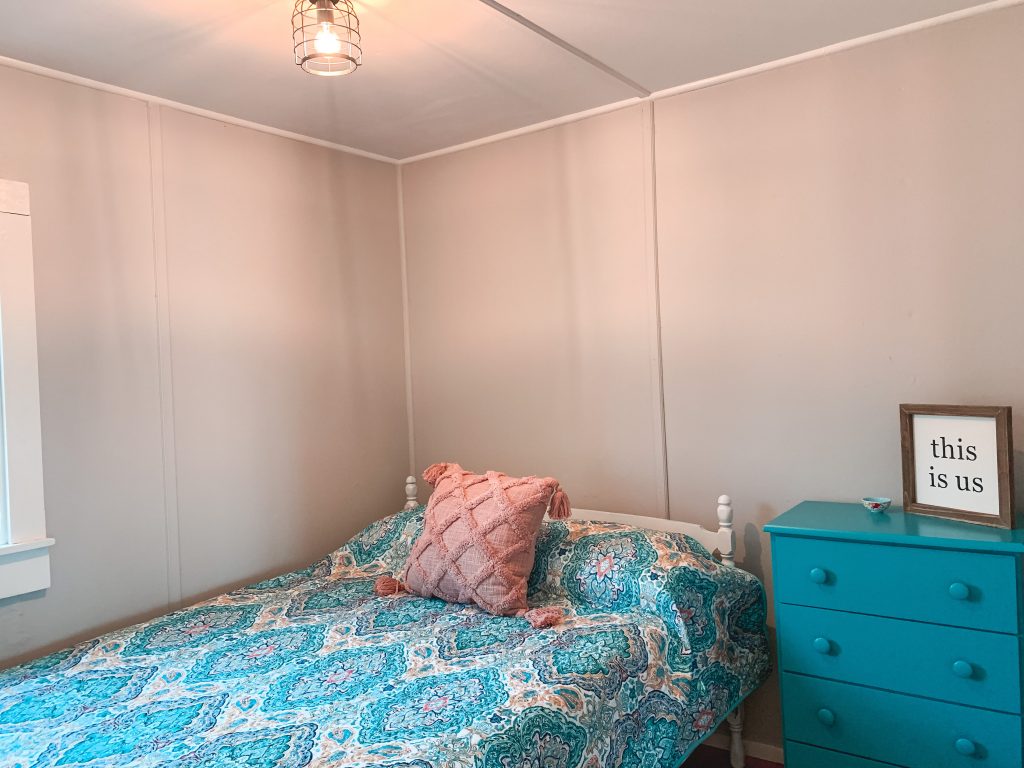
A little bit of paint goes a long way when you are renovating a room. In this cottage, the walls were a rustic tongue and groove pine. The walls were in great shape and we really liked the grain in the wood. We decided to white wash the walls so that you would still be able to see the wood grain through the paint mixture. White washing really brightened up the room and made it look larger. Click here to see the full tutorial on how we white washed the cottage walls.

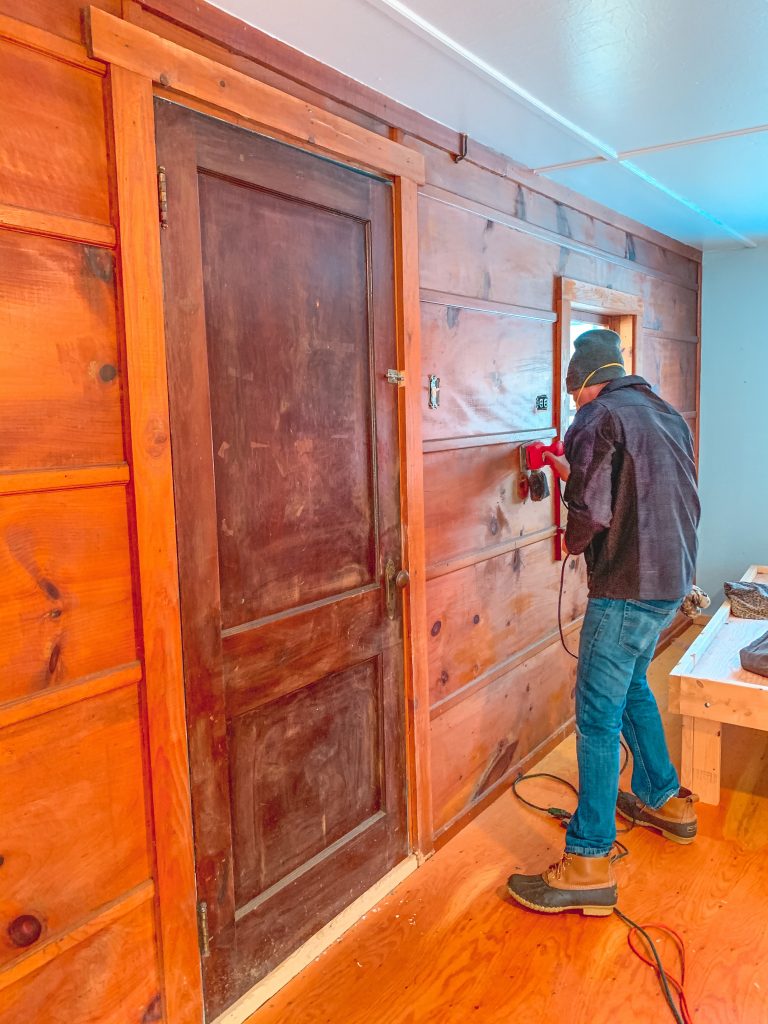
Painting the Trim
Like I mentioned before, most of the cabins were tongue and groove pine all the way around, including the trim. When we decided to white wash the walls, we also knew that the trim had to be painted as well. This made a huge improvement in brightening up the cottage. It took a few coats of paint to get the color we wanted.
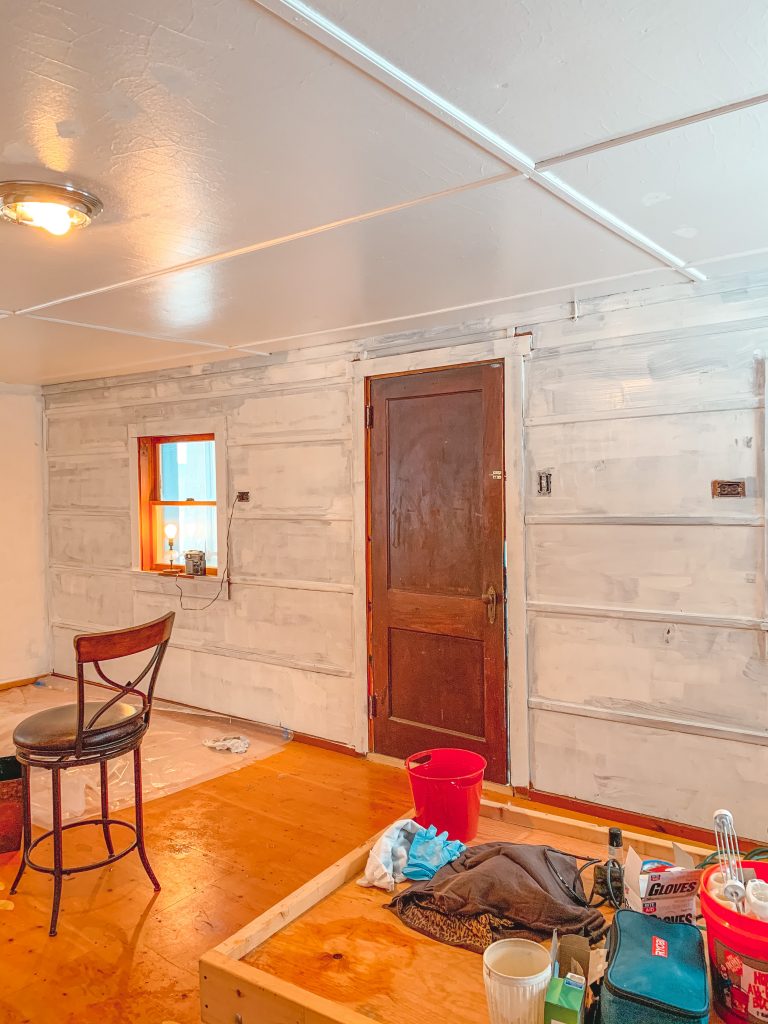
Painting the Ceiling
This may or may not work in the area you are trying to renovate, but it certainly helped in our space. The ceiling paint in the cottage was chipping and yellowing in some spots. We used a roller and some flat white paint and just put a fresh coat over the entire thing. It made it look like new!
Updating Furniture
This place came with A LOT of furniture. Some of it was broken in places or scratched or discolored, but we couldn’t just throw it away! These are the best kind of projects because you can experiment and you have nothing to lose! Our DIY projects for this little cottage makeover included lots of sanding, scrubbing, painting and spray painting.
Outdoor Furniture
When we decided to update some of the outdoor furniture, the first step was to scrub it really well. The wood was old and dry and there was lots of dust collected on it. If the furniture is too dry, painting it will be tough. THe paint just soaks into the wood and it takes many coats. For our DIY furniture projects we used mostly spray paint and some wood stain. For the outdoor furniture, we went with a bright color to really make them stand out on the porch.
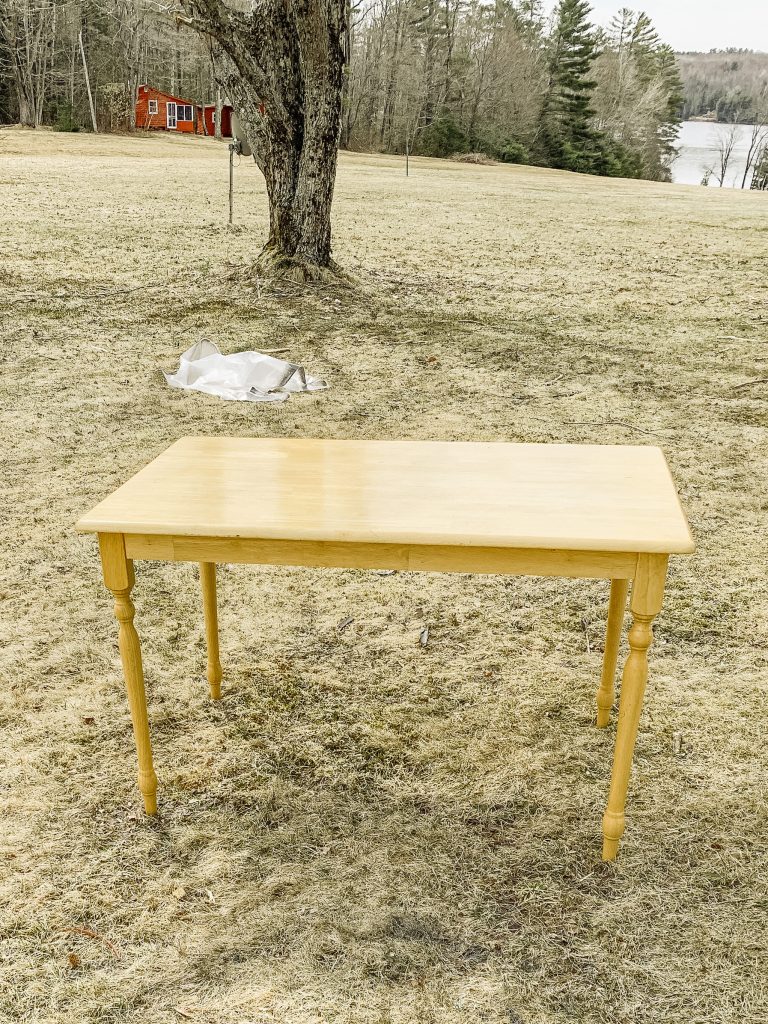
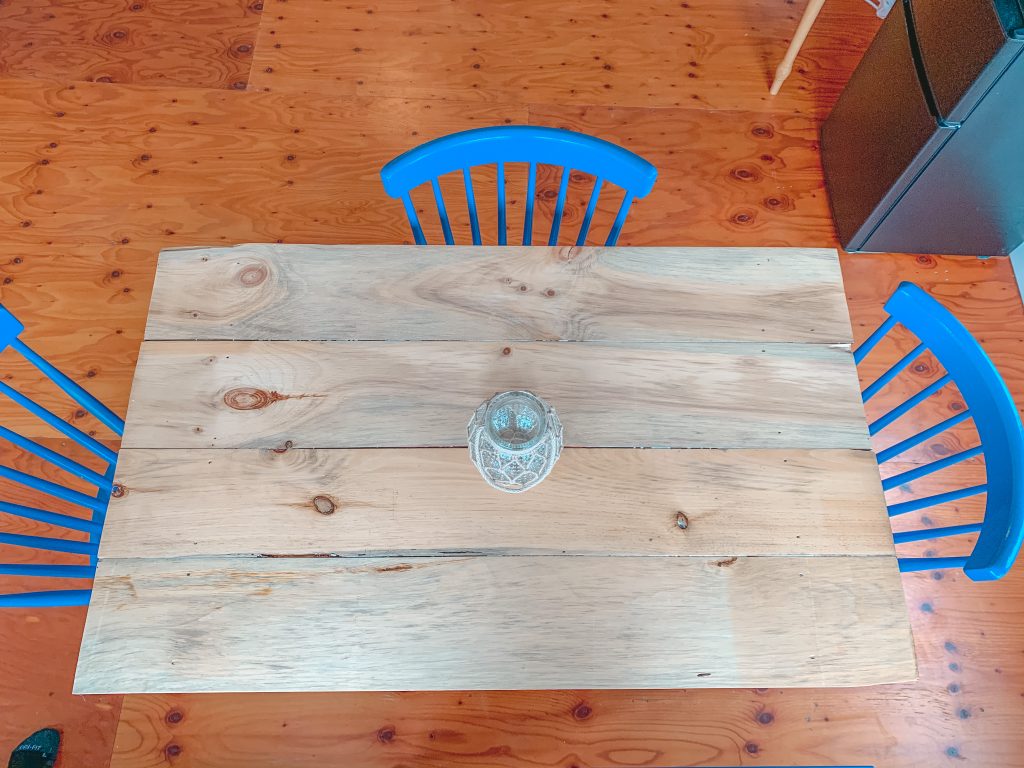
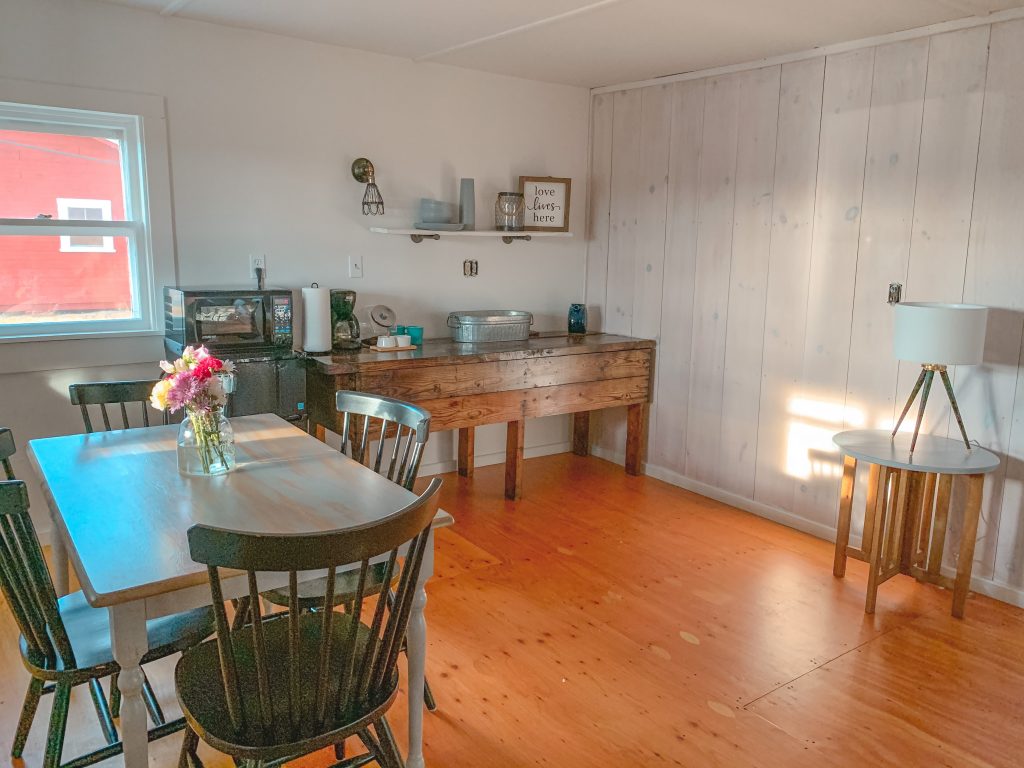
Kitchen Table Update
The kitchen tables were really cute and the perfect size for the cottages. But the table tops were scratched and a little beat up. We started by trying to sand the table top, but it had many many thick layers of shiny coating on the top. We only decided to sand it because you could not get paint or stain to stick to the surface because the coating was to glossy. To solve this problem, we just resurfaced the top with some old barn boards. To start, we spray painted the legs of the table. Luckily the spray paint stuck to the legs without too much dripping. And then we cut some old barn boards to the size of the table to and screwed them down. Once we had a new top, we stained it and it looked good as new! You can get the full tutorial here.
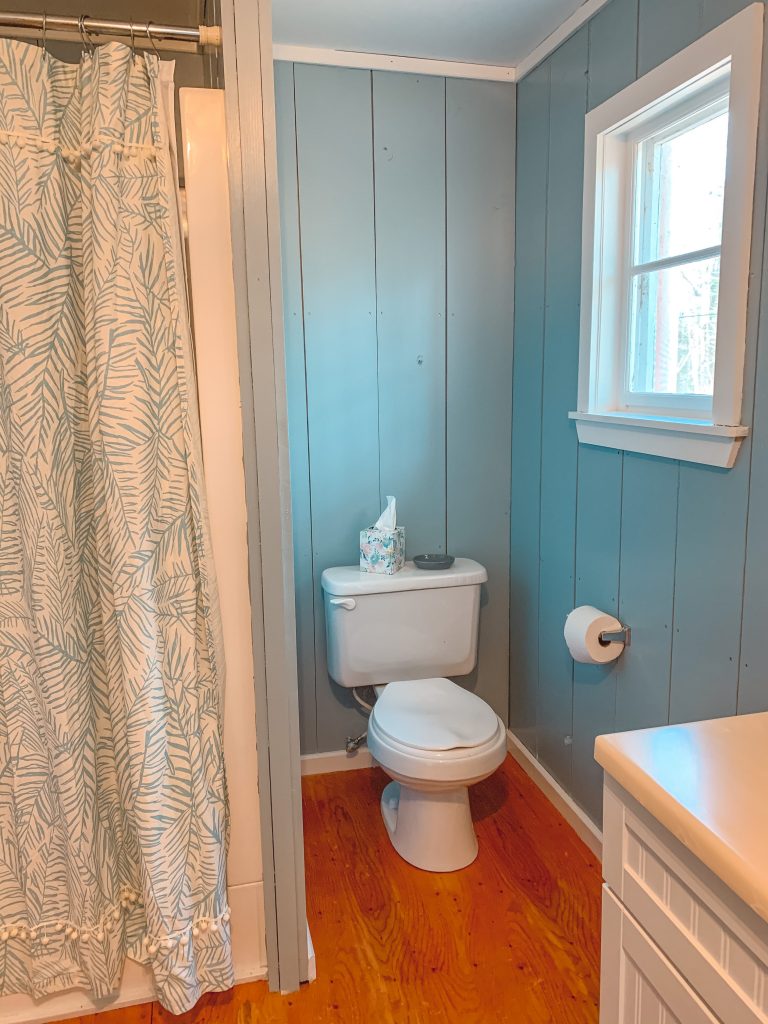
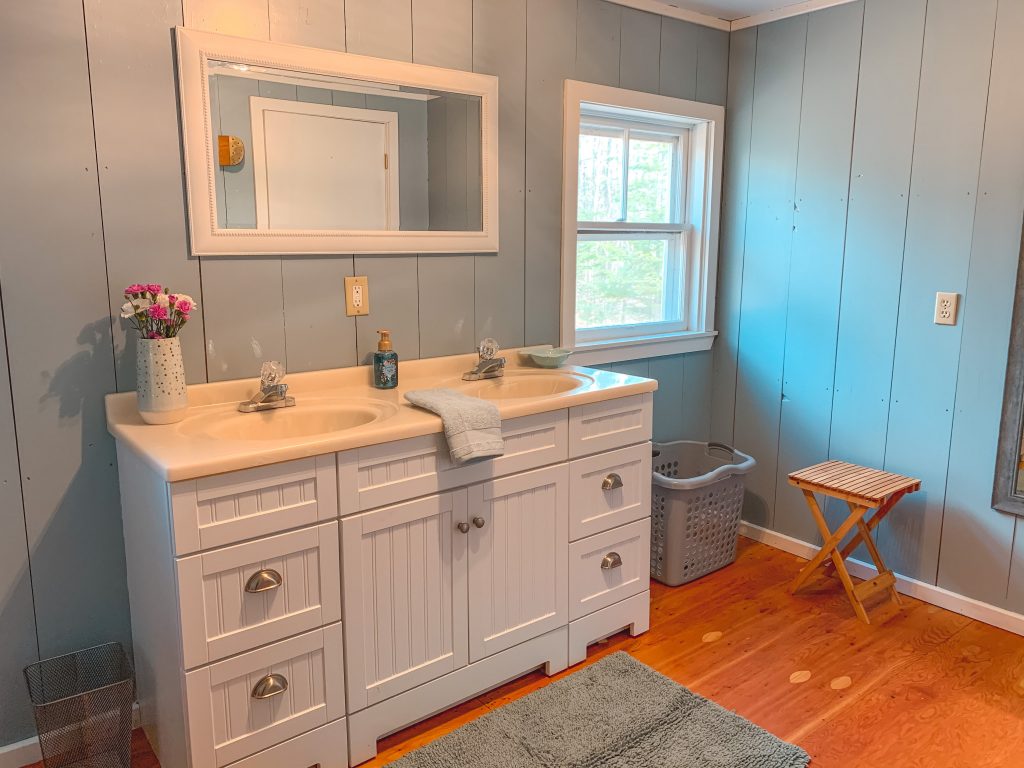
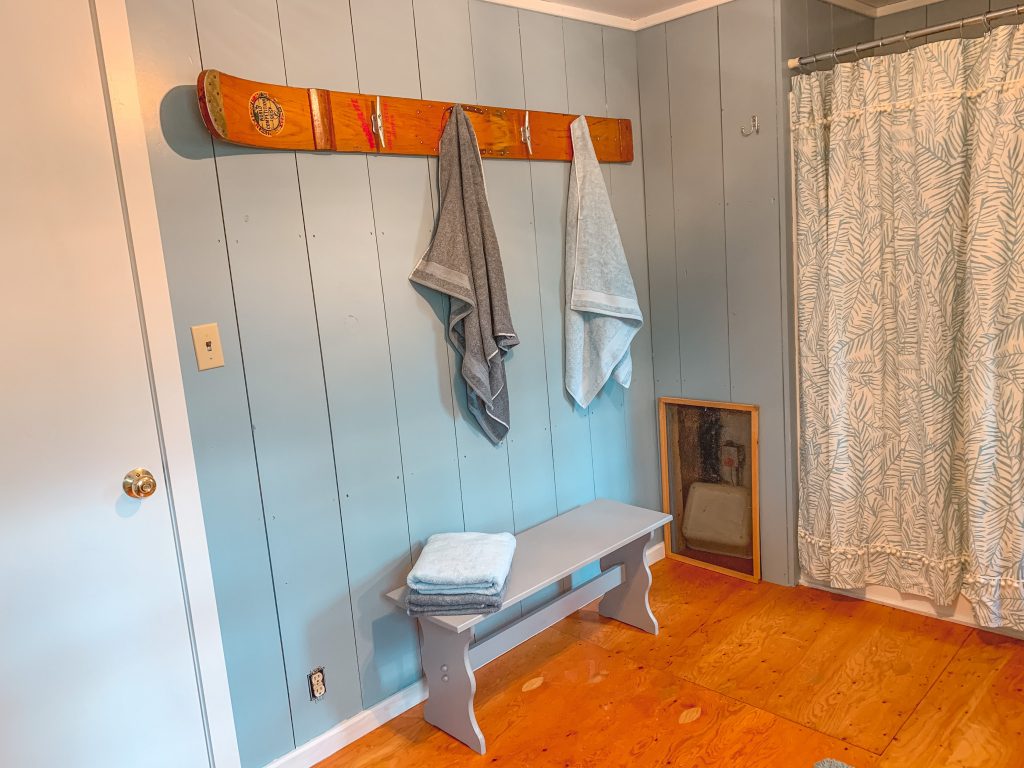
Bathroom Update
We were so fortunate that these bathrooms had a great layout. Each cottage had a large bathroom with his and her sinks and decent sized showers. Just painting this room and cleaning the appliances really transformed the place. We opted for some bright and fun bathroom colors that would really give a cottage vibe.
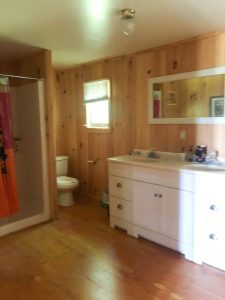
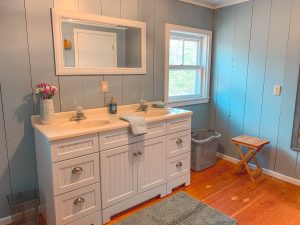
Once everything was all painted, we were excited to decorate. After we had decided on our color schemes, we went shopping. We got a shower curtain, matching towels and some cute decor that we found on sale.
Lights
Purchasing and installing new light fixtures made a huge difference in the cottage. The previous light fixtures were old, dirty and didn’t give off much light. We purchased new, more modern fixutres from Amazon and used LED bulbs. The new light fixtures made the cottage look more modern and finished. I would say that this part of our DIY cottage makeover was maybe not as crucial as the rest, but definitely something to consider if your budget allows.
Decorating
This is definitely my favorite part and I think that the decorations really bring the whole project together. When we were looking for decorations for furniture, we tried to find things that were on sale, or shop at places we had coupons for or discounts. We were on a budget and the more expensive part of the process included electrical work and plumbing. It is really fun to shop for decor and see what you can find.
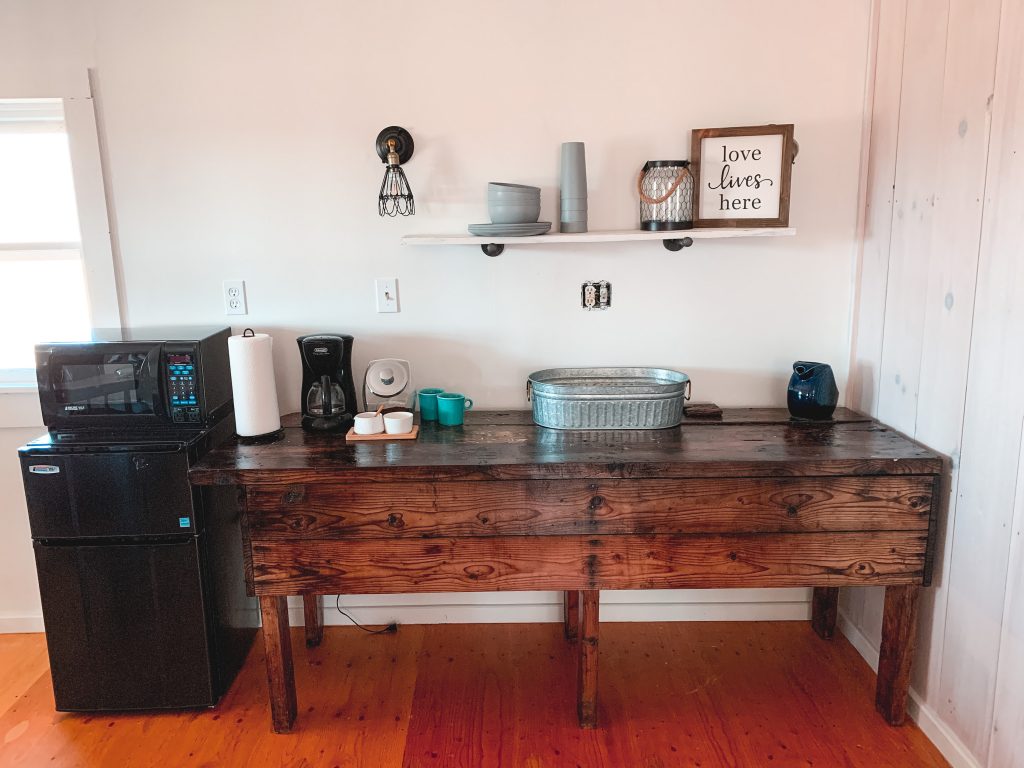
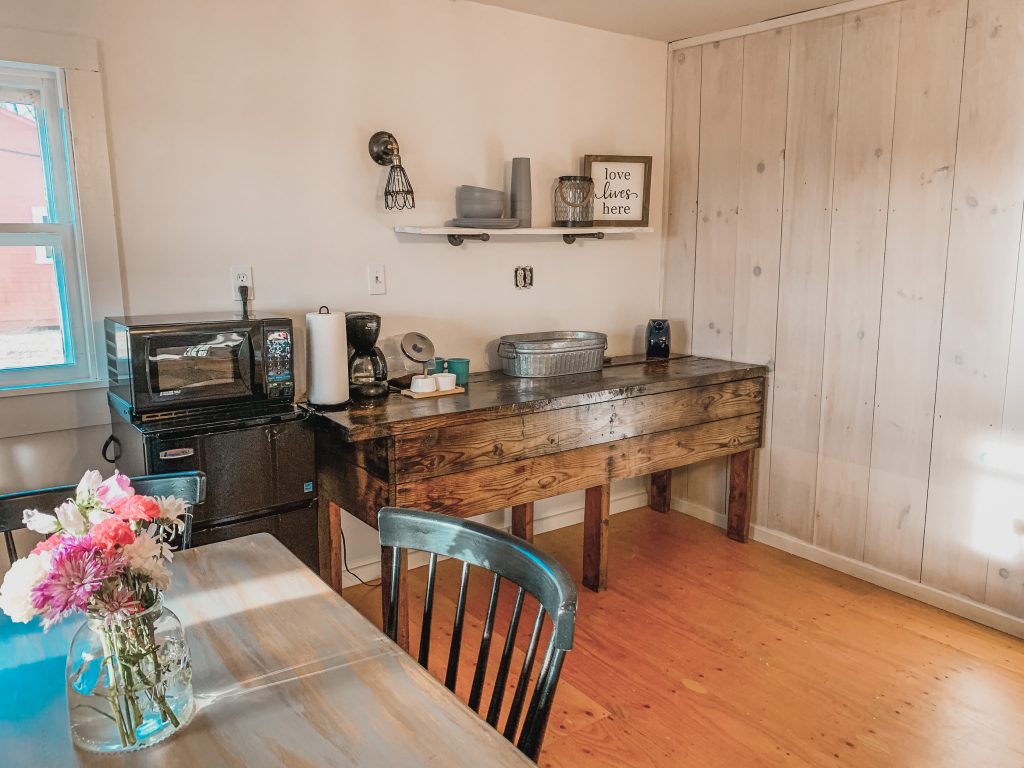
We bought this old trunk at a yard sale and used it as a coffee table that double as storage for linens. For the couch, we purchased a pull out couch that pulled out into a queen sized bed at a discount furniture store. There are lots of little ways that you can use the things around you improve the space. In our kitchenette we upcycled an old table that we found at a yard sale and it was perfect for our little coffee bar.

Renovating or sprucing up an old place can be so much fun and you will be amazed at how small inexpensive improvements can make a big difference. I hope that this post gave you some inspiration to make some improvements in your own home. If you have already done a little DIY cottage makeover, I would love to hear your ideas!


Leave a Reply