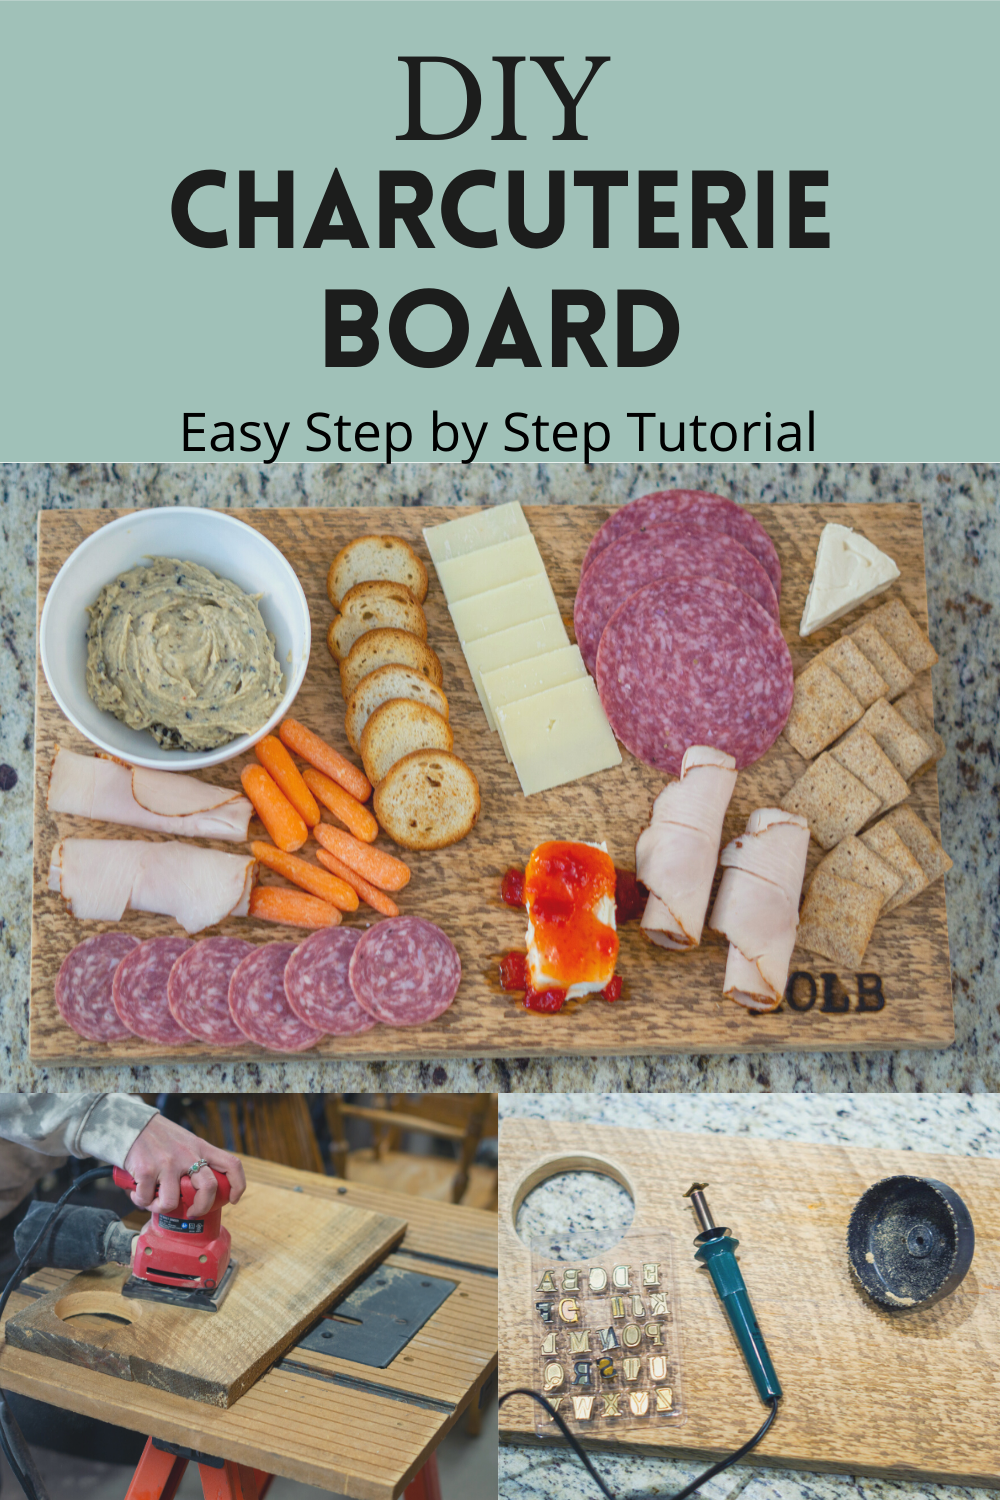
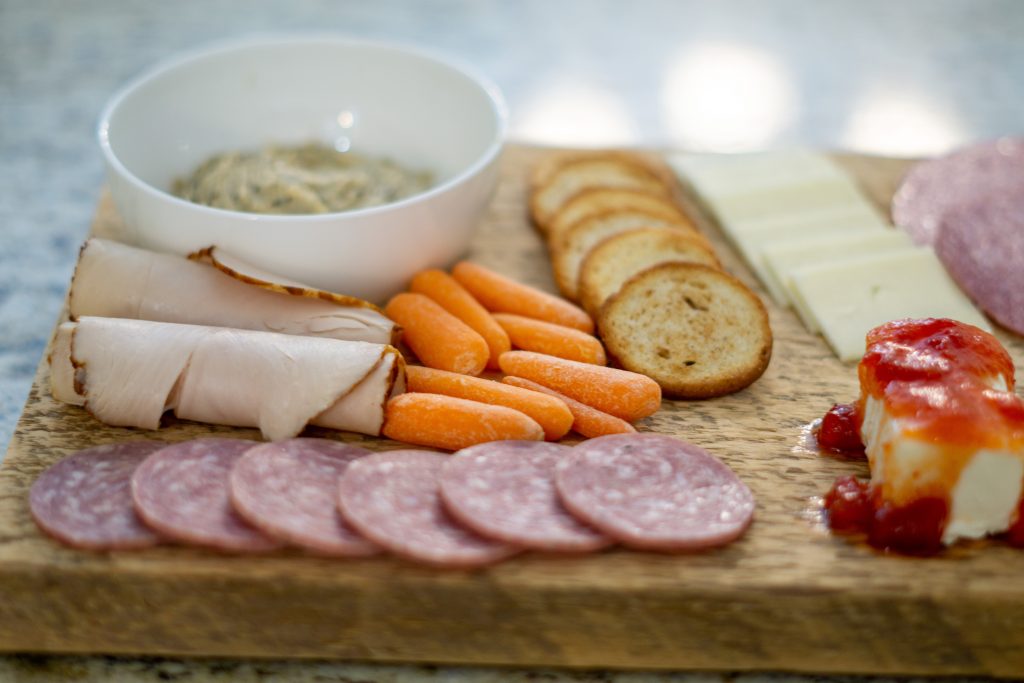
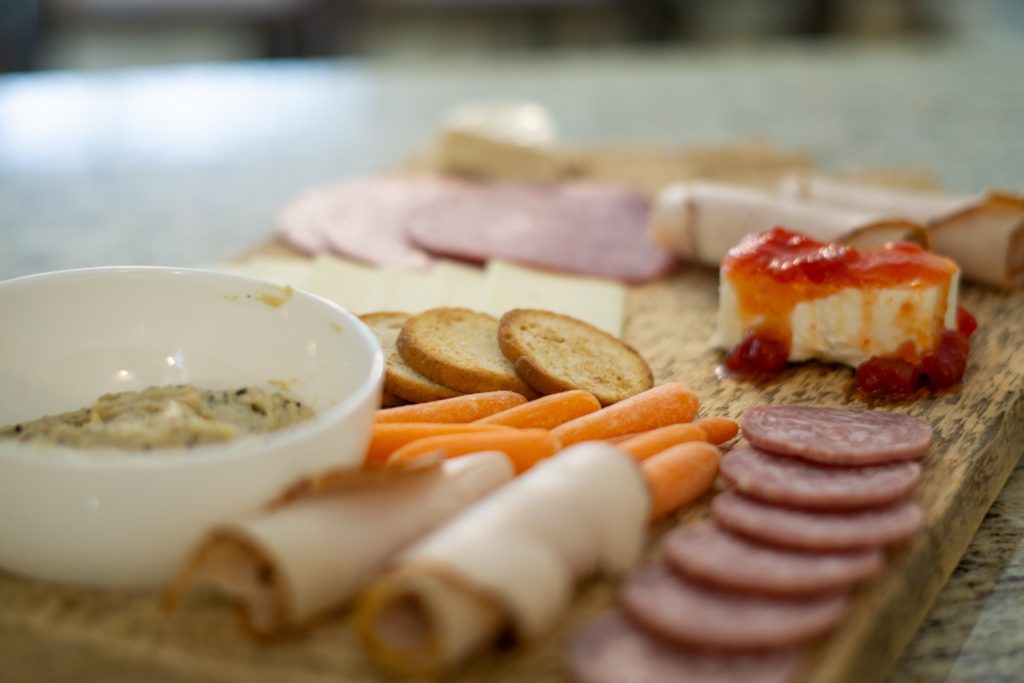
I love a good girls night that includes wine, dogs and a charcuterie board full of all of our favorite meats and cheeses. Charcuterie boards are so beautiful and so easy to make! You may have all the materials you need to make the DIY charcuterie board at home. They can make really great gifts, especially for a hostess. Or you can really impress the guests at your next party with the meat and cheese board that you made and assembled yourself.
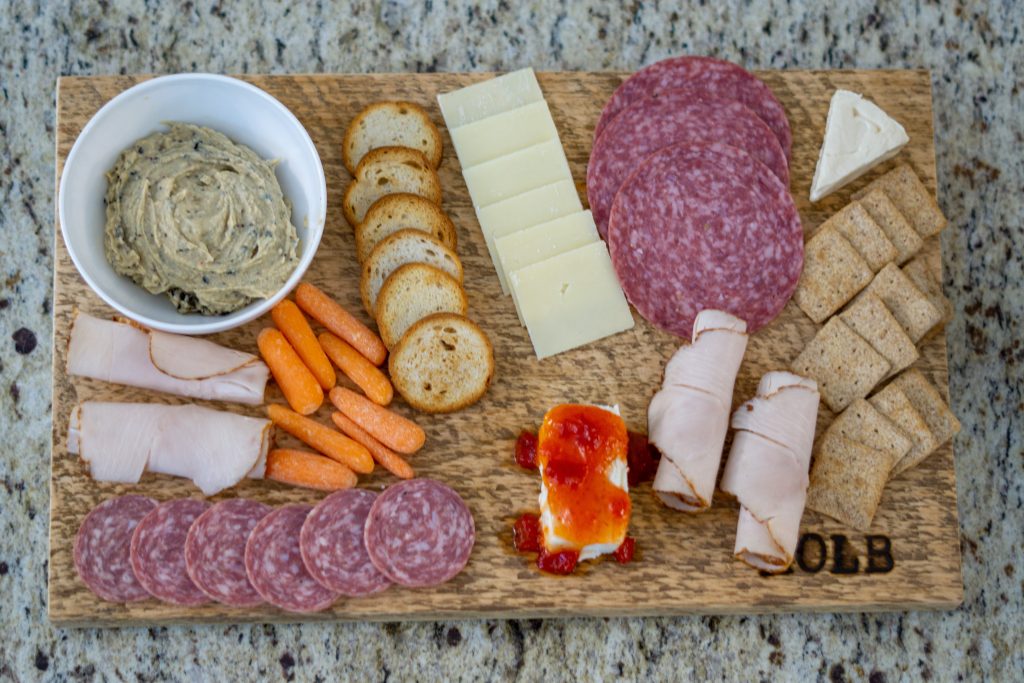
Due to my love of meat and cheese trays, I decided to make my own boards to give as gifts this year and they came out so cute! If you are fairly comfortable with a couple power tools then you can easily make your own charcuterie board in a few hours. You need just a few materials and you can get started!
DIY Charcuterie Board Materials
- Barn Wood or Old Wood Board
- Chop Saw (or a skill saw)
- Drill
- Hole Saw
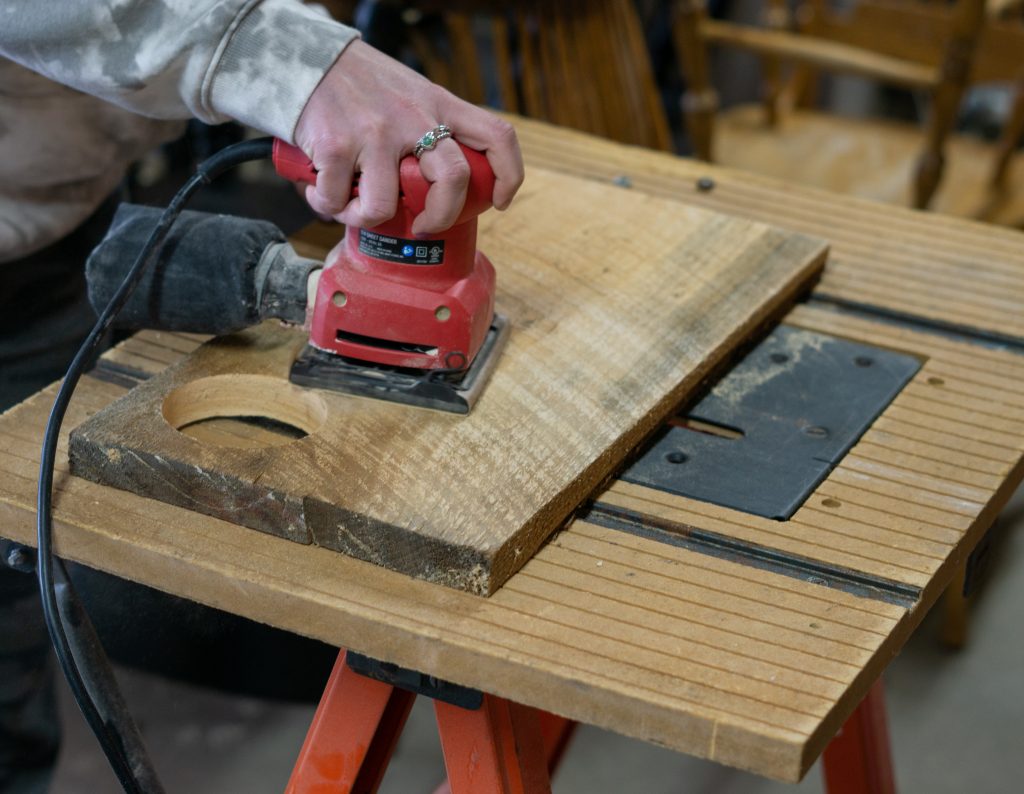
- Hand sander
- Sandpaper
- Mineral Oil
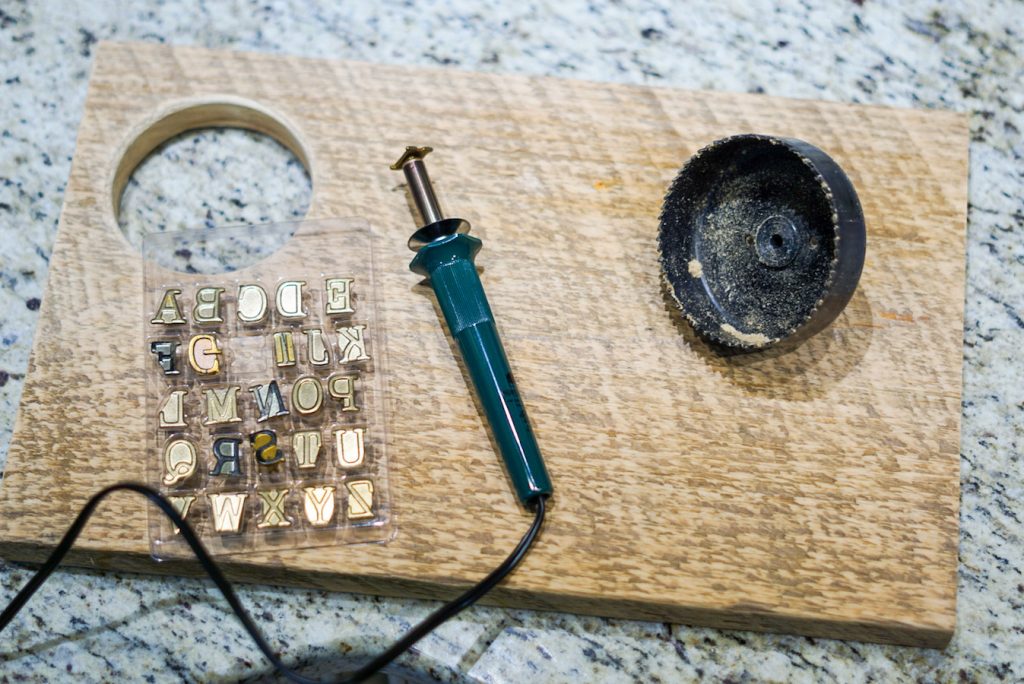
- Wood Burning Toolkit
A few of these materials are optional. If you don’t want to purchase a hole saw to cut a hole in your charcuterie board, you can just set a cute bowl on top. If you are using an already smooth board, you may not need to sand it.
For this project I used some old weathered boards that I found from an old farmhouse. Because they were pretty worn and splintery, I needed two different grits of sandpaper to get them to be smooth enough. If you don’t have an old board, you can try looking at a local lumbar yard or Facebook Marketplace is a wonderful place to find odd items like this.
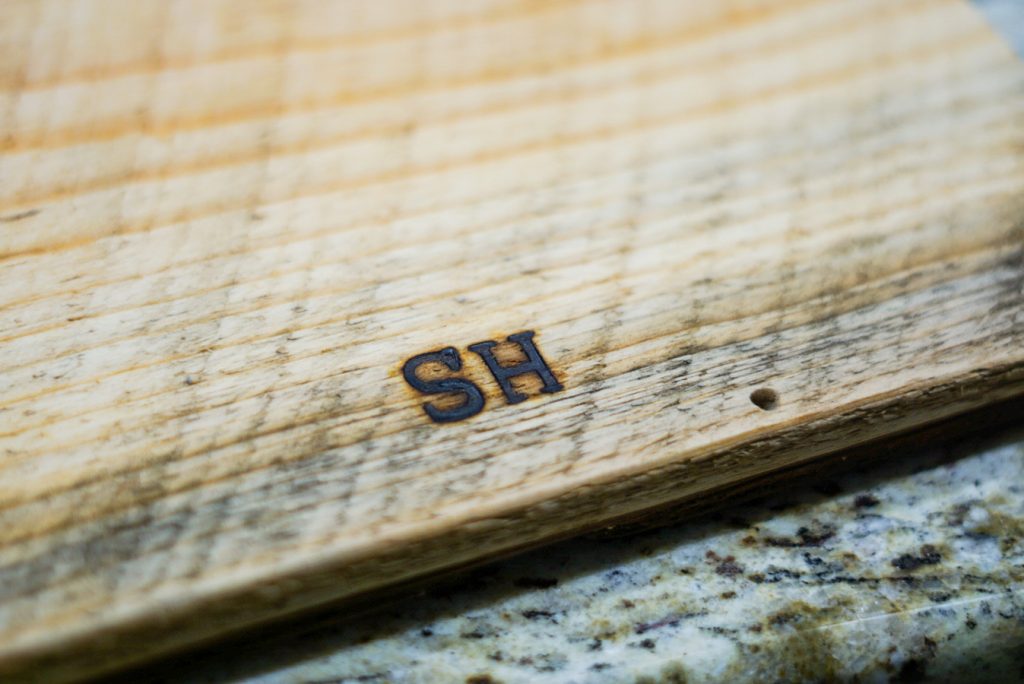
I choose to use a wood burning tool to engrave the initials of the recipients of the board. The personalization was a nice touch, but also optional.
Step One: Cut your Charcuterie Board
I was able to make four different charcuterie boards using one 8 foot piece of wood that I had found. So each board was about two feet long. I used the chop saw to cut each board about two feet in length.
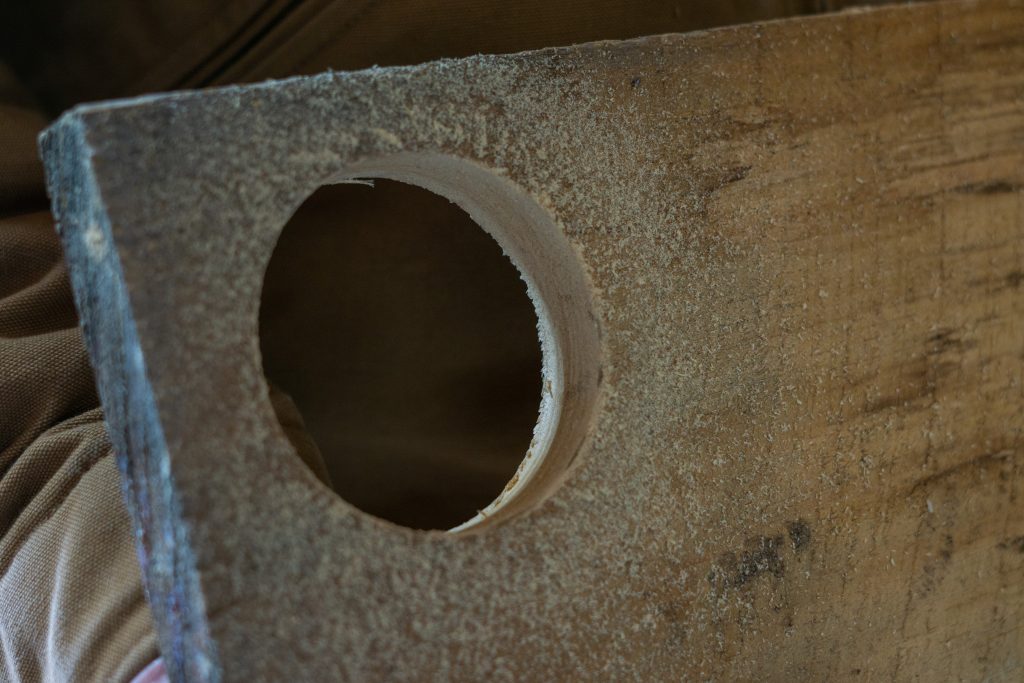
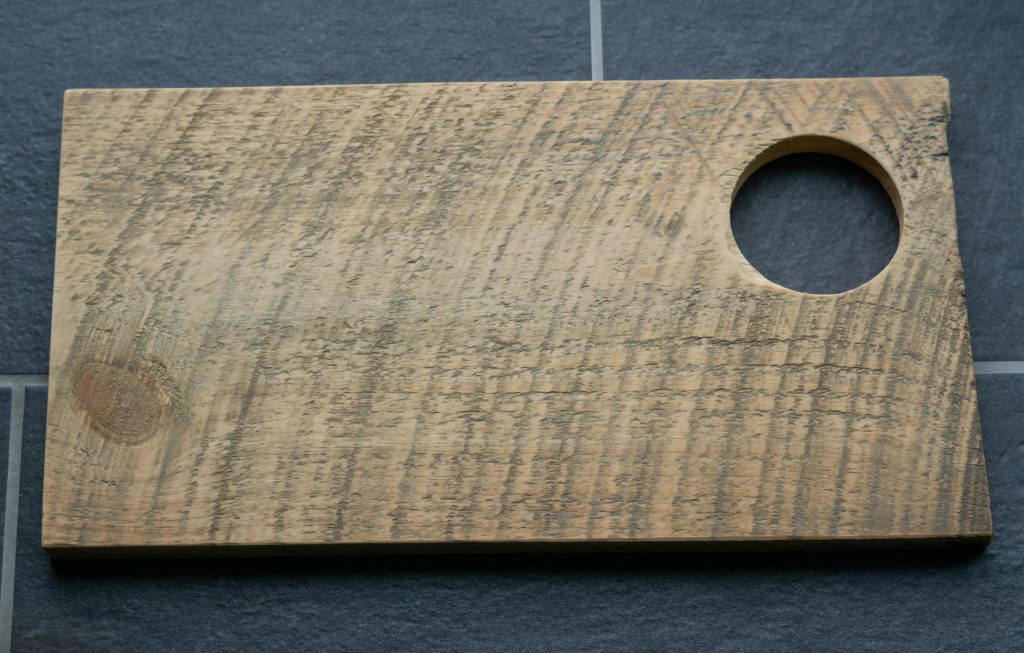
Step Two: Cut the Hole in your Charcuterie Board
This step is optional, but I thought it was a nice touch. You will need a drill and a hole saw for this step. I purchased bowls ahead of time that would fit in the hole. Attach your hole saw to the drill. Then decide where you want your bowl to go. I chose a corner, I was just careful not to get it too close to edge. Clamp your board down to a hard surface with the corner you want to cut hanging over the edge. Use the hole saw to drill straight down where you want your bowl to go.
Step Three: Sand it Down
You may or may not need to do this part depending on the wood you use. For my boards, I used a 50 grit piece of sand paper first and then used 220 grit after. I sanded the top, bottom and all four sides. I also sanded around the cut for the bowl. It look me about 15 minutes per board to get it sanded down smooth enough.
Step Four: Wash Your Boards
After you have sanded the whole board down so it is nice and smooth, you will want to wash it. I used a mild soap and warm water and scrubbed the boards with a sponge. Then I let them dry overnight.
Step Five: Coat your Charcuterie Board
You will want to seal your board so that it is safe to put food on. There are lots of different options out there. I chose to use mineral oil. This soaks into the wood and gives it a really rustic look. It is also safe for you to put food on.

Step Six: Wood Burning
This step isn’t necessary, but it is a great way to personalize your board if you are giving it as a gift. I purchased this wood burning tool on Amazon and it works pretty well. At first I practiced on some scrap pieces of wood until I got the hang of it.
This DIY charcuterie board is a really fun and easy project that you can do in a couple hours on a Saturday. You can get really creative with it too. If you want your board to have a handle, use a jigsaw to cut one. Maybe you want your board to have a hole in each corner to fit two different bowls. You can use the wood burning tool to freehand a design if you want. Let me know your ideas in the comments!
If you are looking for more DIY Home Project Ideas, check out some of my other tutorials
Industrial Pipe Shelving
DIY Entryway Bench Tutorial
DIY Herringbone Coffee Table
DIY Wood Serving Tray
Pin this tutorial for later!


The board itself is gorgeous and I love all the yummy foods you put on it. It looks pretty and delicious!!!
Make Life Marvelous