I have seen these DIY book stack home decor all over Pinterest and Instagram. They are so cute and such a great way to recycle old books! Another thing that I love about these is that they are so versatile. You can customize them to fit your home decor whether that be rustic farmhouse or more modern. These personalized stacked books also make great holiday decor.
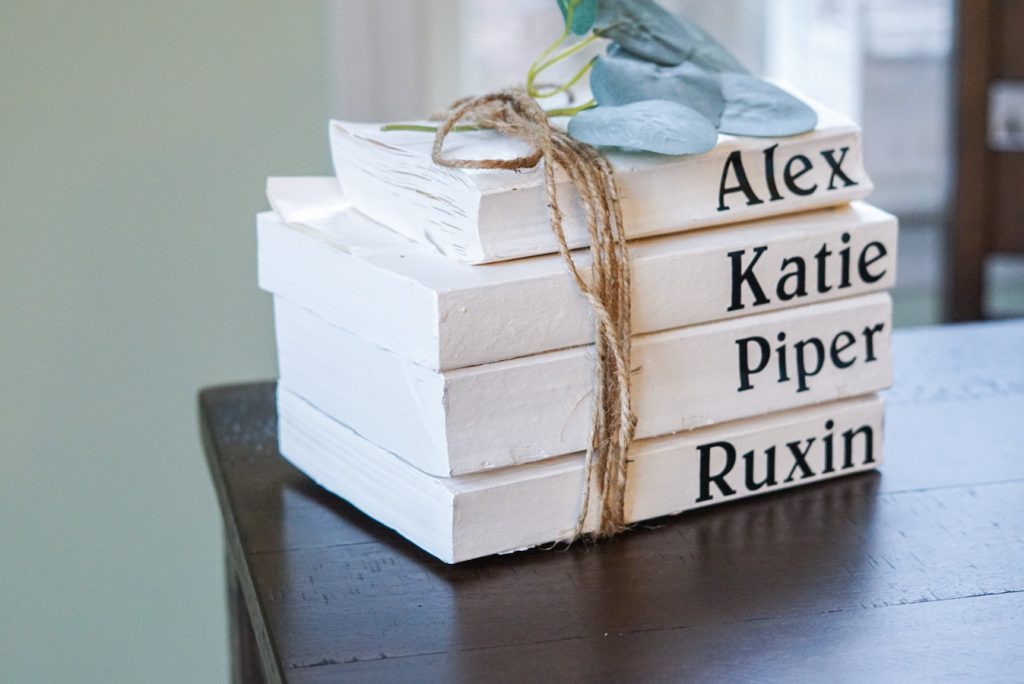
After looking at a few photos of these books, I thought I would go ahead and try to make them myself. There are a variety of different ways to make them, but let me show you what I did.
Materials
- 3 to 4 books
- White paint (chalk or acrylic)
- Paintbrush
- Twine
- Stamps + ink pad OR Cricut vinyl
When it comes to materials, there are so many alternatives that you can use to make your book stack unique.
Books
I used three to four books in my stacks. I think it is cute to use each family members name on a book for everyday decor. Or if you want to make them holiday related, you could use a popular phrase (Merry Christmas, Let it Snow, Happy Fall, ect.) You can use paperback or hardcover books. I did one of each, but think I like the looks of the paperback books better. I used some old books that we had in storage, but you can also buy them at the Dollar Tree.
White Paint
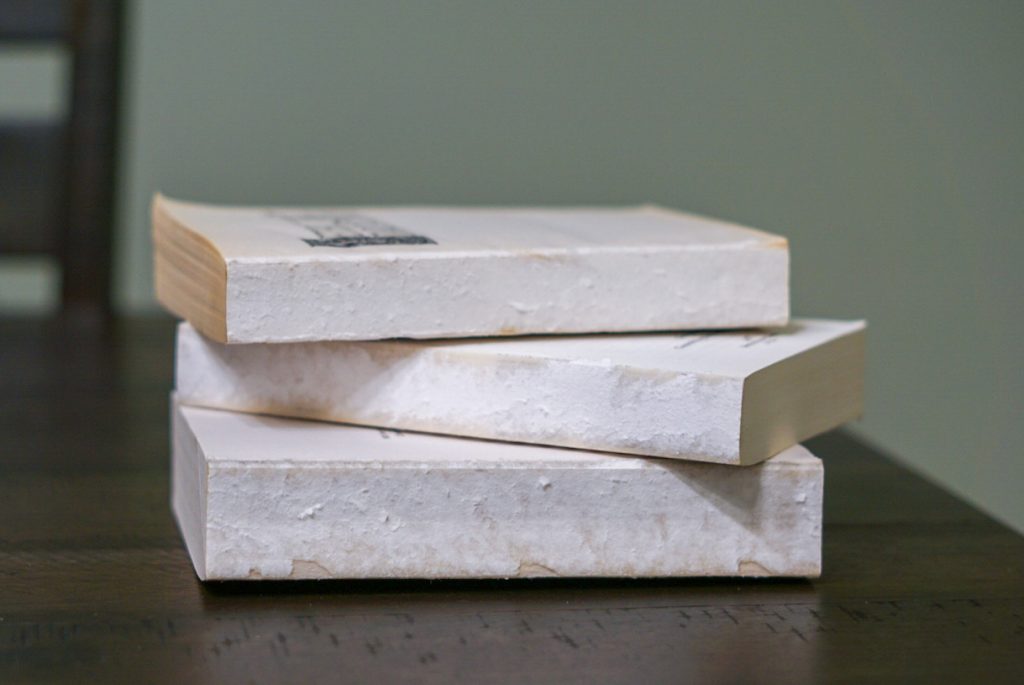
I say white paint, but you can really use anything that you would like. I think that an antique white or a light gray paint would also be really cute. Most of the tutorials I looked at online used chalk paint, but I just used some 97 cent white paint I found at Walmart. I will warn you that using acrylic paint did require many coats.
Lettering
The majority of these DIY book stack photos showed stamped lettering. However, this is not something that I had at home. When I went out to see if I could buy some, there was only one style of stamp available and no black ink pads. I was a little bummed, but determined to come up with alternatives. Although the stamps make the stack of books look more rustic, you have options here too. I decided to put my Cricut to use and cut some vinyl. You could also use a stencil and paint or freehand it with a permanent marker!
Twine
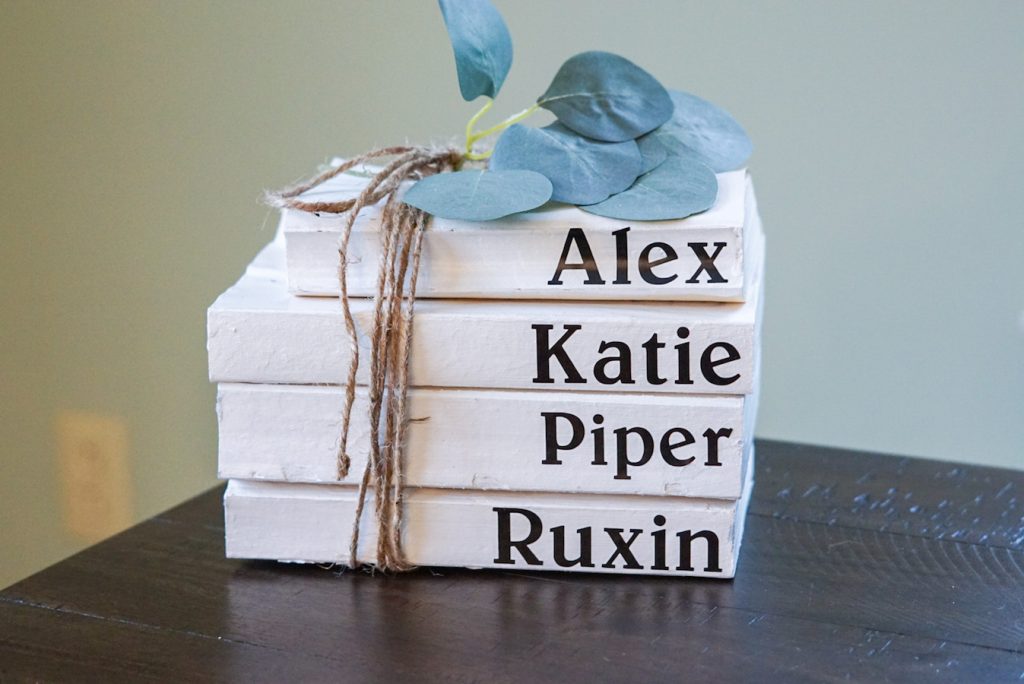
I used twine or jute rope because I already had some at home, but you could really get creative here too. I have see wide ribbon or wide ribbon with the twine on top that make super cute decor. The ribbon can be used to match holiday/season decor too. You could also use satin ribbon, yarn or cotton string. So many options!
Extra Decor
You can simply tie your twine in a neat little bow and it will perfect. There were some photos online using some type of greenery under the twine to give it a little something extra. I decided to use a piece of faux eucalyptus that I already had at home. For Christmas, I think I will add a piece of pine tree or a piece of cedar. You can get creative here and find something that will match your decor.
How to Make DIY Book Stacks
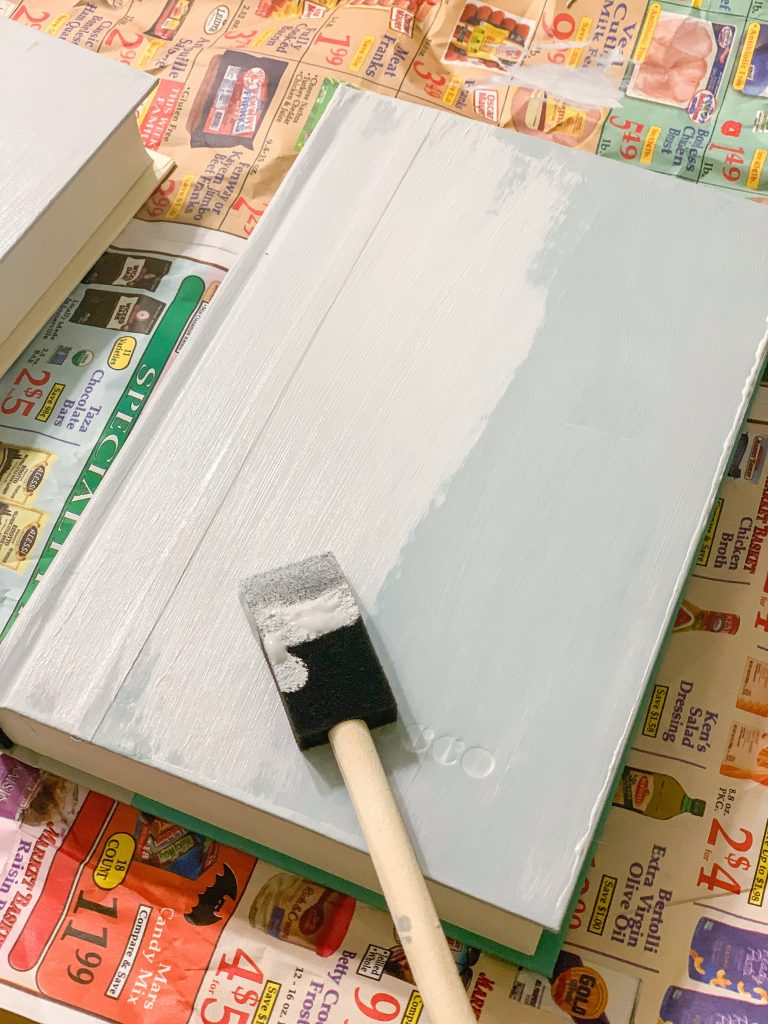
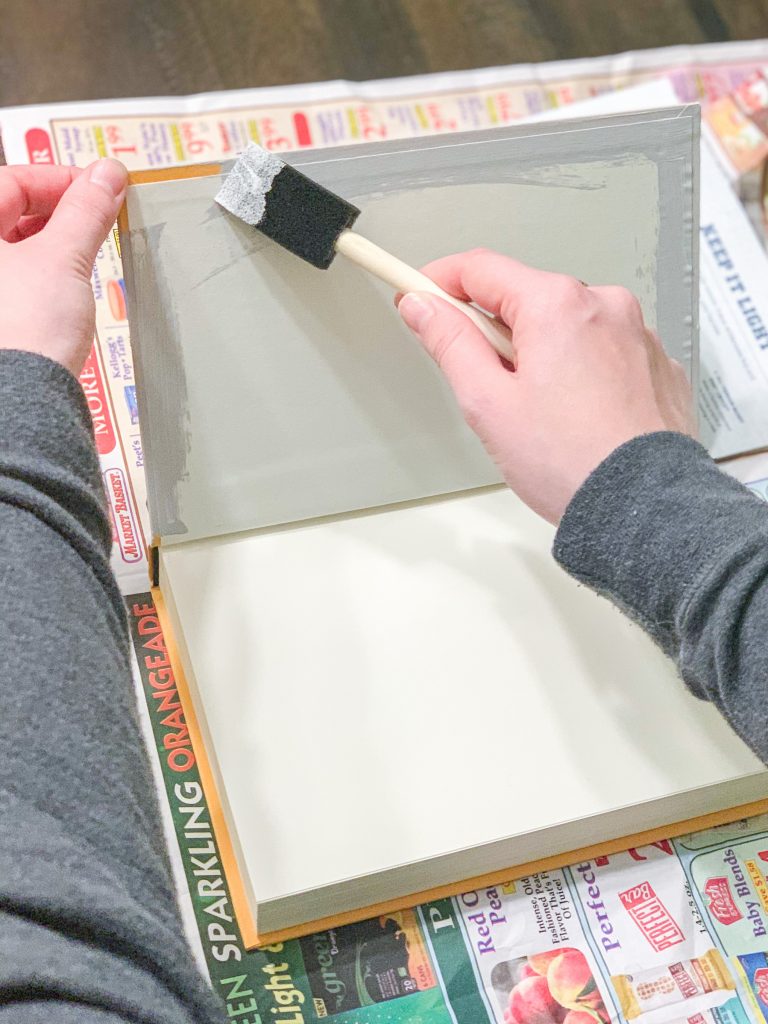
Start by taking the covers off the books. If you are using paperback, peel off the front cover, the back cover and the top layer off the binding. For hardcover books, just take off the book jacket. After those are removed, paint the top page and binding of each book. For hardcover books, just paint the cover front and back and the binding. On the softcover books,I also painted all the sides of each book because the paper was a different shade. It took three to four coats for me to completely cover the words on each book. Some of the books I used were pretty old and the pages just kept soaking in the paint. Or you don’t need to paint it at all!
After your paint is dry, you can letter your books. I used Cricut vinyl, but if you are using stamps I would recommend stamping each word starting from the last letter. For example, if I were to write KATIE on one book. I would start with the E closest to the right side of the binding, then do the I, then the T and so on. This will just ensure that you will have room for all of your letters.
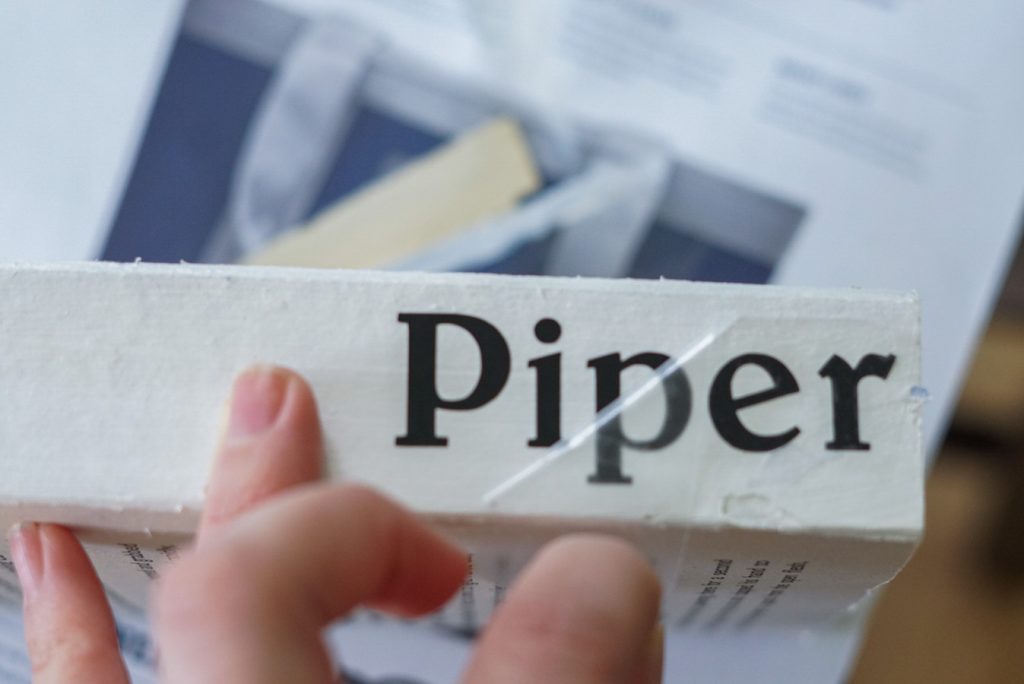
Once the letters have dried you can ties your books into a stack. I cut a long piece of twine and wrapped a few layers around the stack of books before tying it at the top. Then tuck in your greenery and you are done!
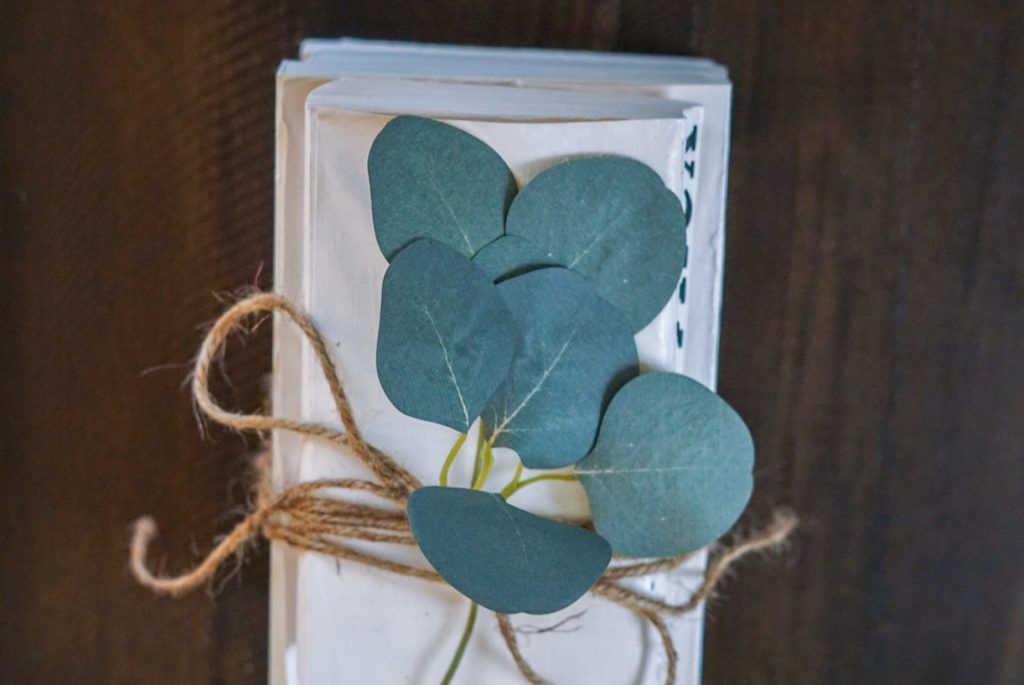
This is a super simple and inexpensive project you can do at home. This DIY book stack makes really cozy and inexpensive home decor.
If you liked this tutorial, check out more of my DIY home decor tutorials
DIY Home Projects for Beginners


holy hell these are SO CUTE! I can definitely see how the acrylic paint would take a bunch of layers – maybe a first layer of spray adhesive to bind everything together, then a few layers of white spray paint would work a bit quicker?xx
mia // https://beautiful-inspiring-creative-life.com/
This book stack looks literally so cute after your DIY <3
The Wallet Heaven
Thank you so much! It came out better than I thought and was so easy to make.
What a fantastic idea! Looks amazing as well.
Thank you so much! I thought they were so cute.
Thank you so much!
What a cute idea, thanks for sharing. I’ve never seen this before and love how it came out. I just found you through another blog and wanted to pop by:)
Martha
http://www.alovelymessylife.com
Thanks for stopping by! These were so cute and really easy to make!
This is such a great way to repurpose old books!
Make Life Marvelous
Yes! It makes such cute home decor and is perfect for any occasion.