
One of my friends introduced me to the Cricut Explore Air 2 and my life has been changed ever since. She gave me a quick tutorial on her Cricut and then we got started. She helped me make koozies and personalized tote bags for a bachelorette party. I could not believe how good they came out! I was so impressed with the ability to customize and create exactly what I wanted without having to spend lots of money. When I got home, I immediately went on Amazon and purchased my own, dreaming about all the custom t shirts I could make.
In a years time, I have made a few things using my Cricut, personalized cups, totes, wine glasses, t shirts, home decor, signs, the possibilities are endless. Mostly, I was excited to make myself some t shirts. I am a huge graphic t shirt girl, but will rarely spend more than $10 on a t shirt. Now, I can purchase a plain t shirt for $5 or less at Walmart and print whatever I want on there. Sometimes I go online and look for inspiration and then design my own in the Cricut design space app. Cricut vinyl can get expensive, but I design my prints to try and create the least amount of waste.
By no means am I a Cricut expert, but I have made enough mistakes to know what not to do. I have put together this step by step Cricut tutorial on how to make your own customized t shirt.
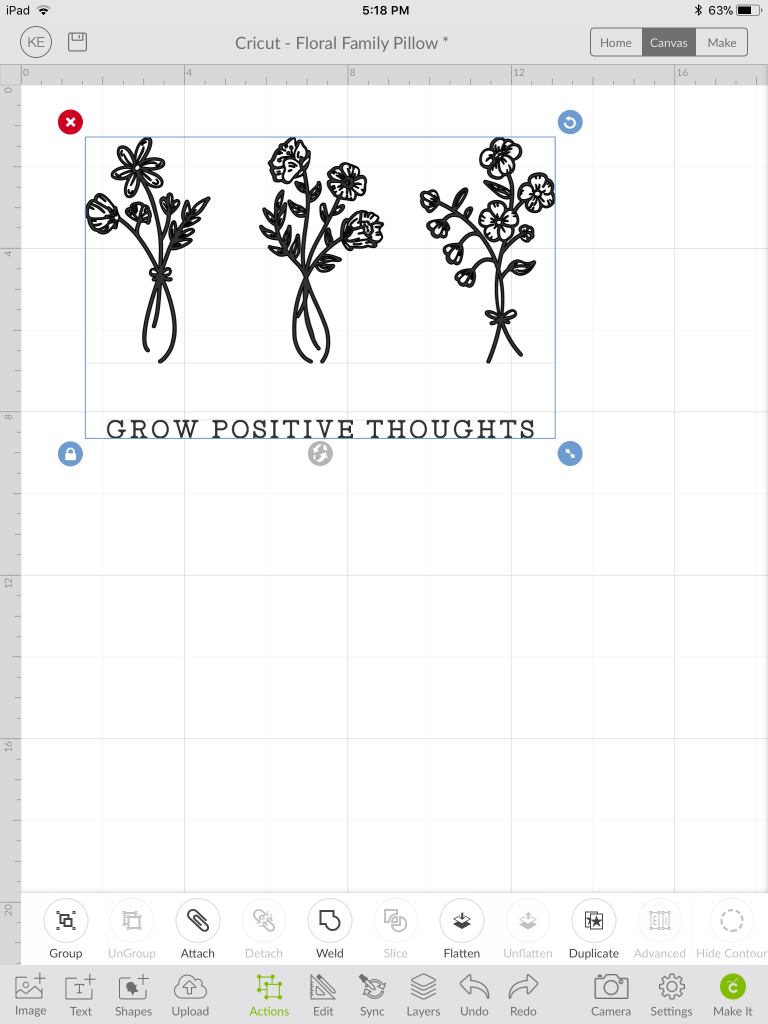
Step One: Make your design
There are lots of sites out there with tips and tricks on how to navigate the design space app. My friends were able to show me how to do the basics. But there are also lots of Cricut tutorial You Tube videos that are really helpful. I like to use the design space app on my iPad so I can move things more easily, but phones work as well. Use the text tool to make custom text in a cute font and/or use the image tool to choose an image. I also like to use the upload feature to create my own images.
I really like using images that are already created in the Cricut design space app. Then, I can customize the words or shapes. There are lots of options and you can purchase an image for a couple dollars. Or if you are going on a t shirt making roll, you can subscribe to the design space app for $10 a month. When you subscribe, the app provides tons of images and fonts at no added cost. This really came in handy when I was making all the things for our upcoming wedding.
Once you have your image and/or words. Make sure that you attach them using the attach feature. Then you can adjust the size of your image to what you want for your t shirt. I like to keep things simple and make it no more than 12 x 12 so it will all cut on the mat. Make sure that you take measurements of your shirt so you know what size your image should be.
Tip: Once you have created your image/words attach and group them using the design space tools. This will make turn your design into one large image. This ensures that nothing gets moved around before you make the cut.
Step Two: Gather Materials
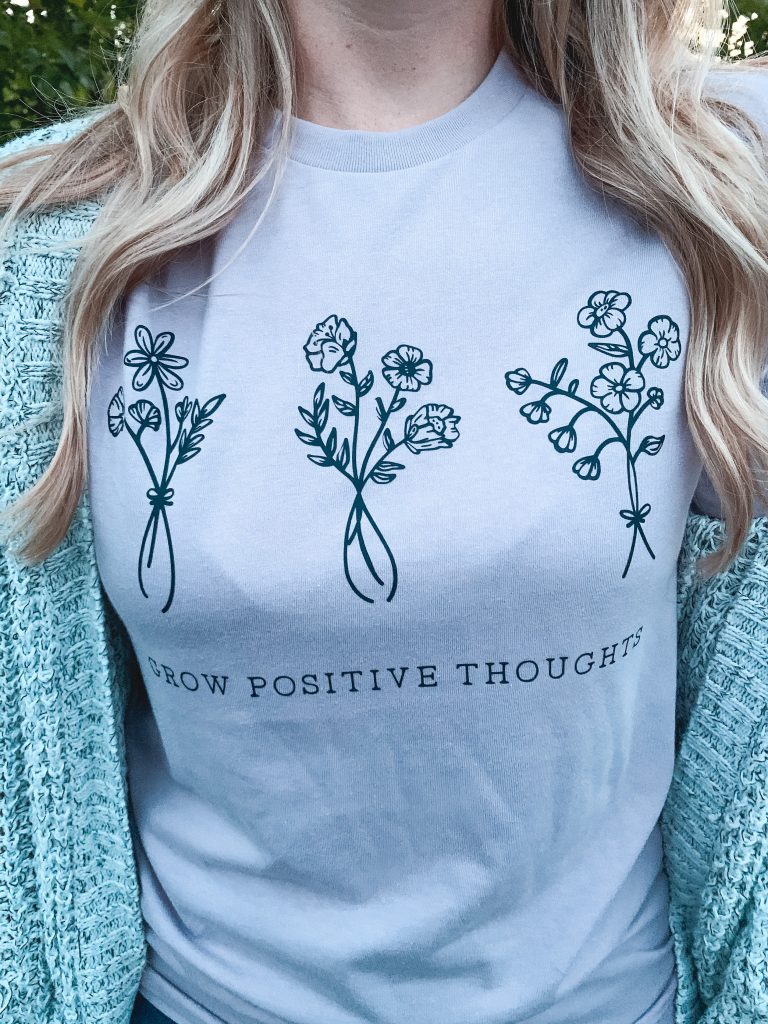
There are only a few things that you will need to make your custom t shirt! Just in case you can’t tell in the photo, I purchased this t shirt at Walmart for $3.98 in the men’s section.
- T shirt (I prefer a cotton blend)
- Iron on vinyl (heat transfer vinyl)
- Cricut mat (light or standard grip)
- Weeding tools
- Iron or Easy Press
- Towel

When choosing a t shirt, make sure that you choose something that is a cotton blend. The vinyl seems to stick better when you use cotton material. For all my Cricut clothing, I like to use the Cricut sports flex iron on vinyl. This vinyl has more stretch to it than the regular iron on. I’ve found that it adheres to the fabric better too. Some vinyls can crack once they are washed. This also washes really well. I always turn my shirts inside out when I wash them to try and protect the vinyl.
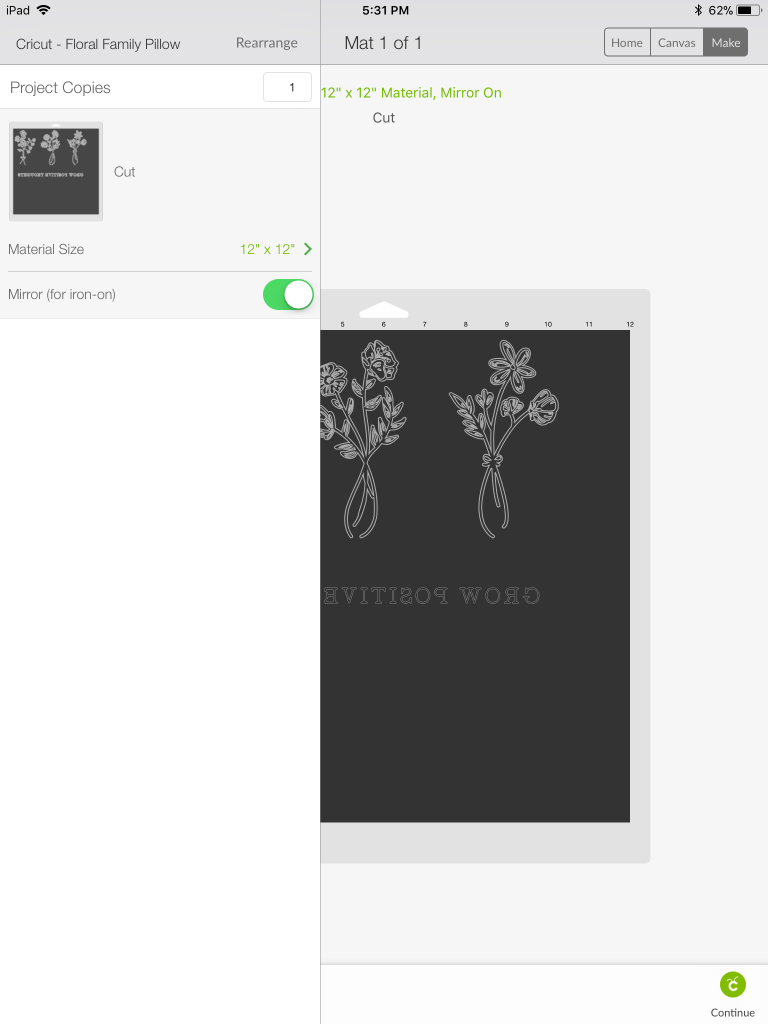
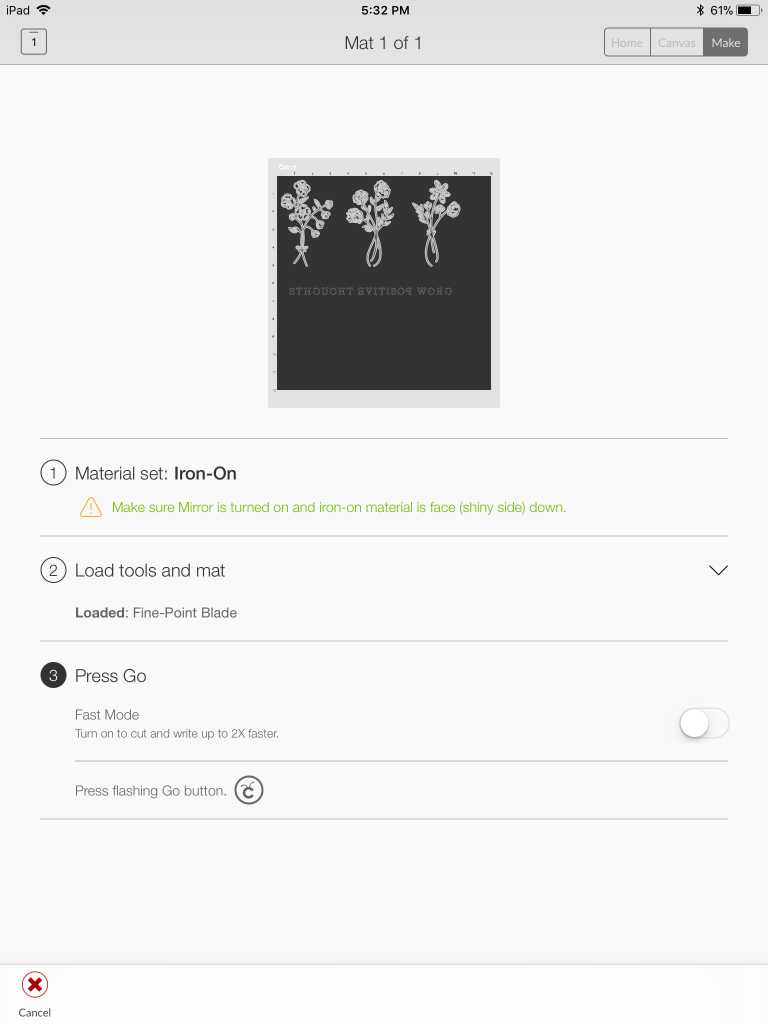
Step Three: Cut the Vinyl
Once you have made your design in the app, then you can cut it! Make sure that you load your vinyl onto the mat shiny side down. Then on your app, set the settings to mirror image. You want to have the mirror image on so that the image cuts correctly to be ironed on. Also, make sure that the dial on your Cricut machine is set to iron on vinyl.
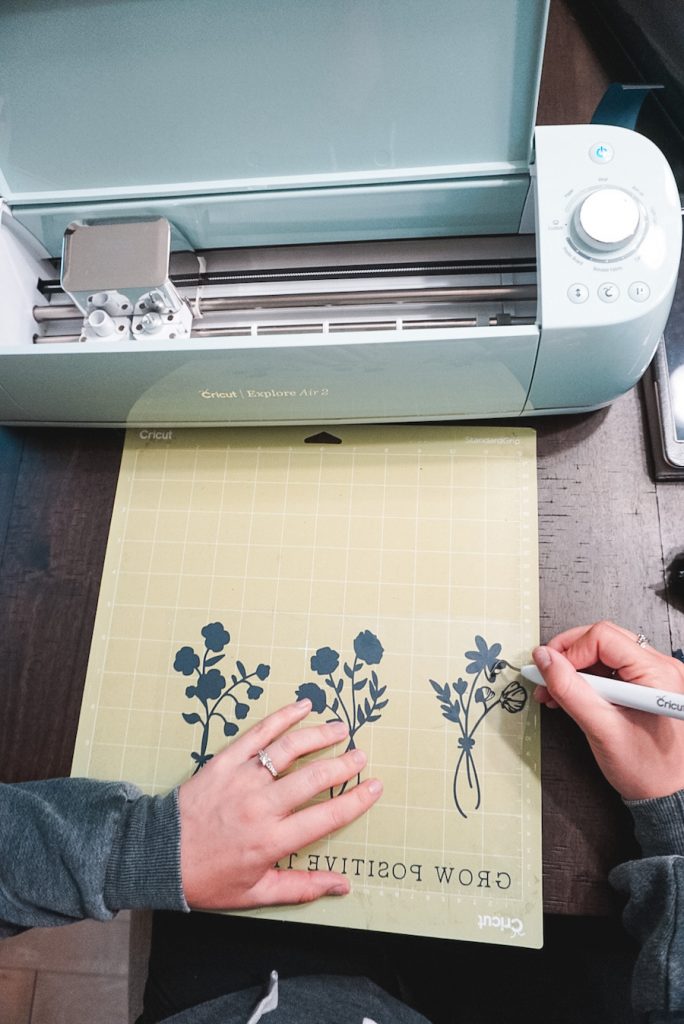
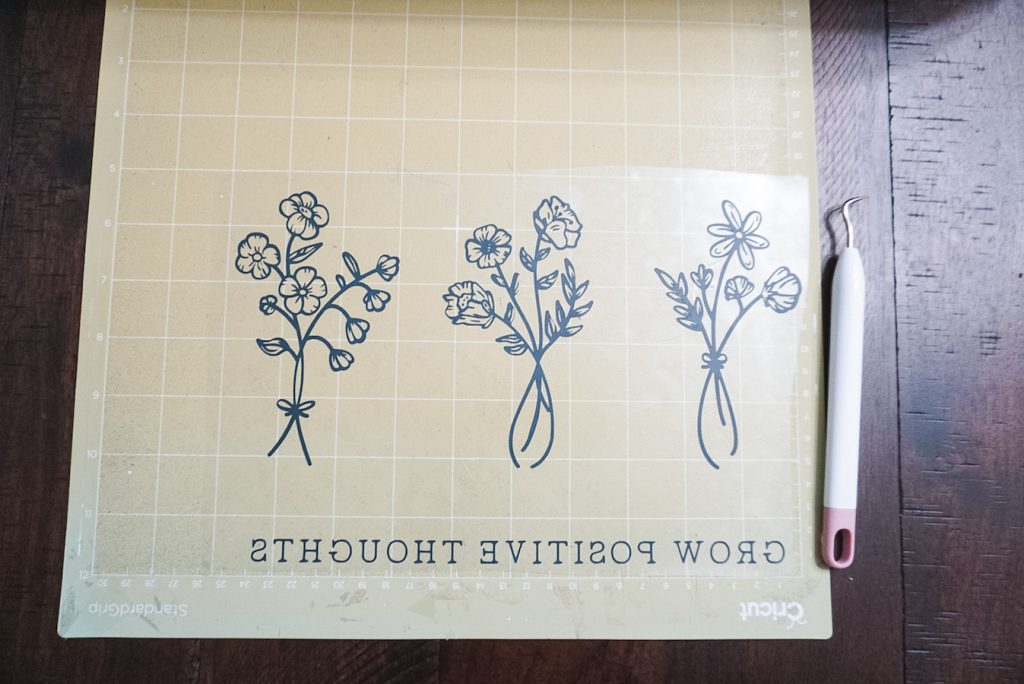
Step Four: Weeding
Now that your vinyl is cut, you can weed it! Before I start weeding, I take my vinyl off the mat and cut it close to the edge so you are only left with your image. Make sure that you are only taking out the pieces where the shirt is supposed to show through. I have weeded the wrong parts before and then had to start over completely. After you have weeded your image, you should only be left with what you want to show on your t shirt.
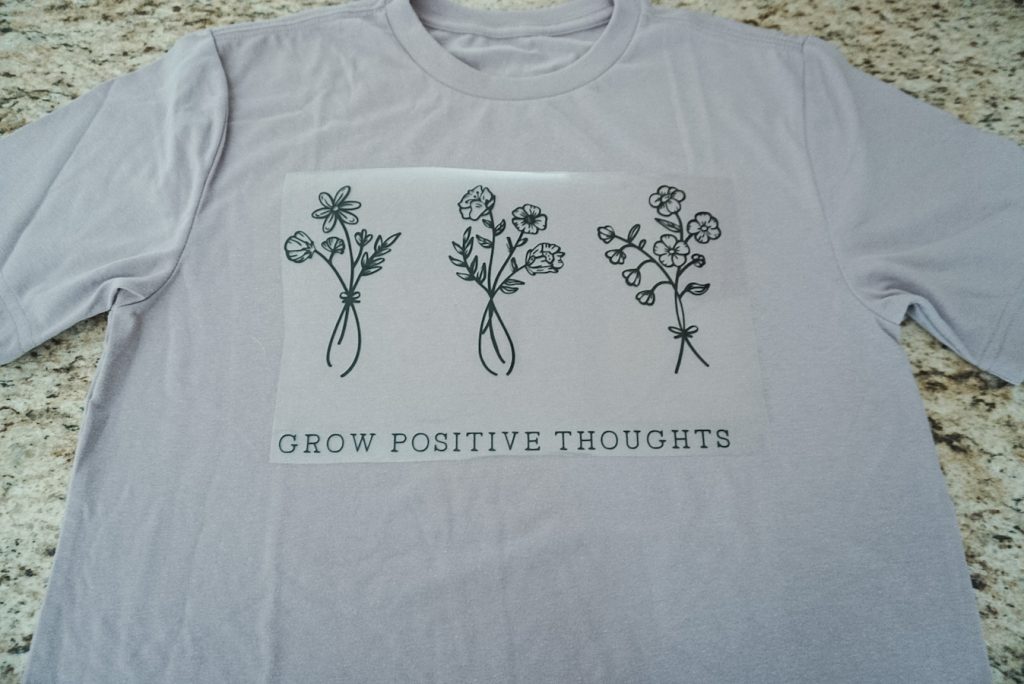
Step Five: Iron On
Now it is time to iron on your vinyl! Grab your t shirt and iron where you want your image to go to make sure that it is nice and smooth. I lay a towel under my t shirt to protect my countertop. Once your t shirt is ironed, place the image where you want it making sure that it is even and centered (or not). Then place a light towel on top and iron it on! If you are using a household iron make sure that you adjust the settings to the material you are using. If you are using a Cricut easy press, check out this link to see what heat settings to use.
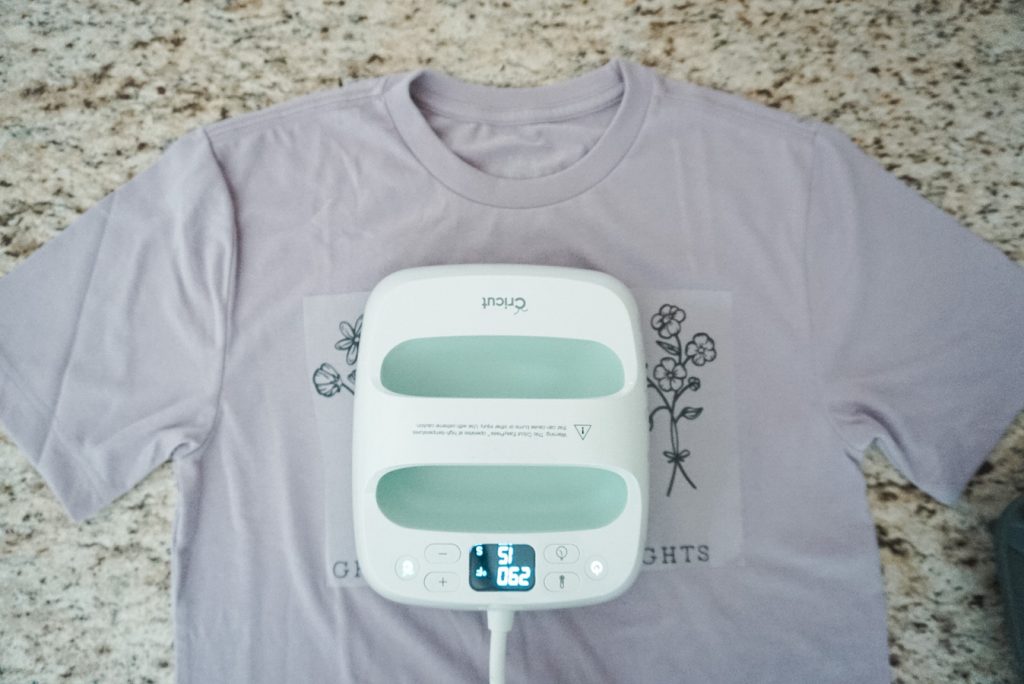
Tip: when you are ironing, place the iron straight onto the image and hold for 10 seconds. Then pick the iron straight up and do it again on a new spot. Do this until you have covered the whole image. Do NOT rub the iron back and forth on the image. This could stretch out the material and the vinyl and make it come out all wonky.
There are so many different things you can do with your Cricut and so many different settings to learn. In this tutorial, I just show you the basics so that you can make your first t shirt! I recommend reading lots of tutorials because I feel like with each one I read, I always learn something new!
Have you heard of Cricut’s infusible ink?
Check out my Cricut tutorial on how to use the infusible ink to make your own custom t shirt.


This is so neat! I don’t have a cricut, but have several friends who do and love it. Your shirt is beautiful here!!
Make Life Marvelous
Thank you so much! They are a lot of fun to use!