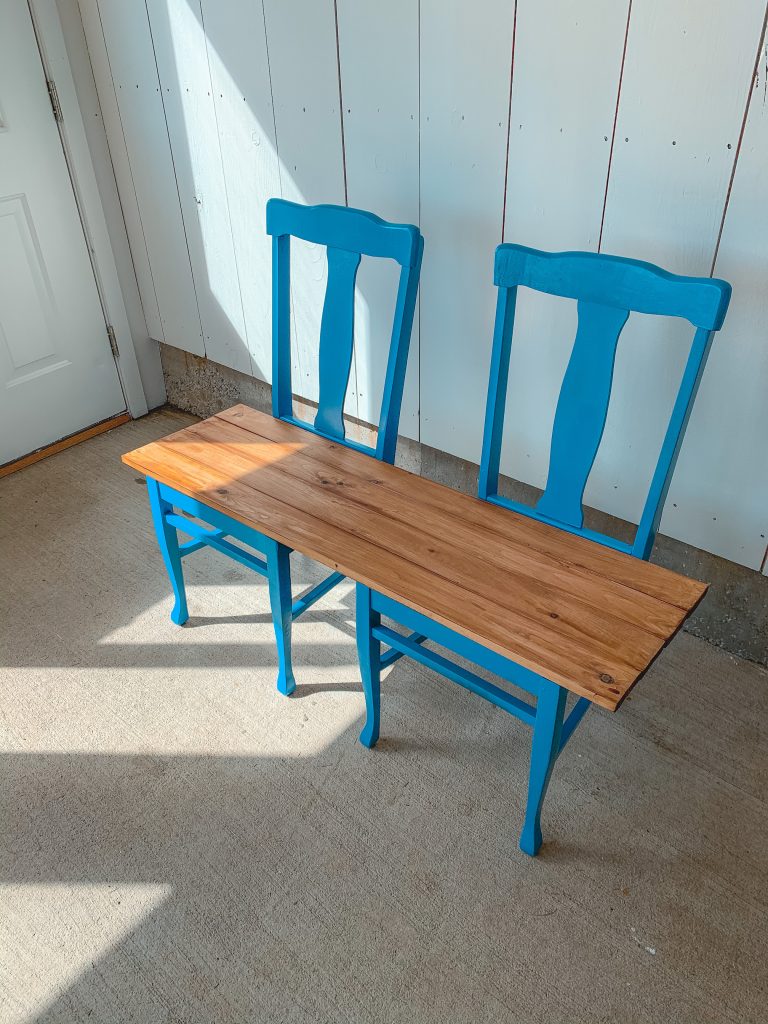
Buying new furniture can really add up. And I have found it a lot of fun to repurpose old furniture. So I started looking for an easy DIY bench tutorial for my mudroom. This cute little bench seat is perfect for an mudroom, kitchen, porch or sitting room. You can make this bench in a day and you may even have most of the supplies lying around your house.
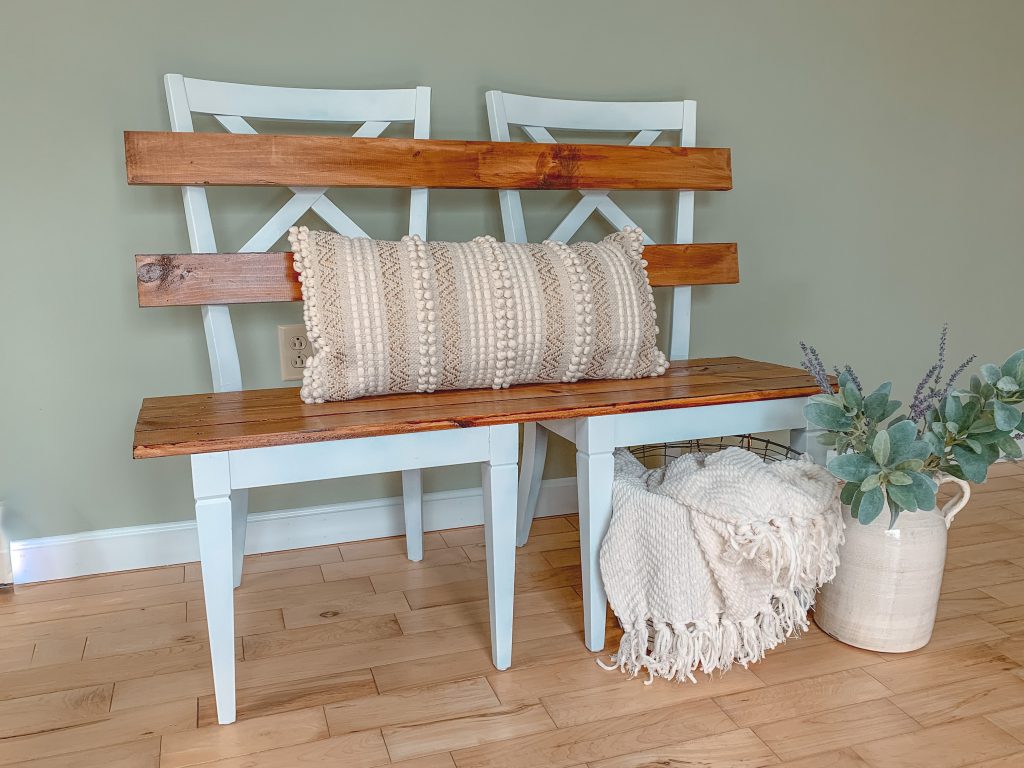
When I first saw this style bench, I decided to take my DIY skills up to the next level and make my own version. In this tutorial I will give you all the steps I took to make this bench for our mudroom.
What you will need
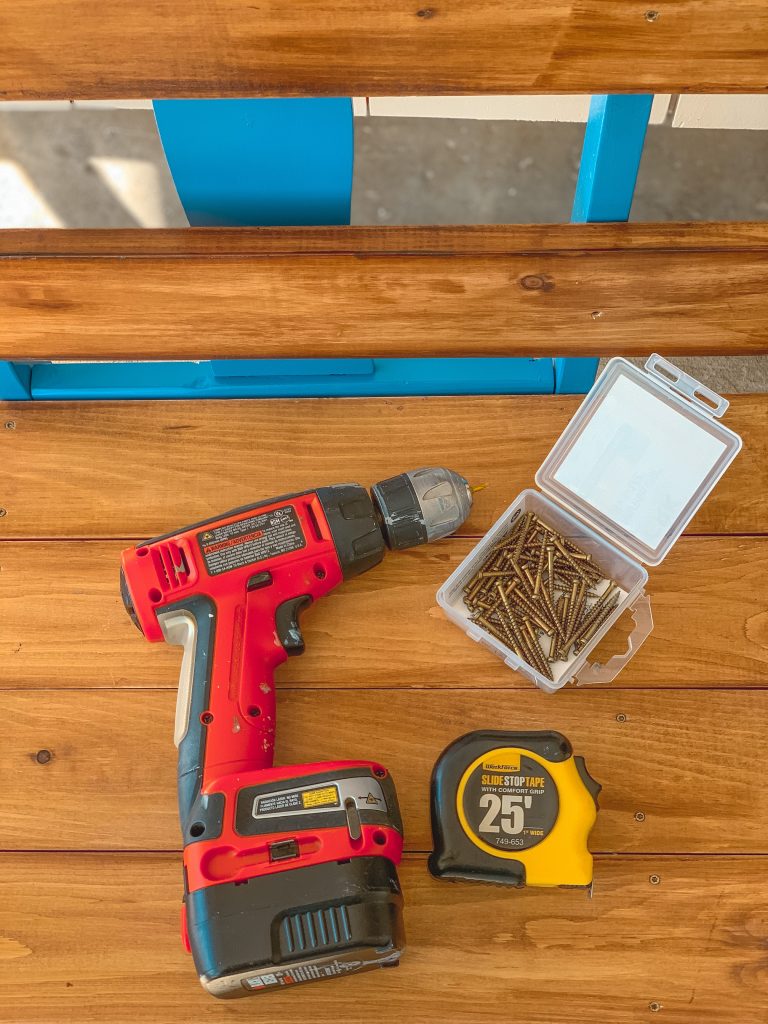
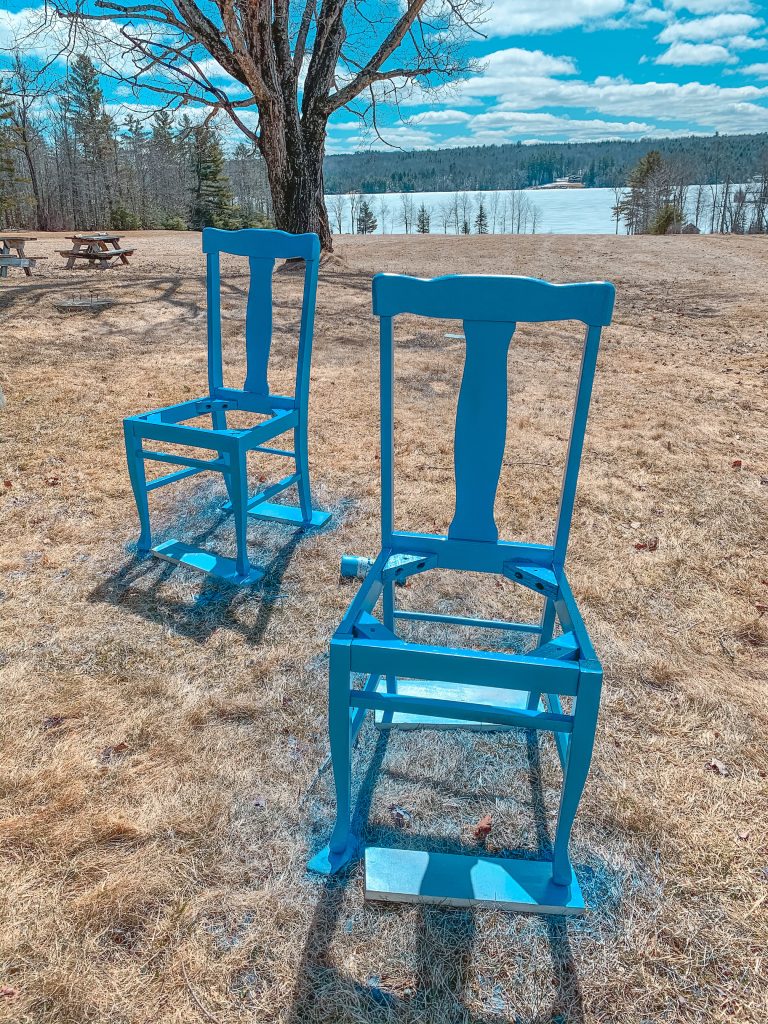
- Two wood chairs
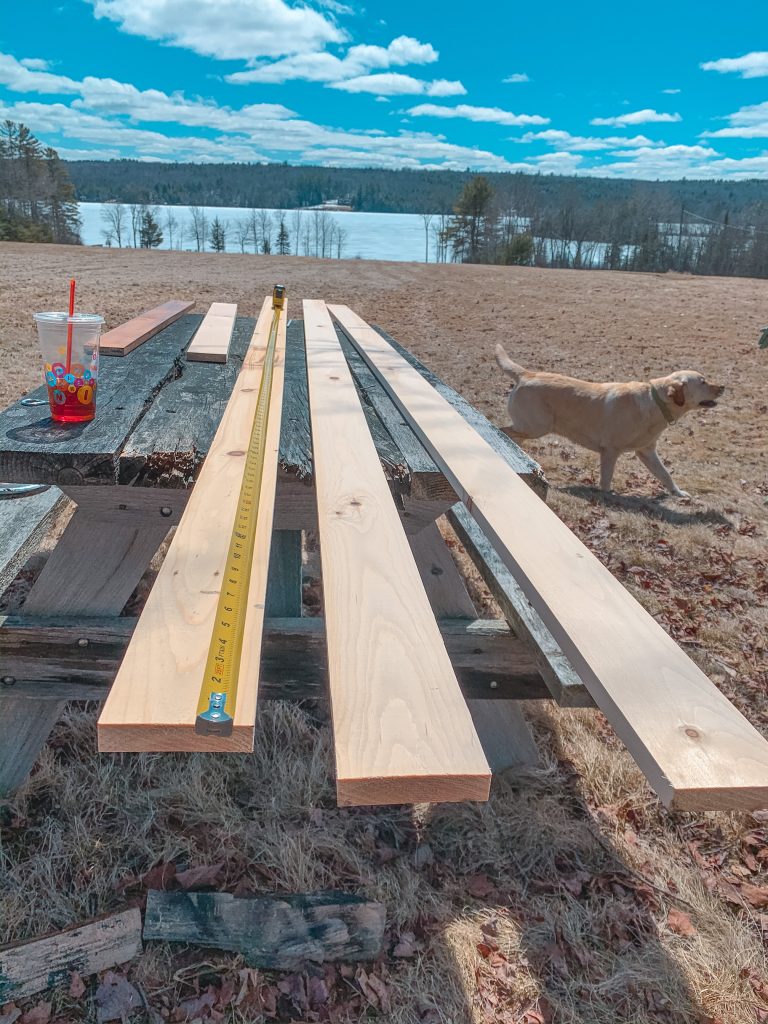
- Two 12 ft pine boards (1×4″) you basically need six 4ft boards
- Screws (about 40 total)
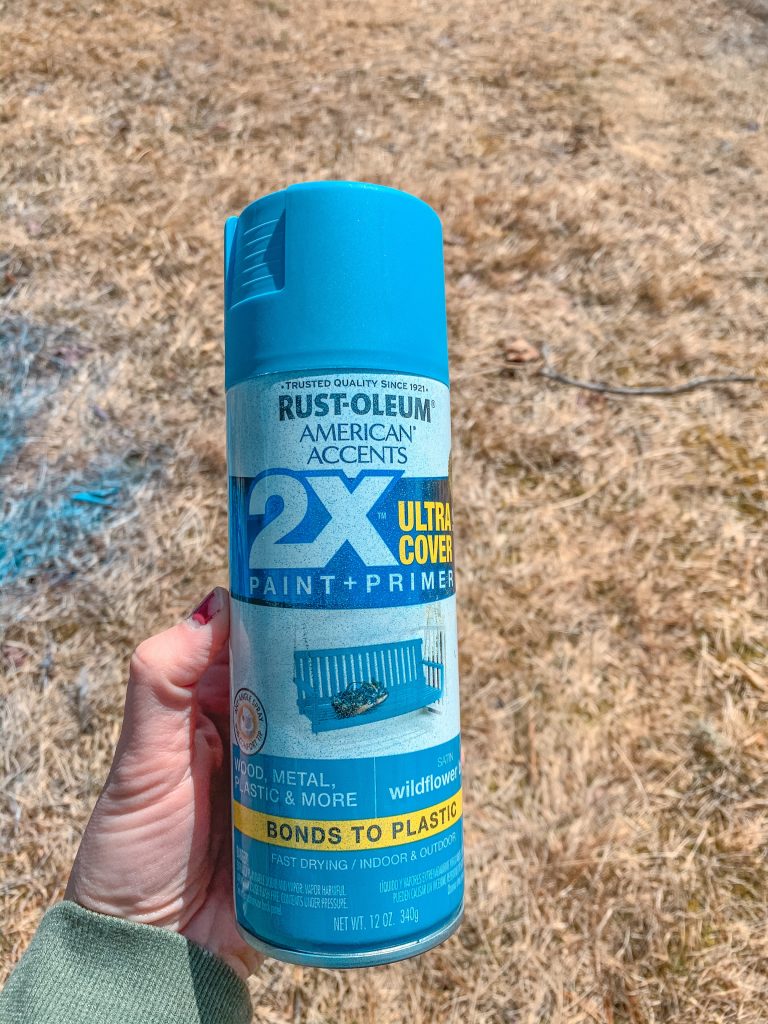
- Spray paint (your choice of color)
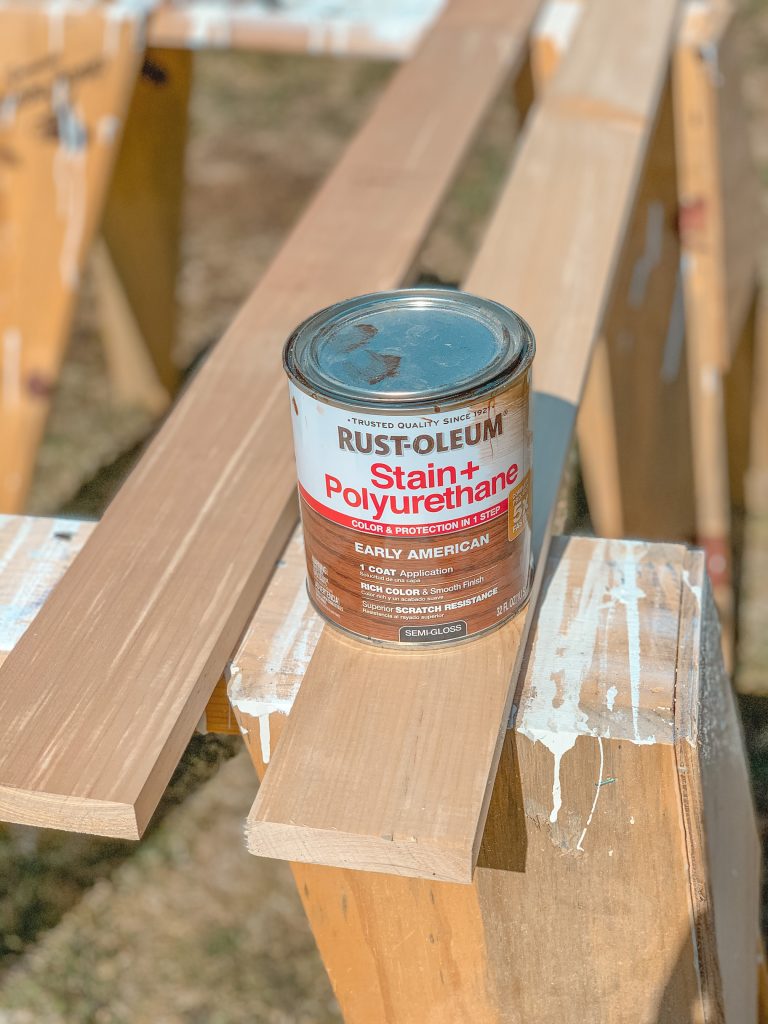
- Stain and varnish
- Sponge paint brush or rag to put on the varnish
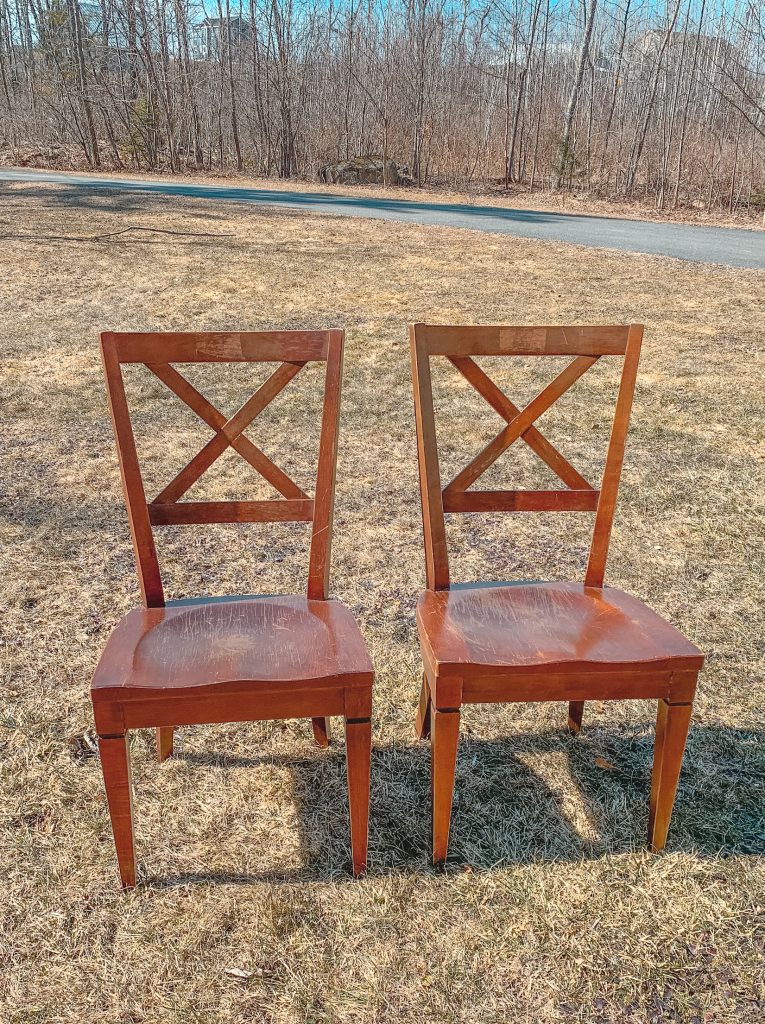
I spent days looking on Facebook market place and Goodwill until I found chairs that would work for my project. The best chairs are ones with removable seats. This gives you a flat surface to lay your boards on
Cutting the Boards
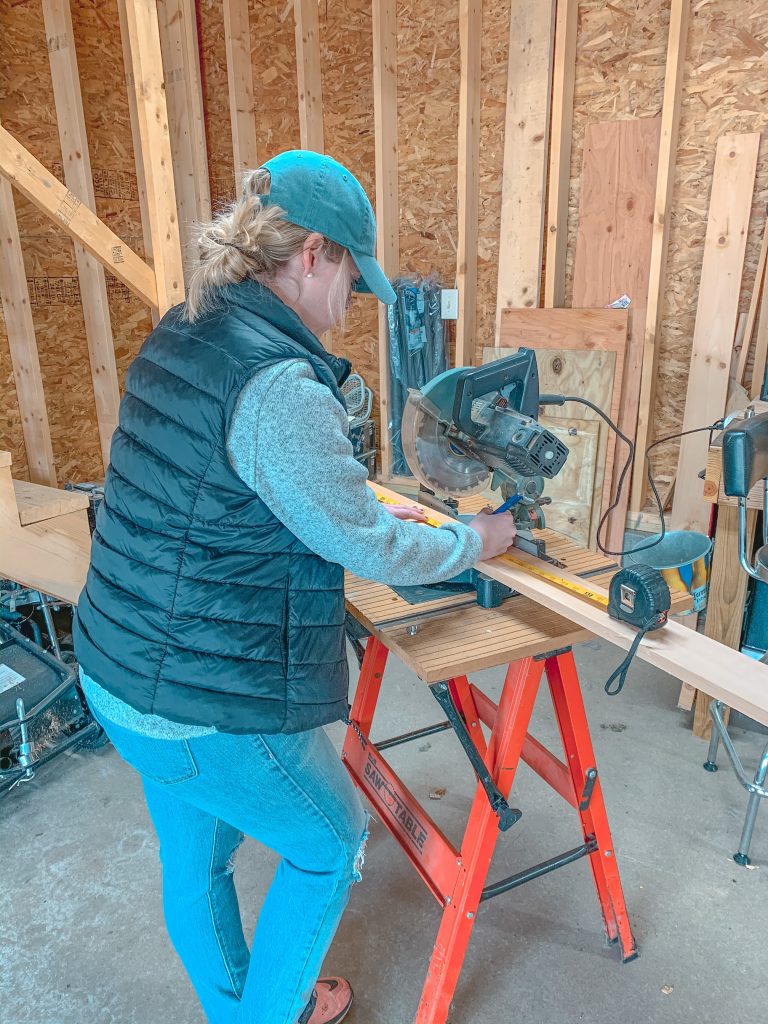
You want to start by measuring the length of the board you will need for the seat of your bench. I choose 4 feet because it fit across the chairs with just a slight over hang. You don’t want to space the boards too far apart. I chose four boards evenly spaced on the bottom bench and two boards for the back rest. You can do any combination you think looks best with your chairs.
Prepping your Chairs
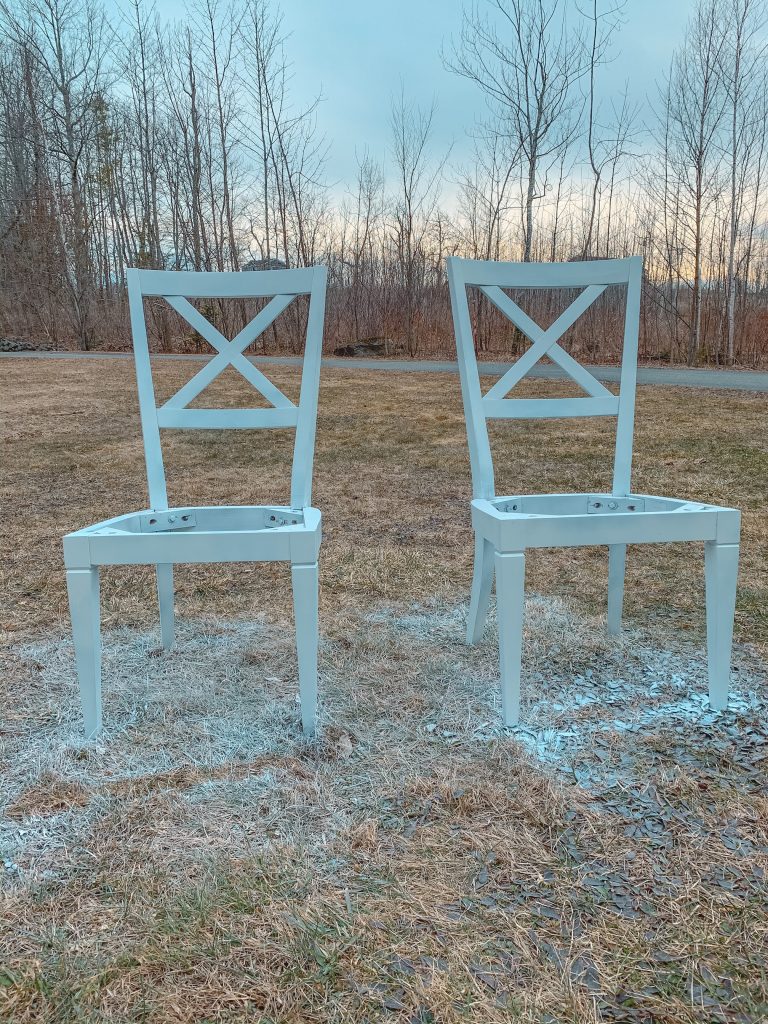
Once you have decided on the length of your boards, you can start painting! I chose to paint my chairs white and used white spray paint. First take the seat off the chairs. When you flip them upside down you should see where there a screws hold the seat in place. The chairs I picked out were a little scratched up and shiny from varnish so I decided to sand them lightly before painting them. You could do a test spot on a small are to see if the paint sticks.
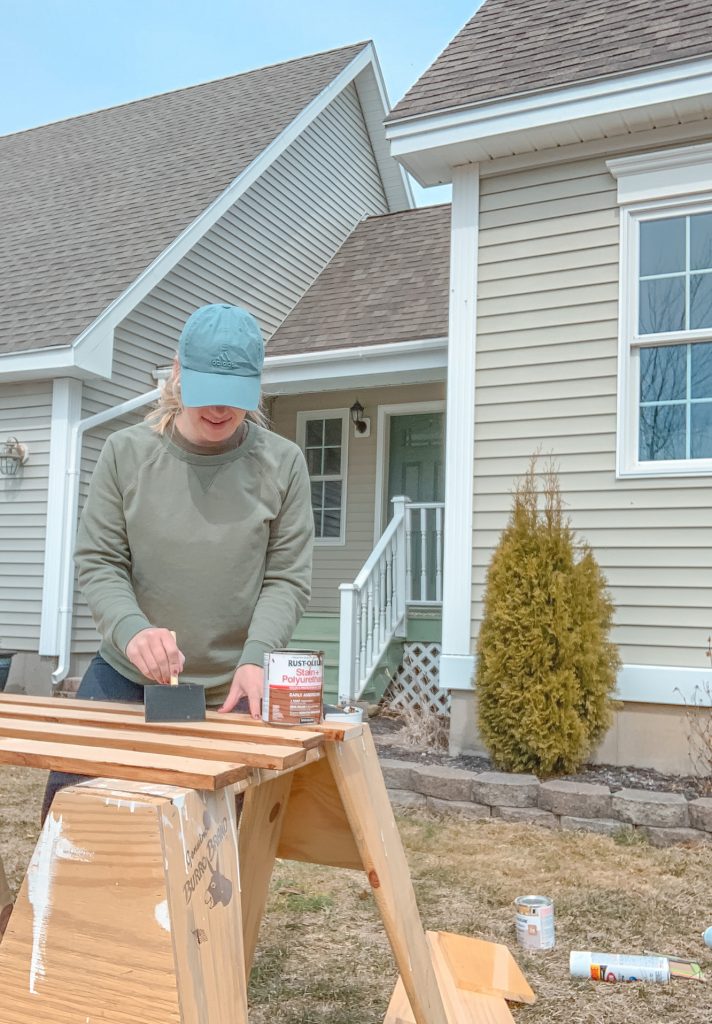
Once your chairs are painted, you can stain and varnish your boards. I chose to stain all four sides so the underside would match. Don’t forget to stain the ends too! The best part about this little DIY bench is that you can choose any color combination you want. You could even leave the chairs as is and paint the bench boards.
Putting it all Together
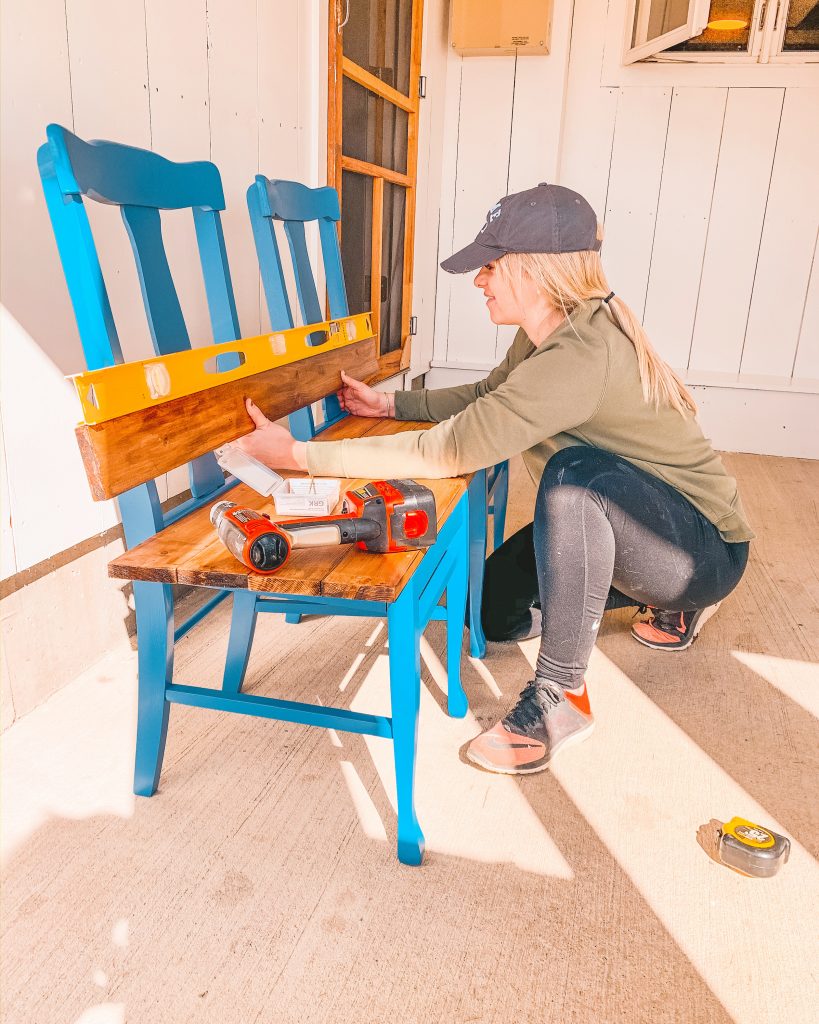
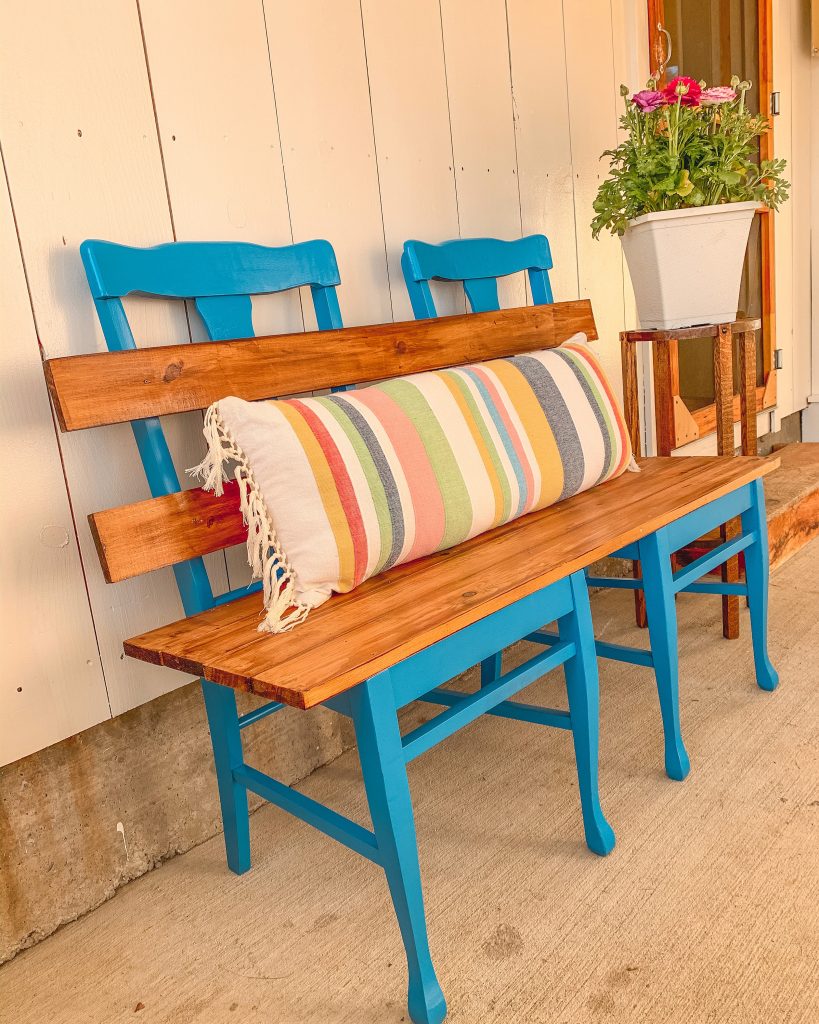
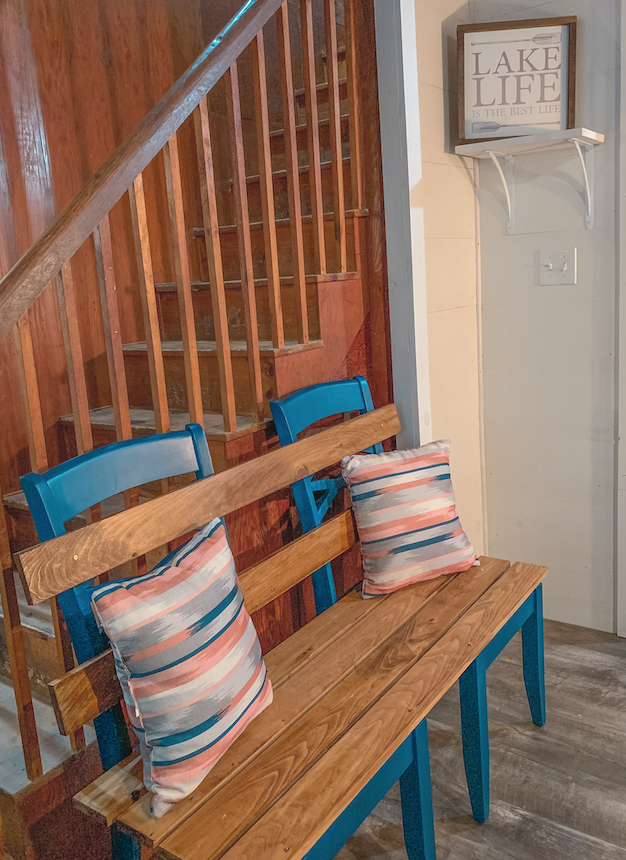
Now you can put it all together! Place your chairs on even ground and put four boards (or whatever works for you bench) on the seats. Make sure they are evenly spaced. Hold the board in place and screw it down to the framework of the chair seat. Start on one side of one board and then go to the other side. You can do the middle rows last. Then save two boards for the back rest. And there you have it! Your own DIY bench for your mudroom!
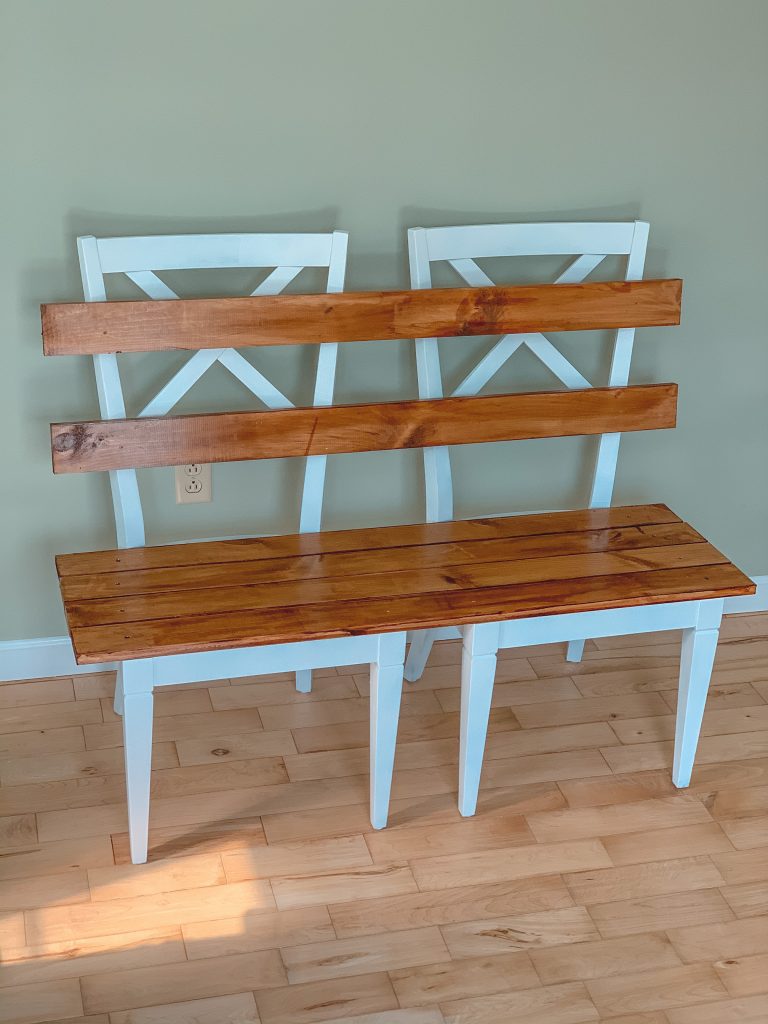
I love this little DIY project so much! We have already made three benches. They are so much cheaper than buying them. We put one in out lake house, one in our entry way and then one in the family lake house.
If you are looking for more ways to spruce up your home, check out my tutorial on how to install industrial pipe shelving. Or how to white wash your walls. There are so many easy and inexpensive ways to improve your home and I would love to show you how!
Save this tutorial for later!


[…] Upcycled Bench Tutorials […]