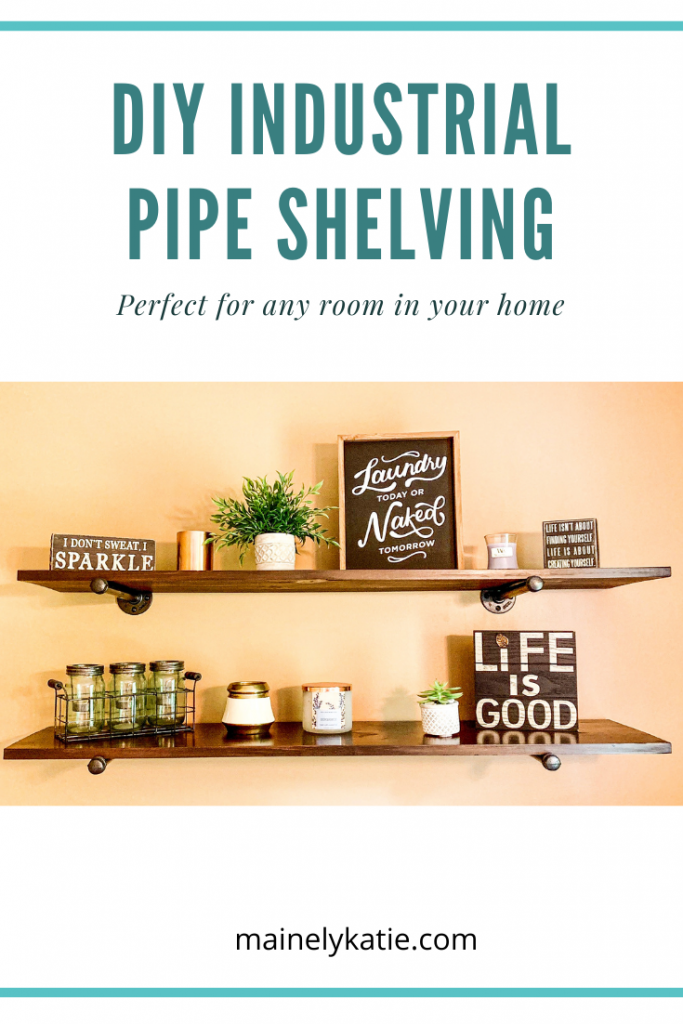
We moved into our first home in 2016 and I was more than ready to start some DIY projects. My Pinterest board was overflowing with ideas! Since we didn’t have a lot of furniture or decor, I thought I would try dressing up the walls with some cute shelving and then head to TJ Maxx to find some cute décor. After a few hours on Pinterest, I came across some industrial pipe shelving that I thought would really make my laundry room look put together. I showed Alex my idea and he agreed to hang it after I made them.
Industrial pipe shelving is so cute! And it’s so easy to make on your own that we have used it in two rooms in our house as we as our lake house!
The Hardware
Buy industrial pipe from Home Depot or your local hardware store.
I’ll admit, Alex did have to help me with this part. I wasn’t sure what all the parts were called or what sizes to get, but here is what I learned.
You need to go to the plumbing and piping section. There are many different kinds of piping, but you want galvanized or metal piping and metal fittings.
To make ONE shelf you will need
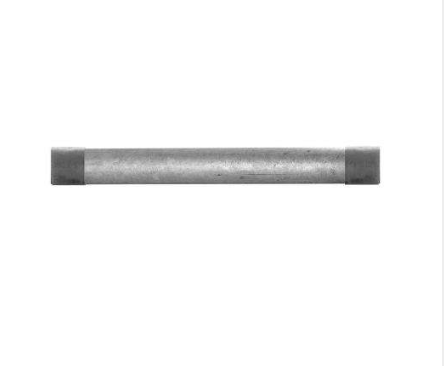
- 2 Pipes (I used 12”)
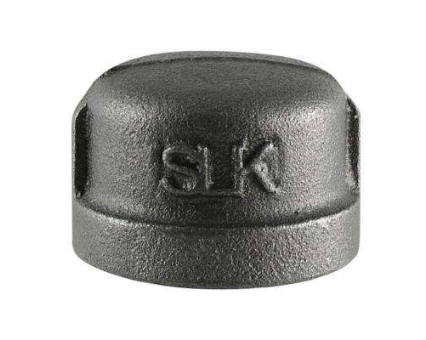
- 2 Caps
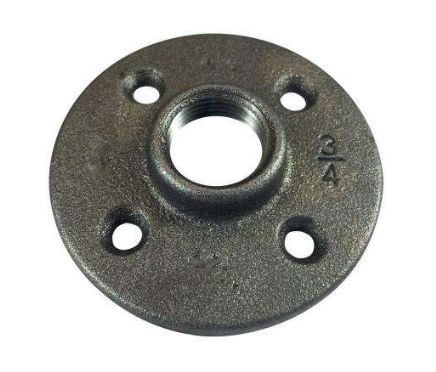
- 2 Flanges
I used 12 inch pipe so that I could get 12 inch wide boards to make my shelves. You also need to figure out what width you want your pipes to be. I used 3/4 inch. Make sure that both ends of the pipe are threaded. You want to be able to screw on the cap and flange to hold your board in place.
Pipe Flange Cap
The pipe and fittings are not pretty so you will probably find that they are a little dirty/greasy. The best way to give them a more finished look is to spray paint them. I chose to get hammered metal black to give them more of a rustic feel.
This is the spray paint I used
Preparing the Boards
You also need to get a board to make your shelf. I used a cheap pine board from Home Depot. Since I bought 12” pipe I bought 12” wide pine boards and I bought one that was 8 feet long so I could cut it in half to make two shelves.
Once I cut the 8ft board in half, I sanded the edges to make them smoother and then I used a dark stain to stain the boards. After I got the boards the color I wanted, I used sponge paintbrush and put on a coat of polyurethane. Once the boards dried completely, I sanded them lightly again, wiped them and did another coat of polyurethane. I repeated the polyurethane and sanding process until I got the shine I was looking for.
Hanging Your Shelves
Once all the sray paint and poly is dry, you are ready to hang your industrial pipe shelving. Making sure your shelves are centered is important, so before you make any holes, make sure you decide on the layout (stacked, staggered, side by side) and measure where the center of the flange should go. It is also important to remember that the materials to make these shelves are HEAVY. Get a stud finder so at least two of your four screws can be in the stud. You can also use anchors if you cant find a stud. Using your measurements and your stud finder, use the flange to draw holes where you want your flange to hang. You don’t need to do this if you aren’t using any anchors.

Putting it all Together
Once you have hung your flanges on the wall you can screw in the pipe. You don’t need to screw it all the way in because you need to leave enough room for the board. You can do the same with the cap on the other end of the pipe. The last step is to lay your board on top of the pipe and make sure it is level. Now you can decorate!

Save this tutorial for later!


Leave a Reply