
Since Cricut came out with infusible ink, I have been fascinated by how it actually worked. How were there so many colors? How do you cut it? What can you use it with? I am no Cricut expert. I can handle the basics and even then I sometimes struggle. In this post I will walk you through my Cricut infusible ink tutorial, where I learned what to do and what not to do. This was my first time working with infusible ink, so I tried to keep my project as simple as possible. I wanted to share all the details of my first project with you, so you can learn from my mistakes.
I only decided to go ahead with this project because the infusible ink transfer sheets were on sale for 40% off at Hobby Lobby. For $7.99 I think I will take my losses if it’s a flop. I watched so many infusible ink tutorials before I started my own project. Then after completing my own project, I thought these tutorials left out some important information you need to know!

What You Will Need for you Infusible Ink Project
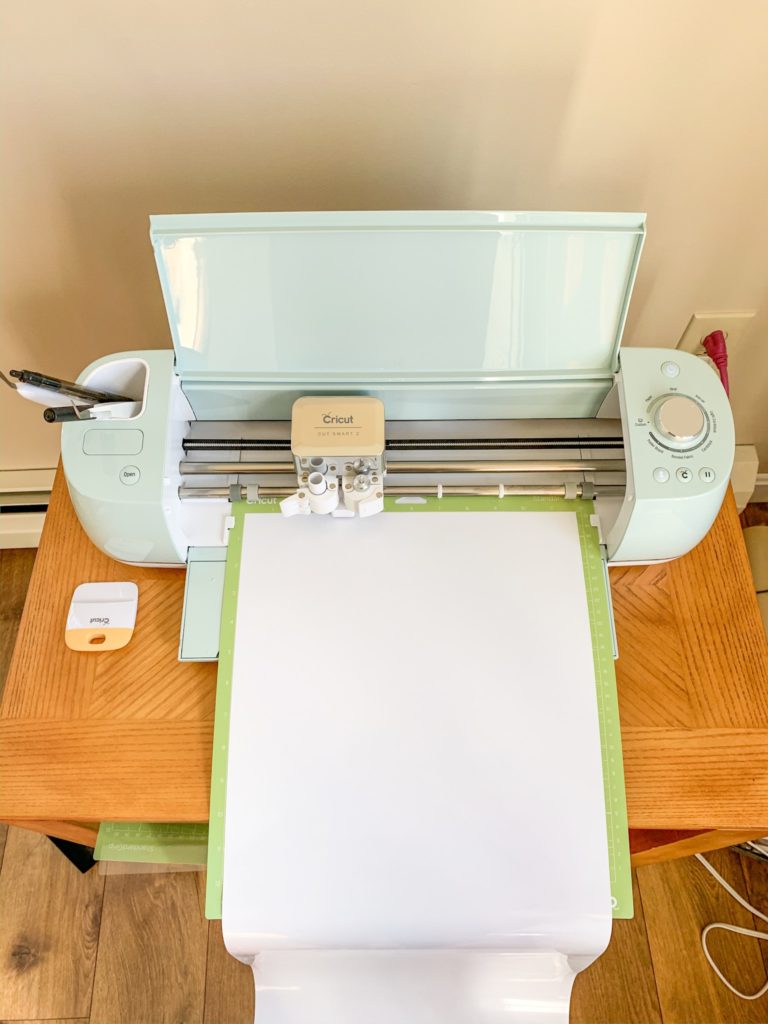
- Cricut machine
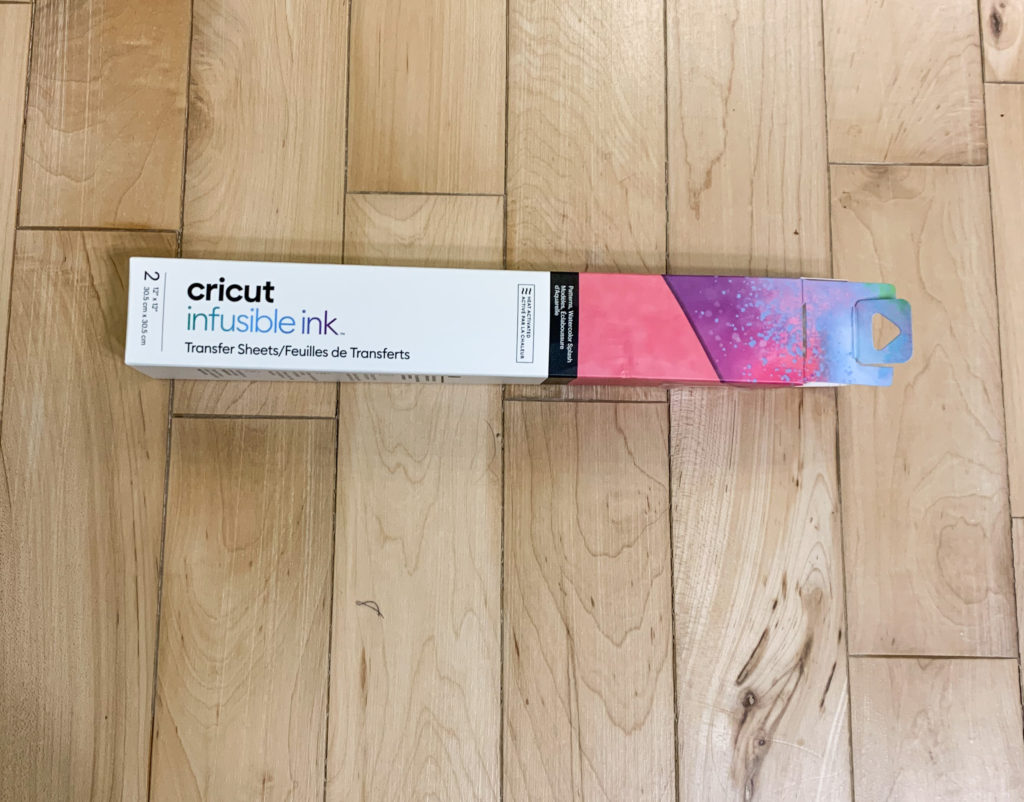
- Infusible Ink Transfer sheets (usually two sheets per box)
- Design Space App
- Cricut Blank ( I had no idea what this meant. Basically Cricut provides the fabric/material you want to transfer your image to such as t shirts, tote bags, coasters and baby onsies)
- Lintroller
- Cardstock
- Butcher Paper
- Iron or Cricut Easy Press
- Cricut weeding tools
Finding a Design for Your Project
You can choose whatever design you like. I of course chose a super intricate and complicated design and convinced myself that I could do it. For your first project, I would recommend something small. That way you don’t waste an entire transfer sheet if you mess it up (like I did). There are some really cute templates on Cricut design space or you can design your own! I chose a design that I found for free on Pinterest and uploaded it. I also saw some cute designs for sale on Etsy. You can find Cricut designs everywhere!
Setting up your Cricut for Infusible Ink
So this part is important and not everybody tells you these things in their tutorials. First, you can use a Cricut maker, the Cricut Explore Air or Cricut Explore Air 2. I have a Cricut Explore Air 2 and that is what I used for my project. You will need to adjust the settings knob on the Cricut to custom, this is very important and I did not realize you NEED to use this setting, until it was too late. Place your infusible ink transfer sheet ink side up onto a Cricut mat (I used the green one).
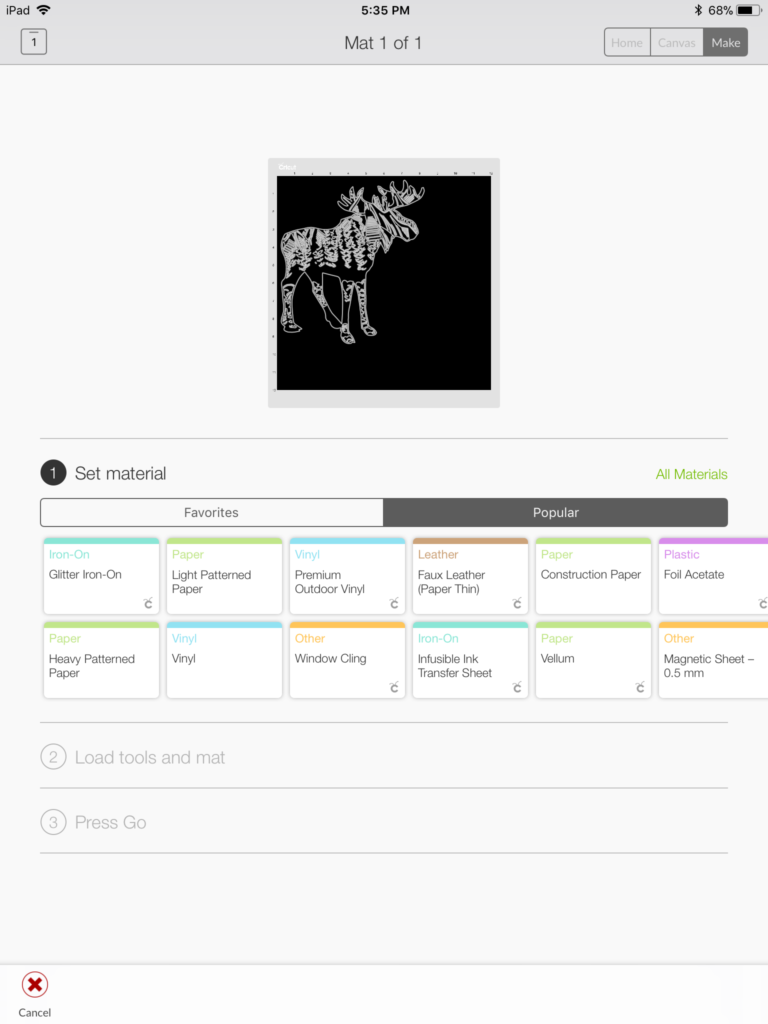
Before you cut your image make sure that you turn on mirror in the settings. Just like you would with heat transfer vinyl. You also need to choose your material type as infusible ink. This is also very important and will not cut properly if you don’t (believe me I learned this the hard way). It took me an embarrassingly long time to figure out how to change my material type. In my settings it was on heat transfer and did not give me an option to change it. I decided to delete my app and reinstall it, and taa daaa it gave me an option to change the material before I cut my image. Also, if you don’t have your dial on your Cricut set to custom, it will not give you the option to change the material.
Press the flashing button and let the Cricut cut your image
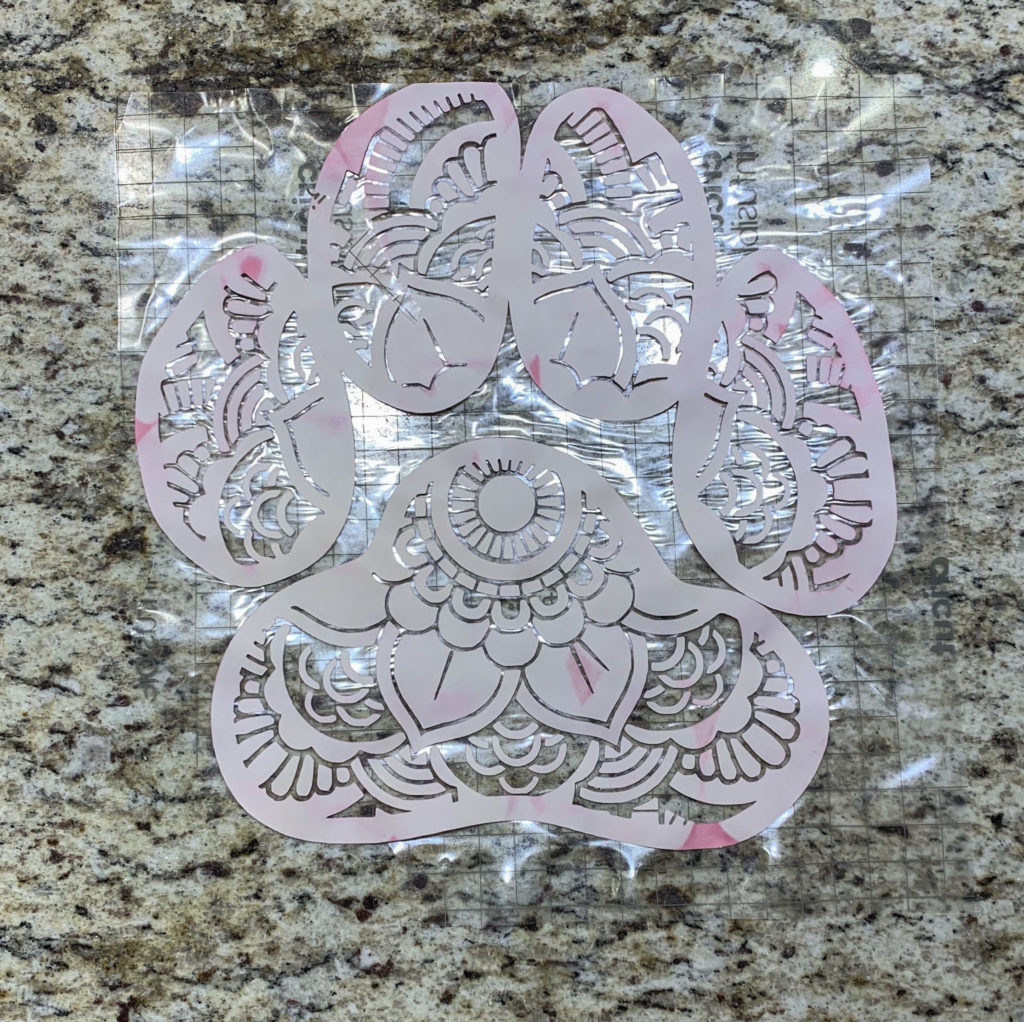
After you have cut your image you will need to weed it. This just means taking off the access so all thats left is your image on the clear backing. I found that weeding the infusible it is easier than vinyl or iron on. The material is more paper like and comes off easier. However, if you did not use the right settings to cut your image, you will never be able to weed your image and it will look similar to the photo below. Fail..

Ironing on your Infusible Ink
Cricut recommends that you use an easy press to iron on the infusible ink transfer. I was skeptical and tried to use my own iron. Let’s just say it didn’t work and I had to borrow an easy press. My iron just didn’t get hot enough, but if you have an iron with adjustable heat settings, I bet you could make it work. Preheat your iron according to the cricut material instructions. Place your material on a clean mat. If you are transferring onto a t shirt, put a piece of card stock inside the t shirt to prevent bleed through. Use a lint roller to make sure there aren’t any stray pieces of material on the fabric. Cover the material with butcher paper and iron the material first. Take the butcher paper off the material and place your transfer sheet, color side down, where you want the image. Then put the butcher paper on top of the transfer sheet.
So to be clear you have a Cricut mat, the t shirt, cardstock inside the t shirt, your transfer sheet containing the image, the the butcher paper on top. Use the iron or easy press to transfer your image!
Tips for Ironing
When you are ironing, place the iron on one spot and hold with light pressure for around 10 seconds. Then pick the iron straight up and press down on the next spot. Do not move the iron around on top of the transfer sheet. When you want to move to a new section, pick the iron straight up and set it straight down. If you have an easy press that covers the whole image, you only need to apply heat for about 40 seconds.
Final Step
Take off the butcher paper and slowly remove the clear backing. It helps to do this while the transfer sheet is still a little warm, but be careful not to burn yourself. If the transfer sheet is too warm to touch, you can use the tweezers to pull it back slowly.
Final Infusible Ink Project
You can see in the photo that some areas are lighter than others. This is where the ink didn’t completely infuse, probably because I didn’t iron it long enough. This whole process was trial and error for me, but I think I finally got the hang of it!

If you are looking for more Cricut projects, check out my tutorial on the easiest Halloween costume.
Save this for later!


Leave a Reply