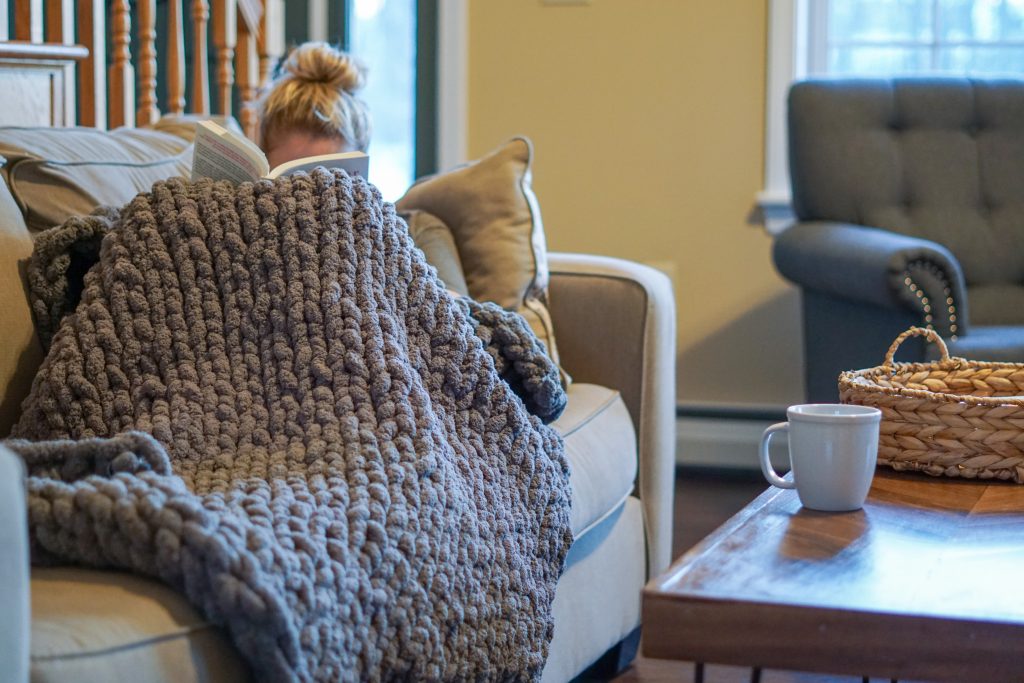
I might be a little late to the game, but I am still obsessed with all of these chunky yarn blanket DIY projects that I have seen all over Pinterest. They make such cute home decor and you will always find me wrapped up in a soft blanket on the couch.
This year I read multiple tutorials and when I went to buy the same yarn online, it is nowhere to be found. Literally every single color is sold out and I have looked on multiple sites. So just when I had given up on making my own knit blanket, I stumbled upon some really soft chunky yarn at Hobby Lobby. I decided to buy a few skeins and see how it would turn out. Well, I am pleased to say that my DIY knit blanket came out great and I am so excited to show you how to make a chunky knit blanket of your own!
If you are familiar with knitting or crocheting, this will be pretty easy for you to follow. I though make a short video of it would be a lot easier to understand so watch the video below to get started.
DIY Knit Blanket Materials
As I mentioned earlier, I could not find this wonderful yarn that seemed to be in every single DIY knit blank tutorial. They were all using couture jazz. If you can find it, that’s great! But I used this chenille yarn from Hobby Lobby and I love it!
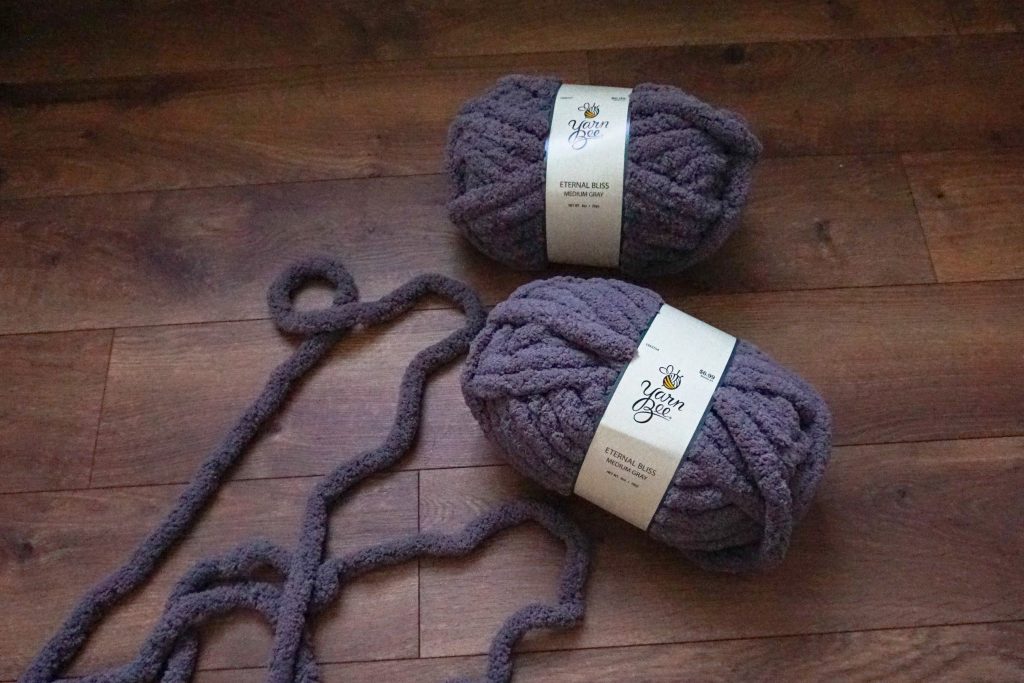
Other than the yarn, all you need are your hands and a flat surface!
Making the First Row of your DIY Knit Blanket
The first step is to make your first row. Here you will also need to decide how many loops you want to make to determine the width of your blanket. At first I started out with 35 loops, but once I got going, it seemed way too big and it would take me 10+ skeins of yarn to finish. So I started over and cut back to 25 loops. Since this was going to be a throw blanket, this width seemed more reasonable for my project.
To make the first row, you are going to start by making a slip knot. From there you will use your thumb and pointer finger to pull through another loop from your working yarn. Just keep doing this until your blanket is as wide as you would like. You will want to be consistent with how big/small you make your loops. This yarn is pretty fluffy.
Hand Stitching
Once you have finished your chain, it is time to start on the next row. You will want to skip the first loop here and then find your second one. Then use your thumb and pinter finger to pull the working yarn through the stitch making another loop. Again, make sure you are making your loops big enough to fit yarn through the next time around. But, don’t make them so loose that you have holes in your blanket (unless that is the look you are going for!)
Continue this all the way across your blanket until you reach the last stitch. Then you can start on your next row! Make sure that you are skipping the first loop in each row (you’ll grab it at the end of the next row). You can keep going for as long as you want your blanket to be. I used a total six skeins of yarn for my DIY knit blanket.
When you need to need to add on another skein of yarn, you simply do this by tying them together. Make the knot tight and continue your row. You will have some strings hanging so just make sure they stay in the back and then cut them off at the end.
Tieing off the End
Once you only have enough yarn left for one to two rows, you will want to tie off the end of your blanket. You will do this by grabbing the first two loops in the row onto your pointer finger. Then use your working yarn to make a loop and put that loop through the two loops on your finger. Once you have done this, you can let those loops go and hold onto your working loop. Then holding your current loop, grab the next loop in the row and do it again. Keep doing this all the way across the row.
Tips for your DIY Knit Blanket
- Make your loops the same size
- Keep your blanket on a flat surface as you go
- If you need to take a break, make sure you make it all the way across the row before stop
- Tie your skeins together, try to hide the knot between two loops so it can’t be seen from the front of the blanket
- When you tie your skeins together, make the knot tight and leave the extra to cut off at the end
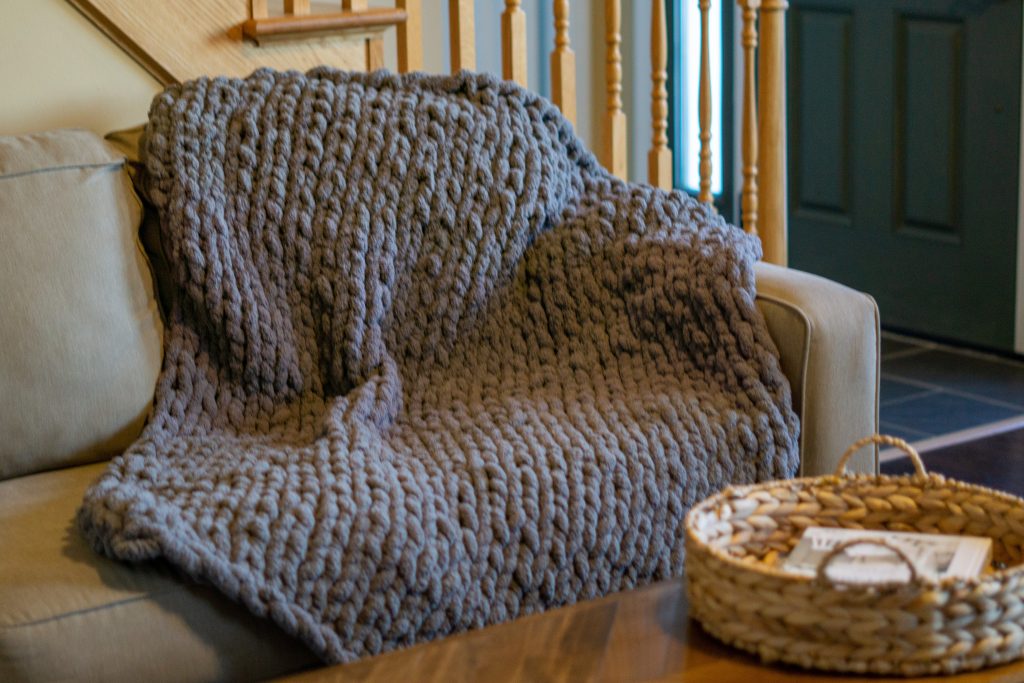
I really love how this blanket came out and I’m thinking about starting another one. I hope you found this tutorial helpful and you make a DIY knit blanket of your own.
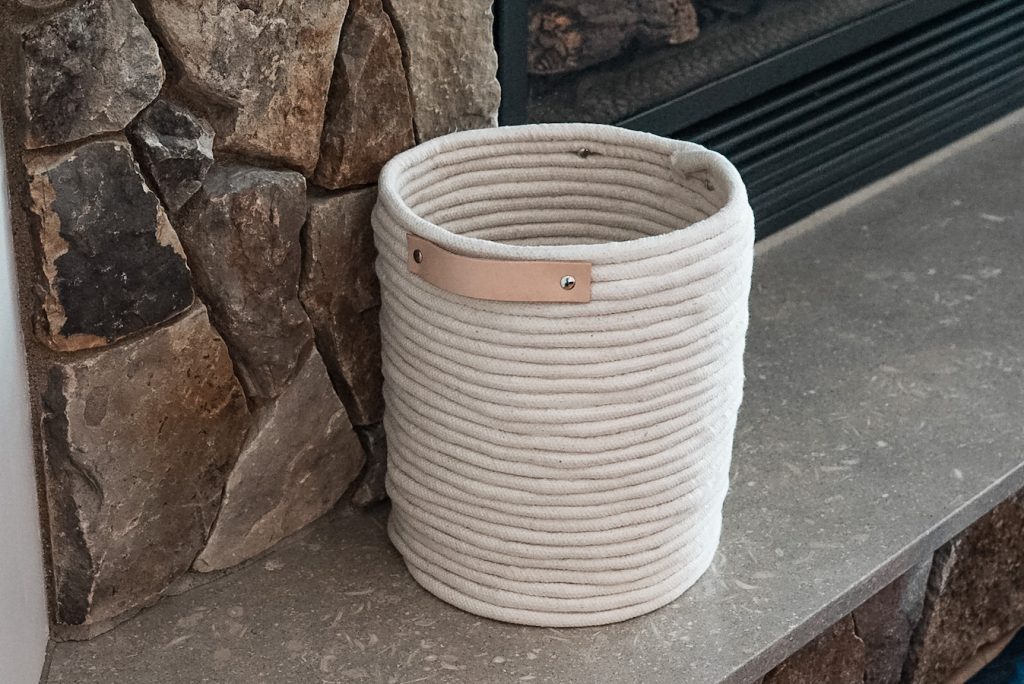
If you are looking for more fun DIY home decor projects, check out this tutorial on how to make this DIY rope basket


I am a lover of blankets!! I have yet to own a chunky knit blanket, but they always look so soft and cozy. I love that you made one!!
Make Life Marvelous